
Keep track of the number of days till Christmas in a fun new way.

Things used in this project
Hardware components
Hand tools and fabrication machines
3D Printer (generic)
Story
The Idea
The intention of the project is to have a real time clock will keep track of how many days there are until Christmas. A small screen will be the focal point and will load an image showing the current number of days until Christmas.
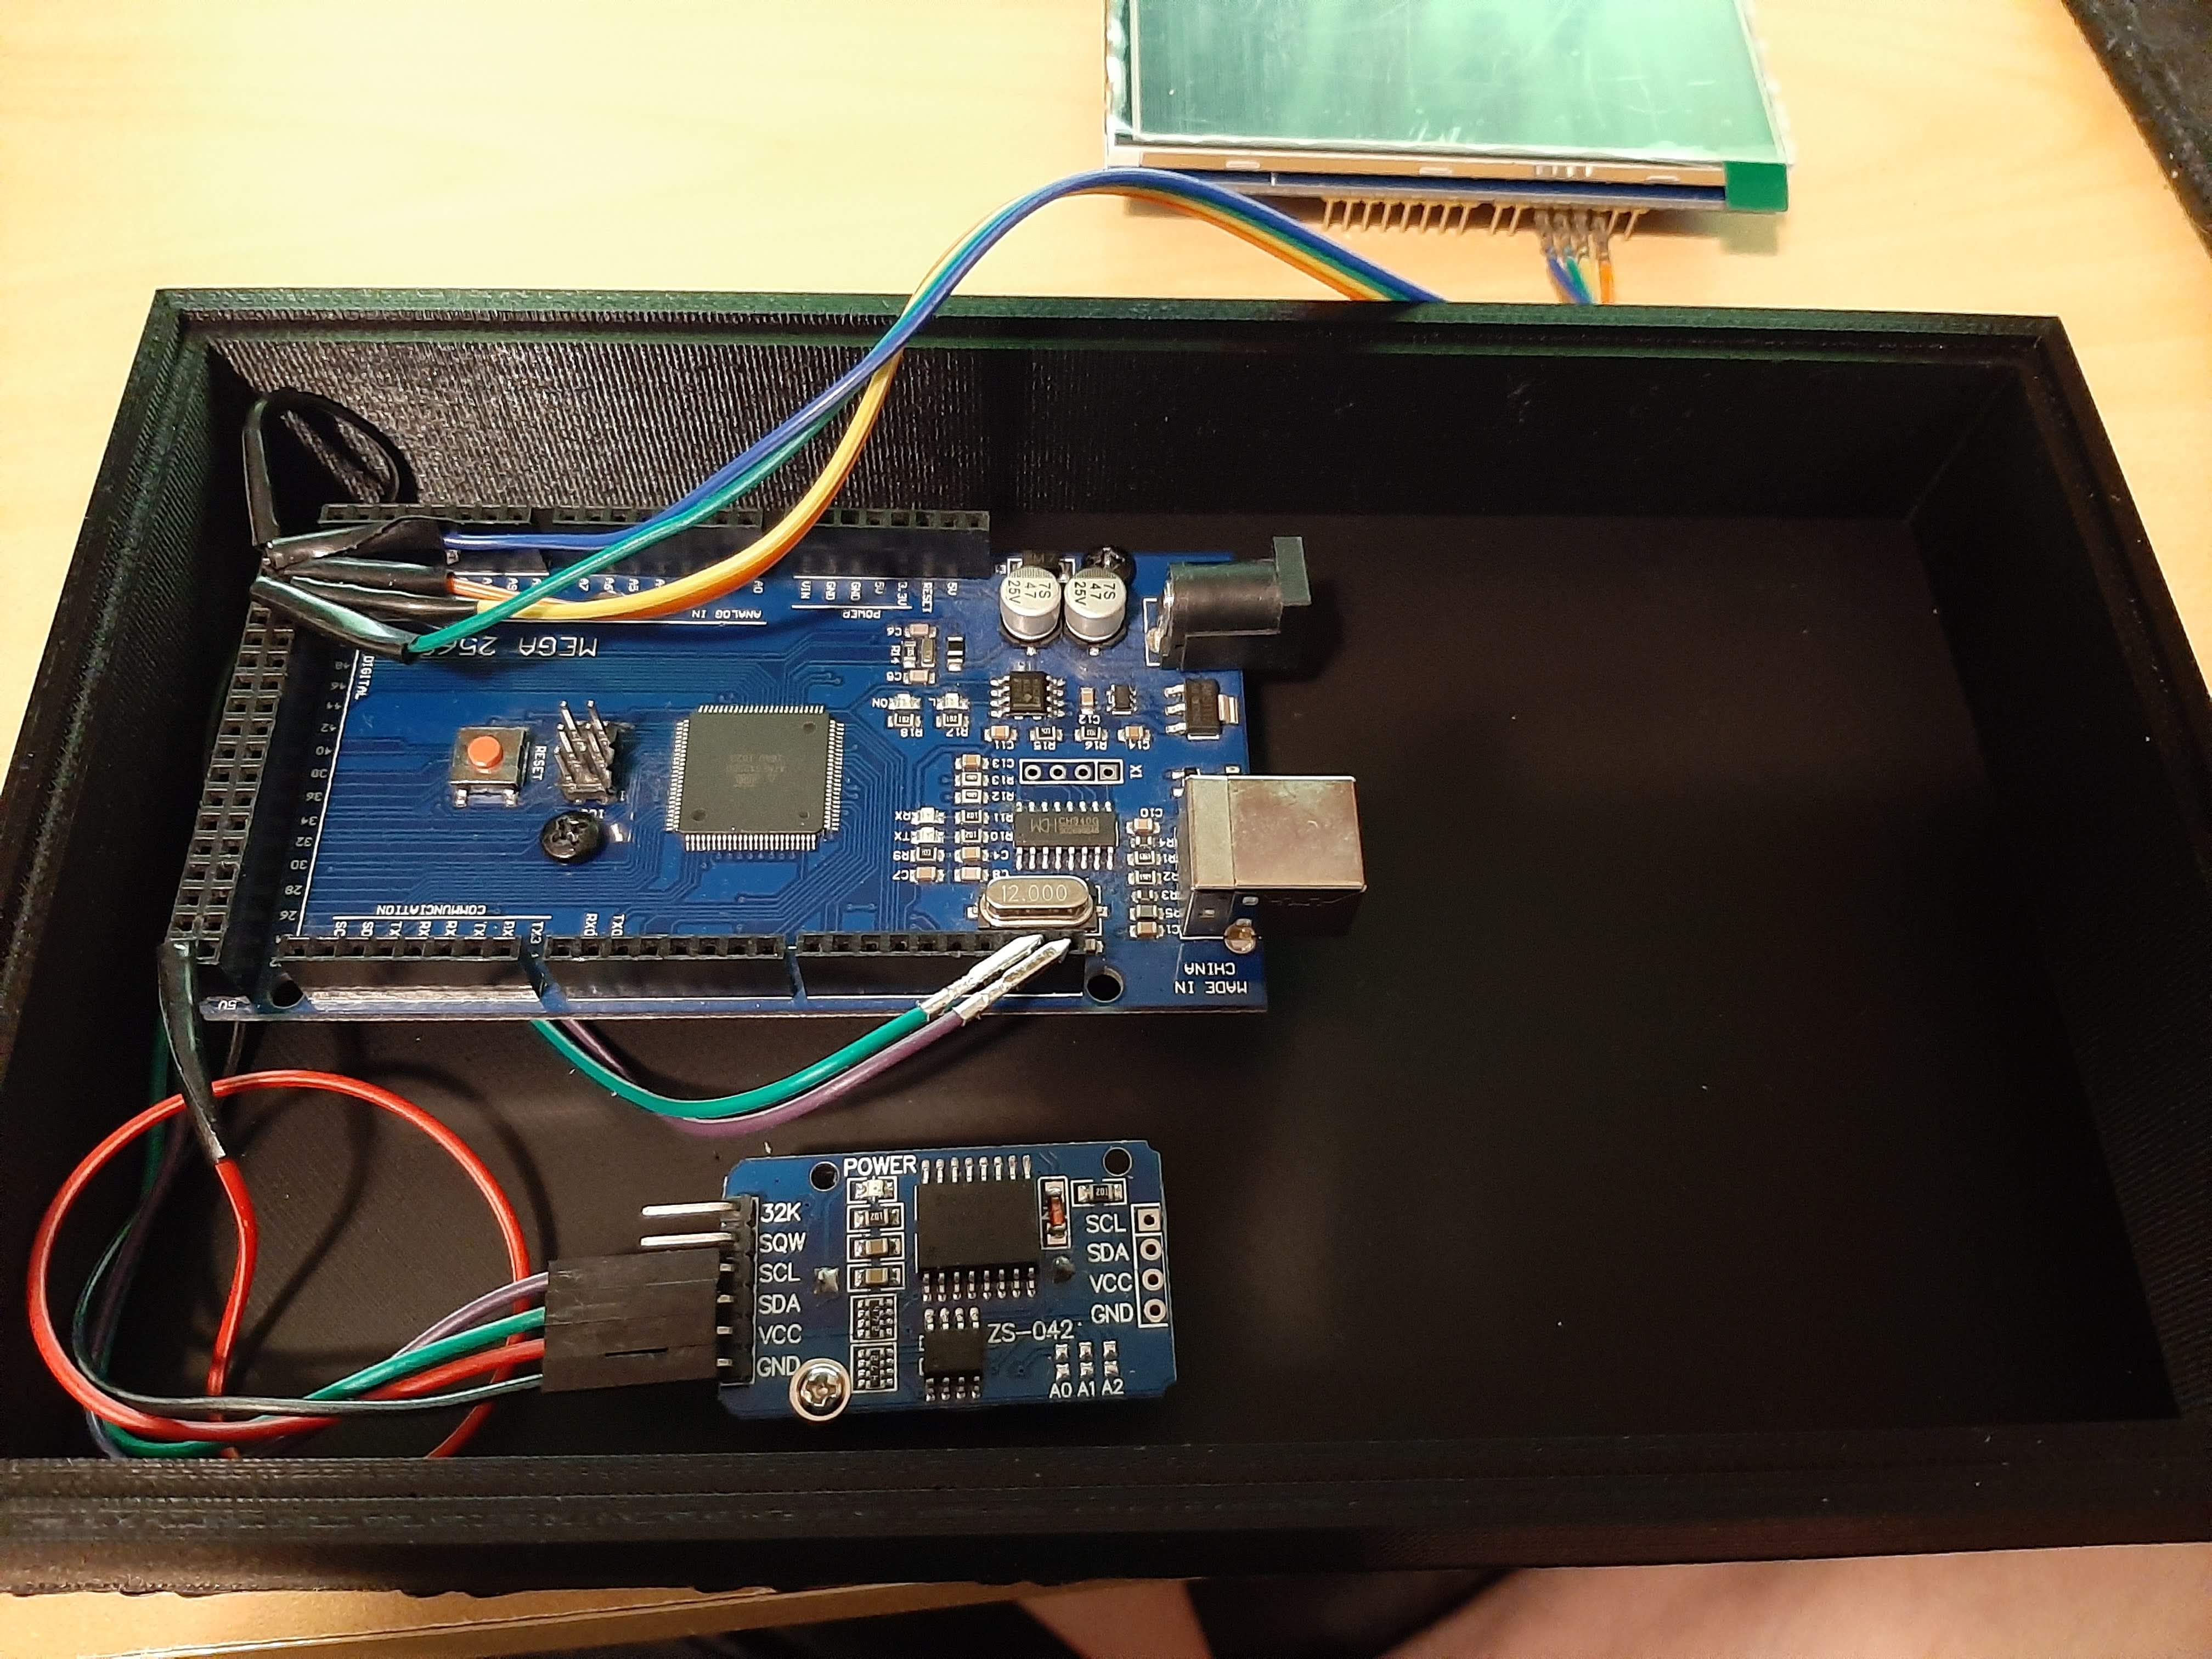
To make this easy to recreate, the design will include an Arduino Mega with a plug-in 3.5" TFT display. The display includes an SD card port where each individual number will be stored to be pulled up as needed. The microcontroller will use the RTC to determine how many days there are until Christmas, and based on that will display the correct number on the screen. It will all be enclosed in a 3D printed enclosure and decorated.
Creating the number images
I wanted to use a nice Christmas-y font for the numbers and did some research. Many of the free Christmas fonts available to use aren't terribly exciting, but I managed to find a great tutorial on making your own candy cane text.
I needed to overlay this number over a nice background, so I found a nice free-use Christmas-themed backdrop to put the custom numbers on to.

Then began the tedious task of putting together images for each day of the year, between 0 and 365. The display is able to display images of 320x480, so that was used as the basis for this. The files had to be converted to BMP in order to be used by the display. Once this was done it was loaded onto the micro SD. These images take up about 160MB, so a large micro SD card is not needed.
Building the Code
After testing the default program supplied with the display (attached to this project), I worked to modify the program to suit my needs. The first challenge that came up was that the software was intended to be used with the Arduino Uno, but for this project I needed to use something with more pins as there were none extra available for use with the Uno. The SPI pins of the shield lined up with the SPI headers of the Uno, which are different for the Arduino Mega. The fix for this was to bend out the display pins and reroute them to the appropriate headers on the Mega.

The only other pins I needed to use were the I2C communication pins for the RTC.

In order to best observe the real time and ensure leap years are accounted for, the RTC was needed. Using the library RTClib, I found a function that allowed for me to find out what the time and date would be at a certain point in the future.
The method used to find out the days to Christmas was a very brute force method, but effective. I would continually add 60 seconds to the current time, and keep track of how many times I had to add 60 seconds to the time until the month and date equaled 12/25. Once that date was reached it would take the tallied number of minutes and translate that into days. The resulting day would be matched with the appropriate image file and displayed on the screen.
The software is linked to this project, as well as the images meant for the micro SD card. The only thing needed to get this working is to load up the micro SD card with the images, and use an RTC example sketch to set the current date and time.
Putting Together the Enclosure
I chose to 3D print the enclosure with built-in stand-offs for the Arduino Mega and RTC module. Autodesk Fusion 360 was used for Modelling. 3D printer was Craftbot Plus.

The small groove in the bottom exists to allow a screwdriver to pop out the faceplate if required.

The intention is to wrap the box in wrapping paper, so a top faceplate was designed as a snug fit to cover everything up.


Wrapping it Up
The above video at the top details some of the wrapping process. I started by cutting out a piece of paper as a template for what the opening size for the screen would be. I put the wrapping paper over the front, and used the extruding screen to create an indent to give myself a place to cut out the screen hole. After that I centered it around the screen hole and wrapped it like any other present. Lastly I slowly cut around the power jack hole to allow for access to it.
Download Files
Arduino Code:
https://github.com/sclandinin/christmas_calendar
Enclosure 3D Models:
Number Image Files:
https://drive.google.com/file/d/1MpnzfiZdUA1tnpUmTqE-d9HRny1jSG4A/view
Unzip these and copy over all images in the folder into the micro SD card.
Custom parts and enclosures
3D models
https://myhub.autodesk360.com/ue2a5a987/g/shares/SH56a43QTfd62c1cd9680d20cc8ff1013610
Schematics
Component image
Code
The article was first published in hackster, August 29, 2017
cr: https://www.hackster.io/sclandinin/christmas-countdown-display-bd41fa
author: Scott Clandinin


