
Use DFRobot's PN532 NFC module to track if your favorite clothes are clean or dirty.
Things used in this project
Hardware components
Story
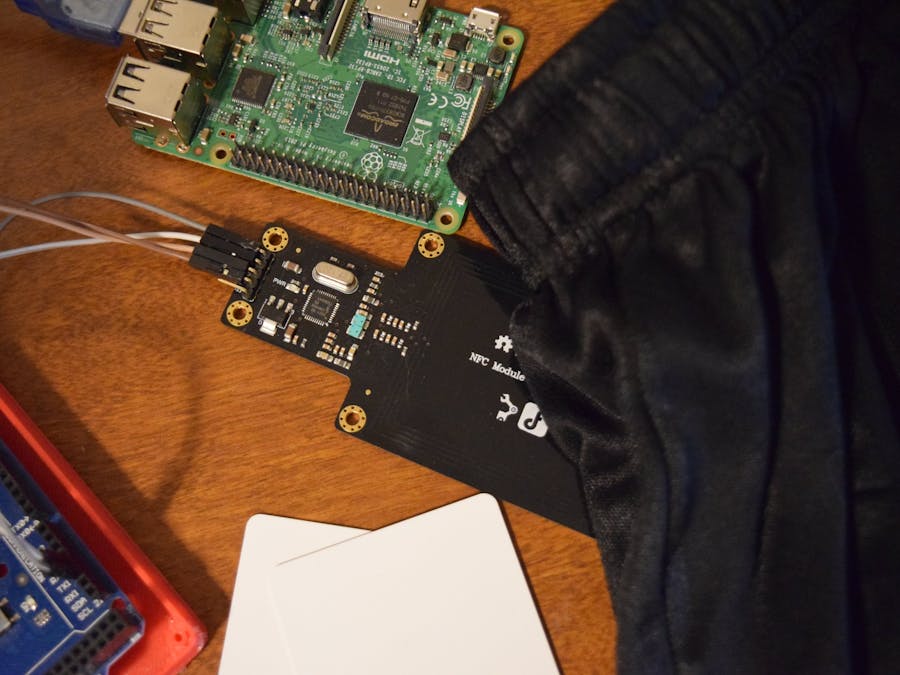
If you're like me, then you have a small pile of clothes on the floor that may or may not be dirty. This could include jeans, dress shirts, and barely worn shorts. So how can you tell which clothes are clean or dirty? I came up with a way to track various articles of clothing using NFC and a Raspberry Pi. You simply insert the NFC card into a pocket and then scan it, which bring up information about that clothing item along with an ability to change it.
Gathering Components
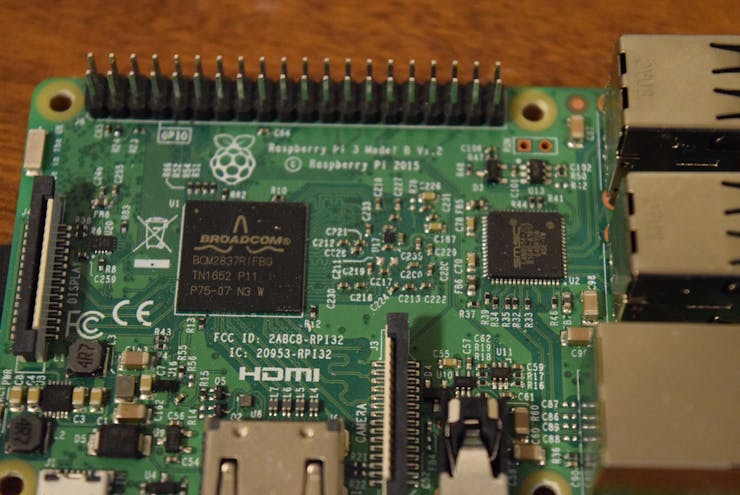
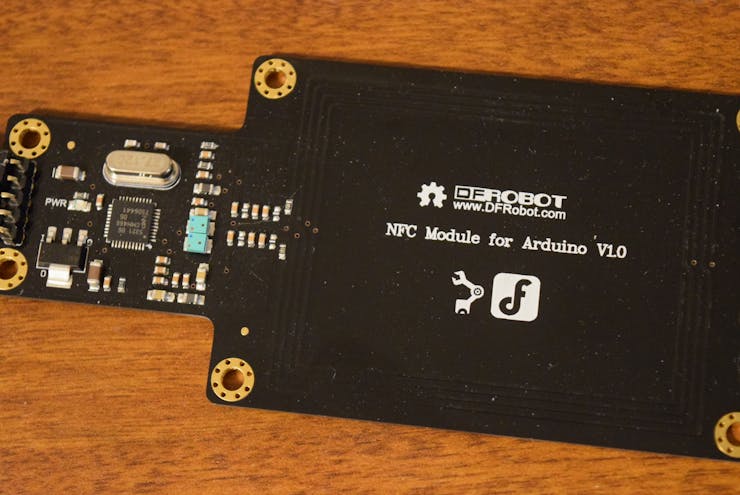
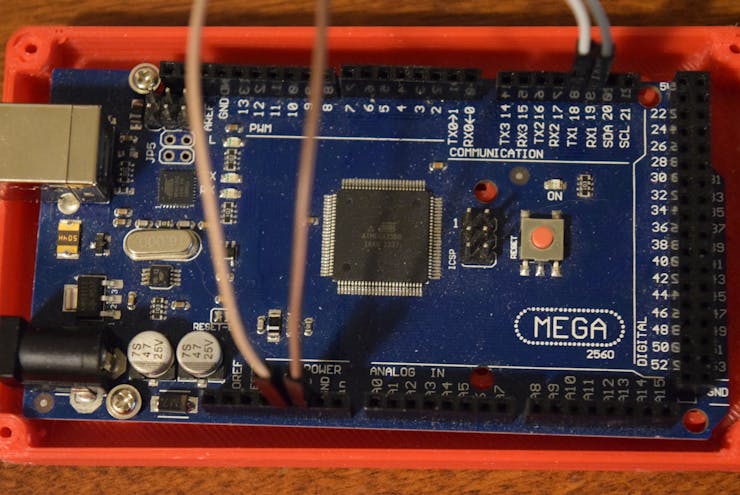
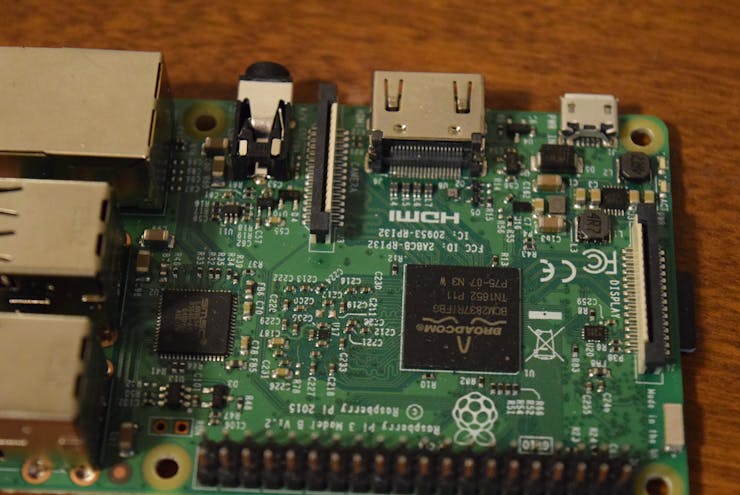
DFRobot reached out to me to sponsor this project, so they sent a Raspberry Pi 3 and PN532 NFC Module, along with 5 NFC cards. The NFC module uses UART to communicate with a host device, so I tried using a Raspberry Pi at first, but I ran into several issues. The libraries were complex and hard to interface with Python, so I opted to use an Arduino Mega for communicating with the NFC module. The Arduino Mega was necessary because it takes two UART ports, one for the NFC module and one for outputting information.

Setting Up the Pi
I went to the Raspberry Pi Downloads page and downloaded the most recent version of Raspbian. I then extracted the file and put it into a convenient directory. You can't just copy/paste a .img file to an SD card, you have to "burn it" onto the card. You can download a burning utility like Etcher.io to easily transfer the OS image. After the .img file was on my SD card I inserted it into the Raspberry Pi and gave it power. After about 50 seconds I unplugged the cord and removed the SD card. Next I put the SD card back into my PC and went to the "boot" directory. I opened up Notepad and saved it as a blank file named "ssh" with NO extension. There was also a file I added called "wpa_supplicant.conf" and put this text into it:
network={
     ssid=<"SSID">
     psk=<"PASSWD">
}
Then I saved and ejected the card and put it back into the Raspberry Pi 3. This should now allow for the usage of SSH and connecting to WiFi.
Wiring
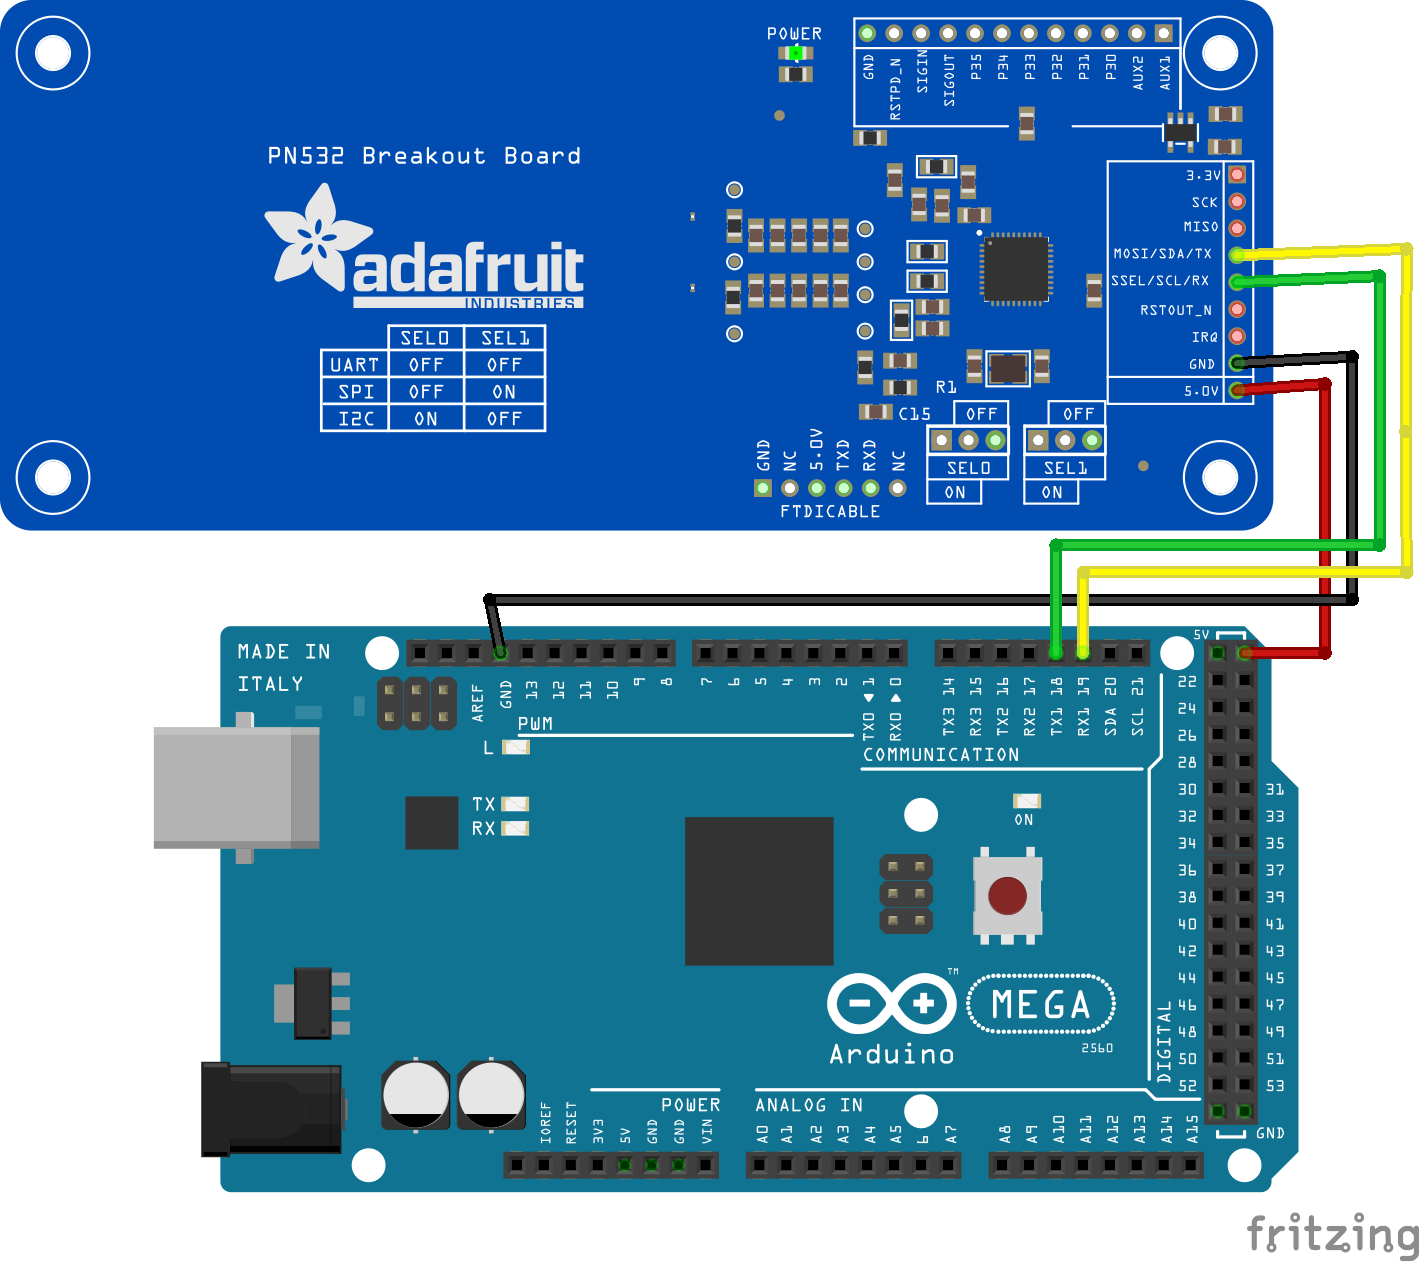
The wiring for this is pretty simple. I connected the Rx pin to the Tx1 of the Mega, and the Tx pin to the Rx1 pin of the Mega. 5v goes to 5v, and GND goes to GND. I also connected the Arduino Mega to the Raspberry Pi 3 via a small USB cable.
Programming
There are two files, one for the Arduino Mega and one for the Raspberry Pi. The Arduino Mega first sends out a handshake request to the module and then waits for a response. Once the response has been given the Mega starts polling the device to see if any cards have been scanned. If so, the ID of the card is read. In order to send concise information to the Pi, I used a pseudo-checksum algorithm to combine the five bytes into one number. The first four bytes get added together once, and the last byte gets added twice. There is also an array that contains the numbers of each card. When a card is scanned its checksum gets compared to the ones in the array and then matched. Lastly that data gets sent over serial to the Raspberry Pi for further processing.
The Raspberry Pi waits for new serial information and then prints it. A dictionary is created at the beginning of the code that defines how each clothing item corresponds to each card. Each has a name, the card number, the color, and the status (clean or dirty). There is an option to change the status once the clothing item is scanned.
Using the Device
I began by inserting cards into the pockets of my clothes and checking their IDs, recording the information into the dictionary. If I want to see if they're clean or dirty I simply hold them up to the RFID reader which then displays the information via SSH.
Here is a video demonstrating the usage:
Schematics
Code
Python Code
Python
import serial

ser = serial.Serial("/dev/ttyACM0",baudrate=9600)


#example information
card_stats = {"Card 0":{"name":"Blank T-shirt","color":"Blue","status":"clean"},
              "Card 1":{"name":"T-shirt","color":"Red","status":"dirty"},
               "Card 2":{"name":"gym shorts","color":"black","status":"clean"},
                "Card 3":{"name":"test1","color":"yellow","status":"clean"},
                 "Card 4":{"name":"test2","color":"green","status":"dirty"}}


while 1:
    if ser.inWaiting():
        data = ser.readline()
        print(data)
        if "Card" in data:
            data = data[0:6]
            print(card_stats[data]["color"]+" "+card_stats[data]["name"])
            print("Status: "+card_stats[data]["status"])
            choice=raw_input("Would you like to change the status? (Y or N) ")
            if choice=="Y":
                new_status = raw_input("Type 'C or 'D to change the status: ")
                if new_status=="C":
                    card_stats[data]["status"] = "clean"
                    print(card_stats[data]["status"])
                elif new_status=="D":
                    card_stats[data]["status"] = "dirty"
                    print(card_stats[data]["status"])
            print("Thank you")
Arduino Mega Code
C/C++
const unsigned char wake[24]={
  0x55, 0x55, 0x00, 0x00, 0x00, 0x00, 0x00, 0x00, 0x00, 0x00, \
0x00, 0x00, 0x00, 0x00, 0x00, 0x00, 0xff, 0x03, 0xfd, 0xd4, 0x14, 0x01, 0x17, 0x00};//wake up NFC module
const unsigned char firmware[9]={
  0x00, 0x00, 0xFF, 0x02, 0xFE, 0xD4, 0x02, 0x2A, 0x00};//
const unsigned char tag[11]={
  0x00, 0x00, 0xFF, 0x04, 0xFC, 0xD4, 0x4A, 0x01, 0x00, 0xE1, 0x00};//detecting tag command
const unsigned char std_ACK[25] = {
  0x00, 0x00, 0xFF, 0x00, 0xFF, 0x00, 0x00, 0x00, 0xFF, 0x0C, \
0xF4, 0xD5, 0x4B, 0x01, 0x01, 0x00, 0x04, 0x08, 0x04, 0x00, 0x00, 0x00, 0x00, 0x4b, 0x00};
unsigned char old_id[5];

unsigned char receive_ACK[25];//Command receiving buffer
//int inByte = 0;               //incoming serial byte buffer

int known_ids[] = {833,538,881,961,574};

#if defined(ARDUINO) && ARDUINO >= 100
#include <stdlib.h>
long strtol (const char *__nptr, char **__endptr, int __base);
#include "Arduino.h"
#define print1Byte(args) Serial1.write(args)
#define print1lnByte(args)  Serial1.write(args),Serial1.println()
#else
#include "WProgram.h"
#define print1Byte(args) Serial1.print(args,BYTE)
#define print1lnByte(args)  Serial1.println(args,BYTE)
#endif

void setup(){
  Serial.begin(9600);  // open serial with PC
  Serial1.begin(115200);  //open serial1 with device
  //Serial2.begin(115200);
  wake_card();
  delay(100);
  read_ACK(15);
  delay(100);
  display(15);
}

void loop(){
  send_tag();
  read_ACK(25);
  delay(100);
  if (!cmp_id ()) {
    if (test_ACK ()) {
      send_id();
      //display (25);
      delay (100);
    }
  }
  copy_id ();
}

void copy_id (void) {//save old id
  int ai, oi;
  for (oi=0, ai=19; oi<5; oi++,ai++) {
    old_id[oi] = receive_ACK[ai];
  }
}

char cmp_id (void){//return true if find id is old
  int ai, oi;
  for (oi=0,ai=19; oi<5; oi++,ai++) {
    if (old_id[oi] != receive_ACK[ai])
      return 0;
  }
  return 1;
}

int test_ACK (void) {// return true if receive_ACK accord with std_ACK
  int i;
  for (i=0; i<19; i++) {
    if (receive_ACK[i] != std_ACK[i])
      return 0;
  }
  return 1;
}

void send_id (void) {//send id to PC
  int i;
  Serial.print ("ID: ");
  int checksum=0;
  for (i=0; i<= 4; i++) {
    Serial.print (receive_ACK[i+19]);
    checksum += receive_ACK[i+19];
    Serial.print (",");
  }
  checksum += receive_ACK[4+19];
  Serial.println (checksum);
  for(i=0;i<5;i++){
    if(checksum==known_ids[i]){
      Serial.println(known_ids[i]);
      Serial.println("Card "+String(i));
      break;
    }
  }
}

void UART1_Send_Byte(unsigned char command_data){//send byte to device
  print1Byte(command_data);
#if defined(ARDUINO) && ARDUINO >= 100
  Serial1.flush();// complete the transmission of outgoing serial data
#endif
}

void UART_Send_Byte(unsigned char command_data){//send byte to PC
  Serial.print(command_data,HEX);
  Serial.print(" ");
}

void read_ACK(unsigned char temp){//read ACK into reveive_ACK[]
  unsigned char i;
  for(i=0;i<temp;i++) {
    receive_ACK[i]= Serial1.read();
  }
}

void wake_card(void){//send wake[] to device
  unsigned char i;
  for(i=0;i<24;i++) //send command
    UART1_Send_Byte(wake[i]);
}

void firmware_version(void){//send fireware[] to device
  unsigned char i;
  for(i=0;i<9;i++) //send command
    UART1_Send_Byte(firmware[i]);
}

void send_tag(void){//send tag[] to device
  unsigned char i;
  for(i=0;i<11;i++) //send command
    UART1_Send_Byte(tag[i]);
}

void display(unsigned char tem){//send receive_ACK[] to PC
  unsigned char i;
  for(i=0;i<tem;i++) //send command
    UART_Send_Byte(receive_ACK[i]);
  Serial.println();
}
The article was first published in hackster, January 2, 2018
cr: https://www.hackster.io/gatoninja236/raspberry-pi-nfc-clothes-tracker-a90d2a
author: Arduino “having11” Guy


