

Will guide you to integrate the MQTT on Raspberry Pi via the Node-Red platform.
Node-RED is a flow-based development tool for the visual programming of hardware devices, and it is widely used for the Internet of Things. In addition, Node-RED provides a web browser-based flow editor, which can be used to create JavaScript functions. So, in this tutorial, I'll teach you how to integrate Qubitro with Raspberry Pi via Node-RED.
Components Required:
This project works without much additional hardware. The one and only requirement is you just need a Raspberry Pi.
Get PCBs for Your Projects Manufactured
You must check out PCBWAY for ordering PCBs online for cheap!
You get 10 good-quality PCBs manufactured and shipped to your doorstep for cheap. You will also get a discount on shipping on your first order. Upload your Gerber files onto PCBWAY to get them manufactured with good quality and quick turnaround time. PCBWay now could provide a complete product solution, from design to enclosure production. Check out their online Gerber viewer function. With reward points, you can get free stuff from their gift shop.
What is MQTT?
MQTT stands for Message Queuing Telemetry Transport. MQTT is a machine-to-machine connectivity protocol. It is useful for connections with remote locations where we want to send just a few bytes of data or our sensor values. It is a system where you can publish and receive messages as a client.
By using MQTT you can send commands to control outputs, read and publish data from sensors and much more. Therefore, by using MQTT you can establish communication between multiple devices. Using MQTT you can send a command to a client to control output, or you can read data from a sensor and publish it to a client. There are two main terms in MQTT i.e. Client and Broker. Let’s discuss what client and broker are.
MQTT Client: An MQTT client is any device that runs an MQTT library and connects to an MQTT broker over a network. Both publishers and subscribers are MQTT clients. The publisher and subscriber refer to whether the client is publishing messages or subscribing to messages.
MQTT Broker: The broker receives all messages, filters the messages, determines who is subscribed to each message, and sends the message to these subscribed clients.
In the last Node Red series, we have seen how to install and use the Node-Red on Raspberry Pi. Just use that one to get started with the Node-Red
Now just start the Node-Red in Raspberry Pi by using this command.
node-red
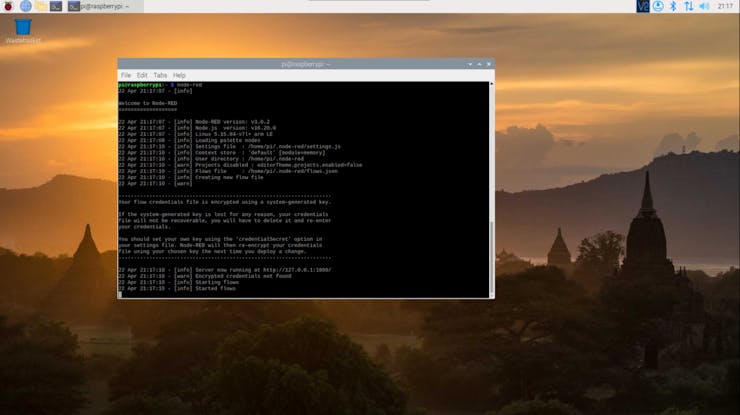
Next, in your browser, go to the URL mentioned above. The Node-RED dashboard is now visible.
This is how the Node-RED Dashboard page appears.

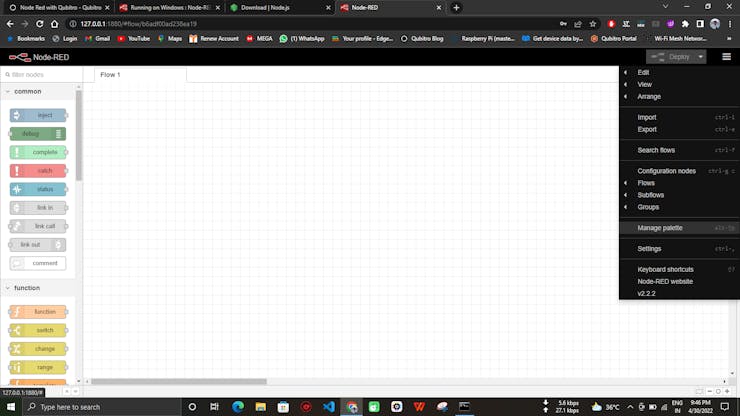
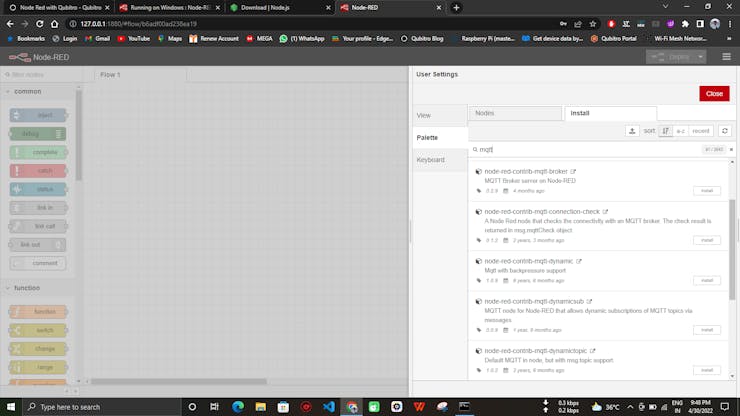
First, we must install the MQTT Plugin for Node-RED. To do so, go to the menu option.
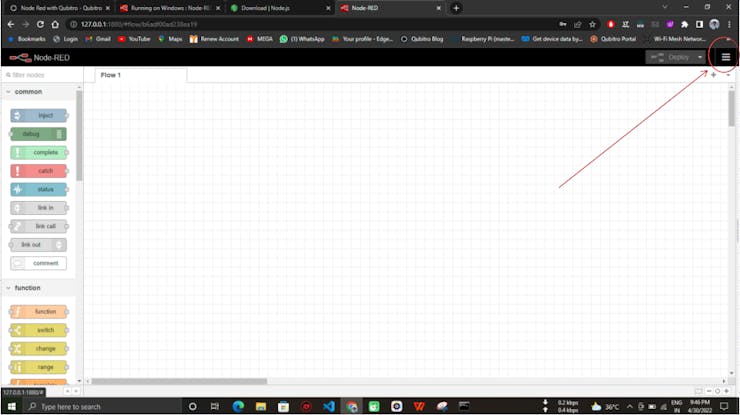
Choose "Manage Palette" from the drop-down menu.
Install MQTT Plugin by going to Palette and searching for it.
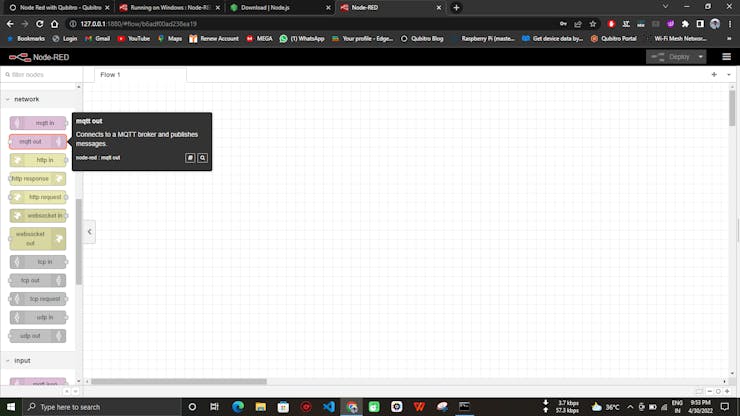
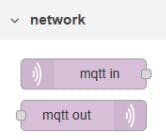
After successful installation, the MQTT In and MQTT Out menus appear in the network section.
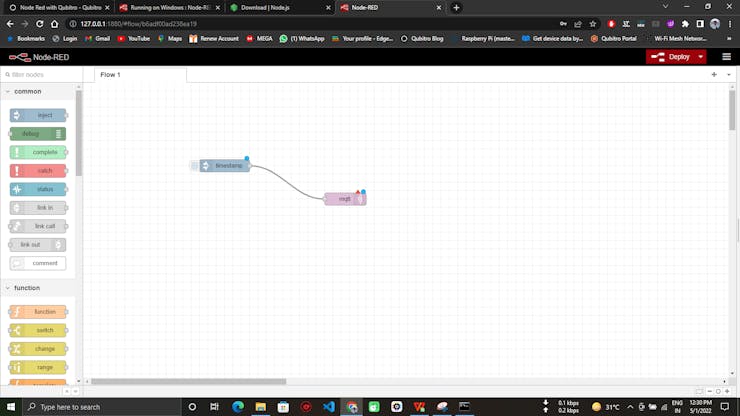
Select MQTT Out and add it to the flow, then select Injection Palette and add it to the flow, making a connection between MQTT Out and Injection Palette.
The next stage is to connect the Node-Red to the cloud. For this, we have to use MQTT nodes. You can see those nodes in the node pallets.
We can use the MQTT out node to send our data to the cloud. Open the MQTT out node's properties. We have to add our MQTT broker's credentials.

And click on the edit new mqtt broker.

Now we have to add our server details.
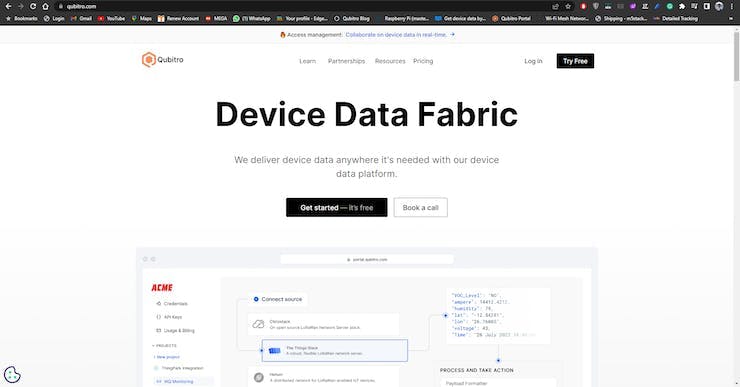
Qubitro Cloud Setup:
In this, we are going to use Qubitro as a cloud service to store and transfer data.
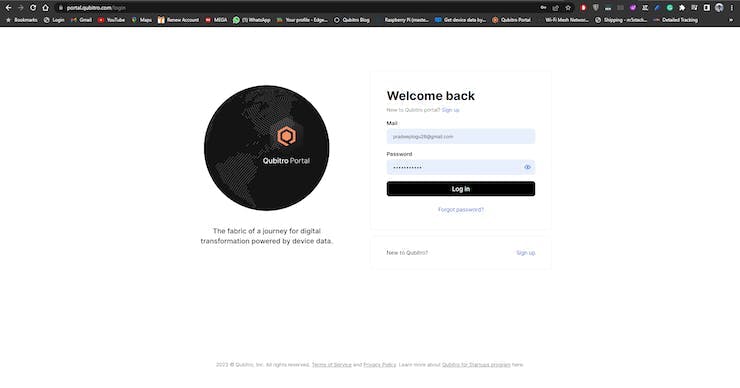
Login to Qubitro by creating a new account and open the portal.
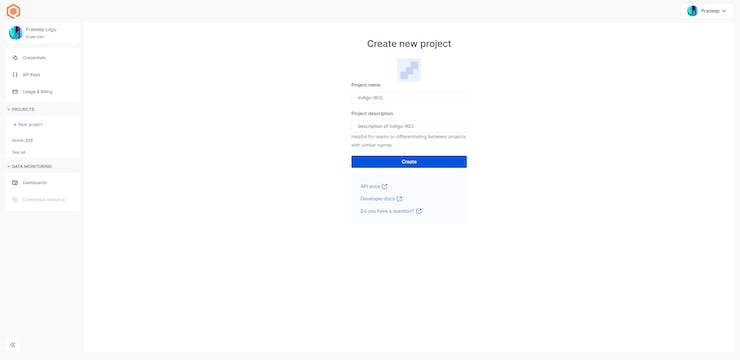
Next, create a new project with all your details.
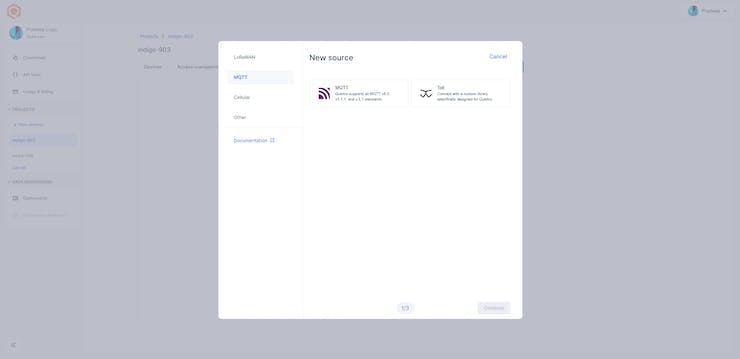
Once you create the project, and add the data source point, you can see multiple data routes. In this, we are going to use MQTT so, select the MQTT as a data point.
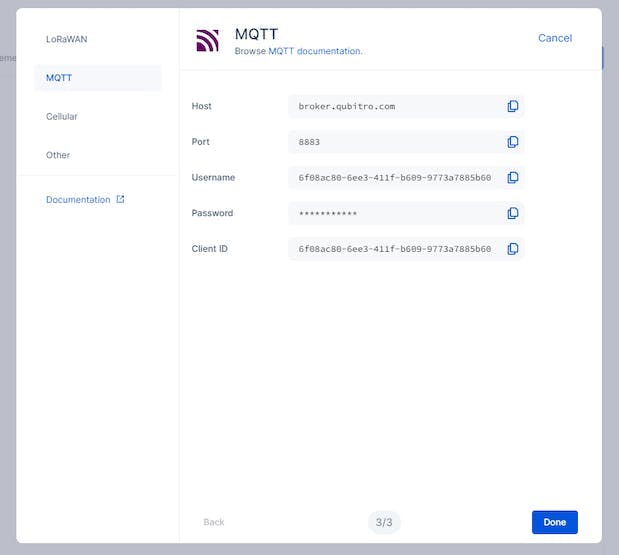
Finally, you will see the credentials. We are going to use these credentials to connect the Node-Red with Qubitro.
Node-Red MQTT Setup:
Use these configurations with the MQTT Out node.

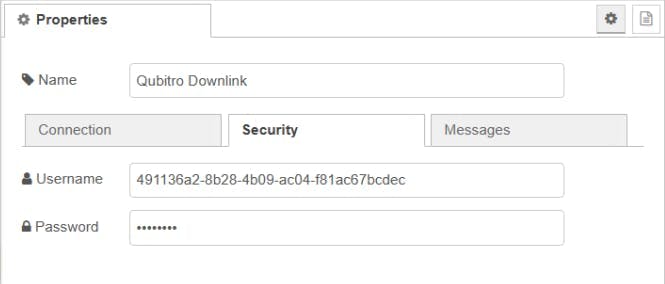
Next, navigate to the security tab and enter the Device ID and token.
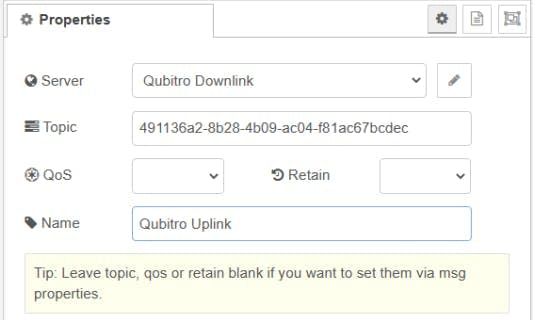
That's all. Now we are all good. Again, go back to the MQTT Out node and there you can see the topic. Use the Qubitro Device-ID as mqtt topic here.
Finally, deploy the nodes. You can see the connected notification.
Cloud Visualization:
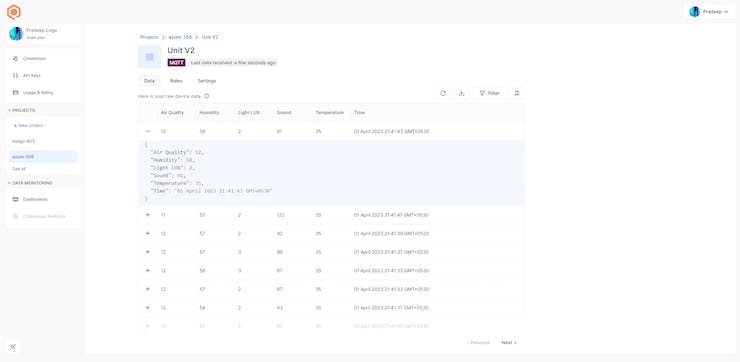
Navigate to the Qubitro portal and look at the device page, it will show you the whole node-red data.
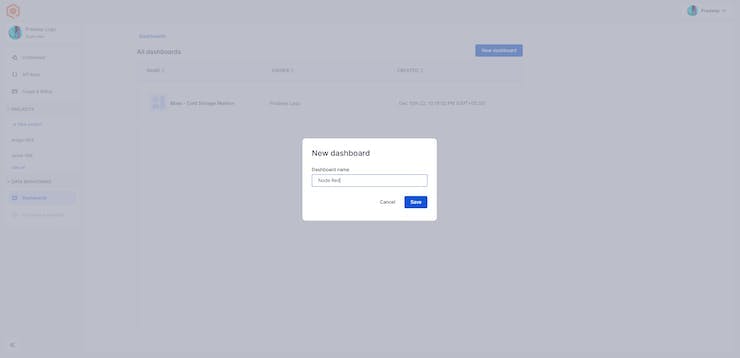
Also, Qubitro supports a good dashboard to visualize our data. Navigate to the Qubitro Dashboard and create a new dashboard.
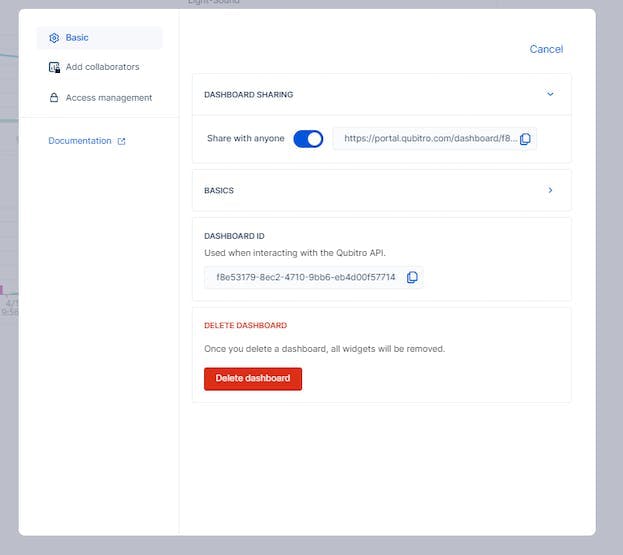
Finally, if you want to share your data with the public means you can share via the public dashboard option in Qubitro.
Here is my sample demo dashboard.

Wrap-Up:
So, now we know how to use raspberry pi and MQTT with Node-Red, in the upcoming tutorial we will build a complete automation system via Raspberry Pi and Node-Red.


