Raspberry Pi 5 Review: Running Stable Diffusion Model for AI Image Generation

Stable Diffusion (SD) is a 2022 deep learning model based on diffusion techniques, contributing to the ongoing AI spring. It excels in generating detailed images from text descriptions and versatile tasks guided by textual prompts. As a latent diffusion model, SD belongs to the family of deep generative artificial neural networks. Its open-sourced code and model weights enable efficient running on consumer hardware with a modest GPU (minimum 4 GB VRAM), distinguishing it from previous proprietary models like DALL-E and Midjourney, accessible only through cloud services.
This article describes an experimental procedure for running the SD model on a Raspberry Pi 5. Although the performance of the Raspberry Pi limits the efficiency of SD, this attempt is valuable for learning and experimentation. The experimental steps covered cloning the SD model, compiling the XNNPACK tool, compiling the SD example, and running the model on the Raspberry Pi 5. Specific command line operations and parameter settings are also covered in detail, as well as resource usage and generated results during the experiment.

Experiment conditions
- System : Raspberry Pi 5 with latest Raspberry Pi OS x64
- Hardware: Use the 8GB version of the Raspberry Pi 5, with an official active heatsink and a 5V4A power adapter
- Network: The model to be downloaded is large, approximately 16GB, and requires a very stable internet connection
1. Experiment on Stable Diffusion XL 1.0
1.1 Cloning of Stable Diffusion model: Cloning of Stable Diffusion XL 1.0 model from here.
Using commands:
//Raspberry Pi default git does not support lfs, you need to install additional dependencies
//Add Warehouse
curl -s script.deb.sh | sudo bash
//install
sudo apt-get install git-lfs
//Activate
git lfs install
//Extract this model
t clone --depth=1 link
This step is very time-consuming, make sure the download speed is normal, you can wait a little bit and then come back to check, this step is recommended to open the terminal directly in the Raspberry Pi (or VNC), to prevent the computer's ssh break.

1.2 Compile XNNPACK tool
# If you don't have Cmake, you need to install it first.
sudo apt install cmake
# Install Warehouse
git clone [https://github.com/google/XNNPACK.gitcd XNNPACK]
# Find the item compatible with the
commitgit rev-list -n 1 --before="2023-06-27 00:00" master
# Here you can get a string (Commit id) and paste it into the next command
git checkout
# compile
mkdir buildcd buildcmake -DXNNPACK_BUILD_TESTS=OFF -DXNNPACK_BUILD_BENCHMARKS=OFF .. cmake --build . --config Release make
# Check that there should be a libXNNPACK.a file in the current directory.
ls
1.3 Compile Stable Diffusion exmaple
# Install Warehouse
git clone gitcd OnnxStreamcd srcmkdir buildcd build
# Compile,Here, since we are using a Raspberry Pi 5, here we use the DMAX_SPEED=ON,-DXNNPACK_DIR, then attach it to the XNNPACK location in the previous step, and modify it here.
cmake -DMAX_SPEED=ON -DXNNPACK_DIR=/home/pi/xxx/XNNPACK ..
cmake --build . --config Release
# To check, there should be a file named sd in the current directory
ls
1.4 Start diffusion, try SD XL 1.0 here first!
# Use this part of the argument here
# --xl run stable-diffusion XL 1.0
# ---models-path Set the folder containing the stable-diffusion models.
# --output Set the path to the output PNG file.
# --prompt Set the forward prompt
# --steps Set the number of diffusion steps
# --ram Use RAM WeightsProvider to allow large memory usage, tested up to 5.3G memory footprint.
# --rpi Configure the model to run on a normal Raspberry Pi, e.g. Raspberry Pi 3, 4, 5.
# Run
. /sd --xl ---models-path /home/pi/xxxx/stable-diffusion-xl-base-1.0-onnxstream --output result.png --prompt "A photo of an astronaut riding a horse" --steps 3 --ram --rpi
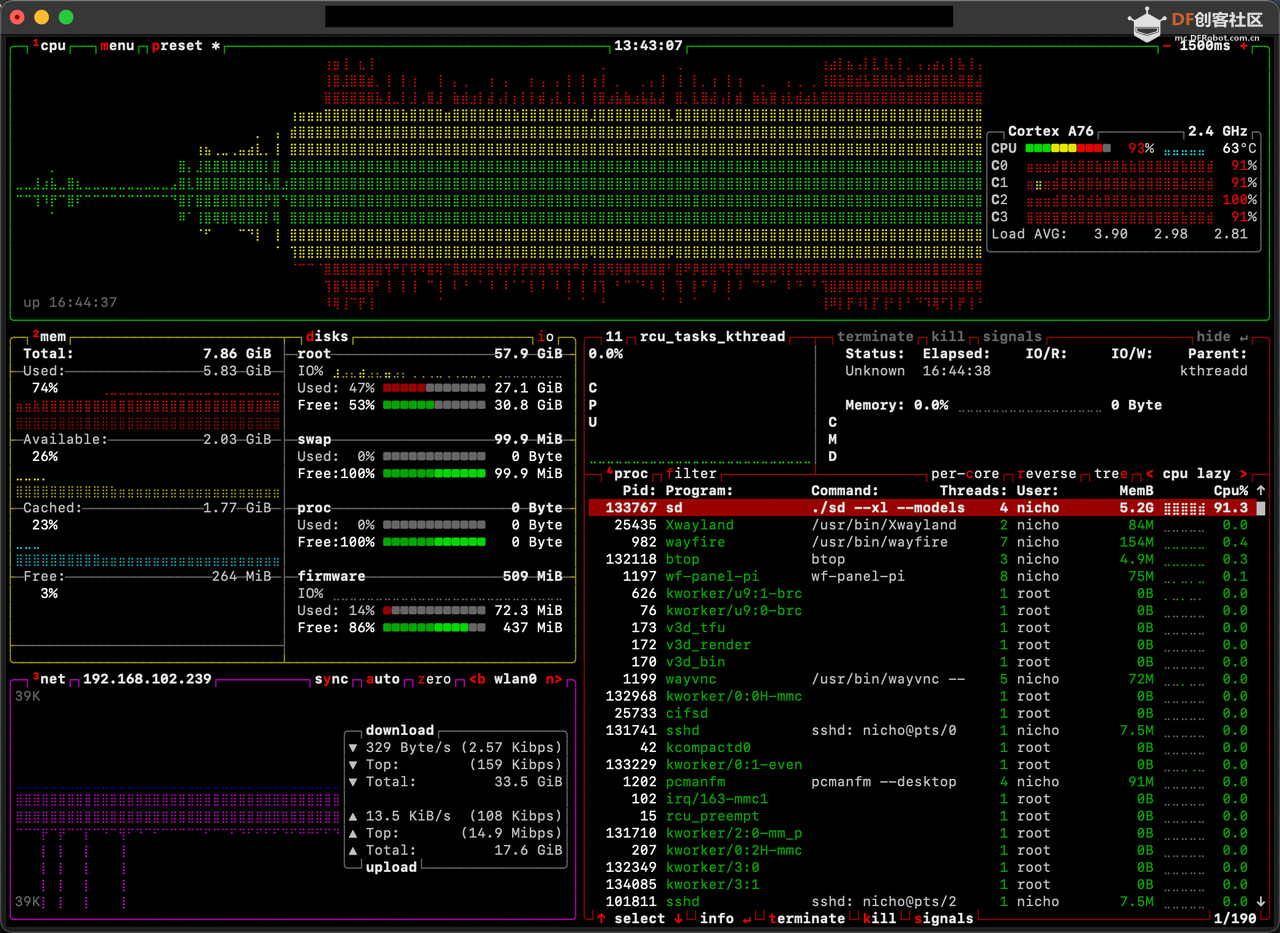
1.5 Resource usage after process start-up (btop)
1.6 Output
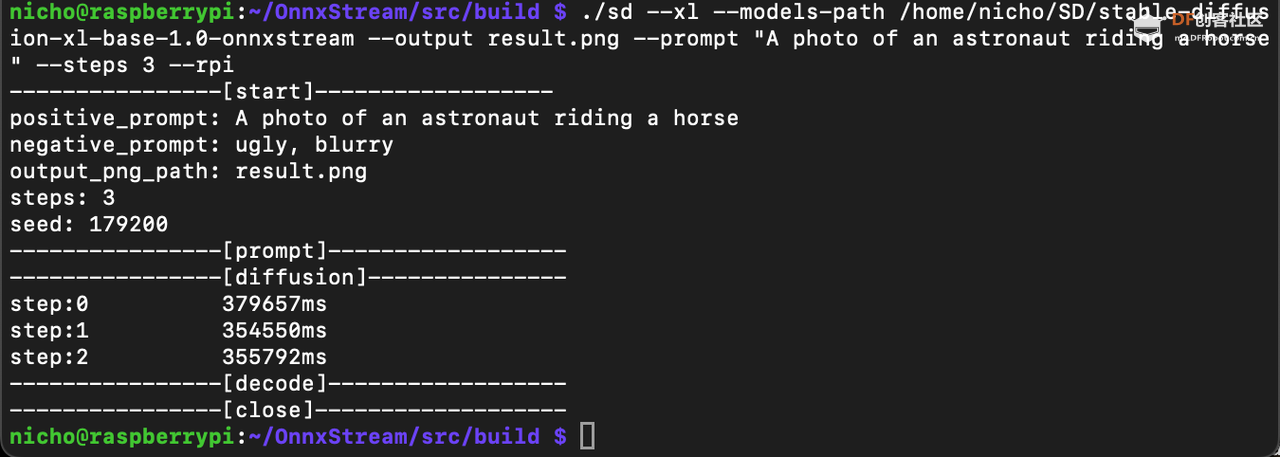
1.7 Results (steps=3), approx. 25 min.
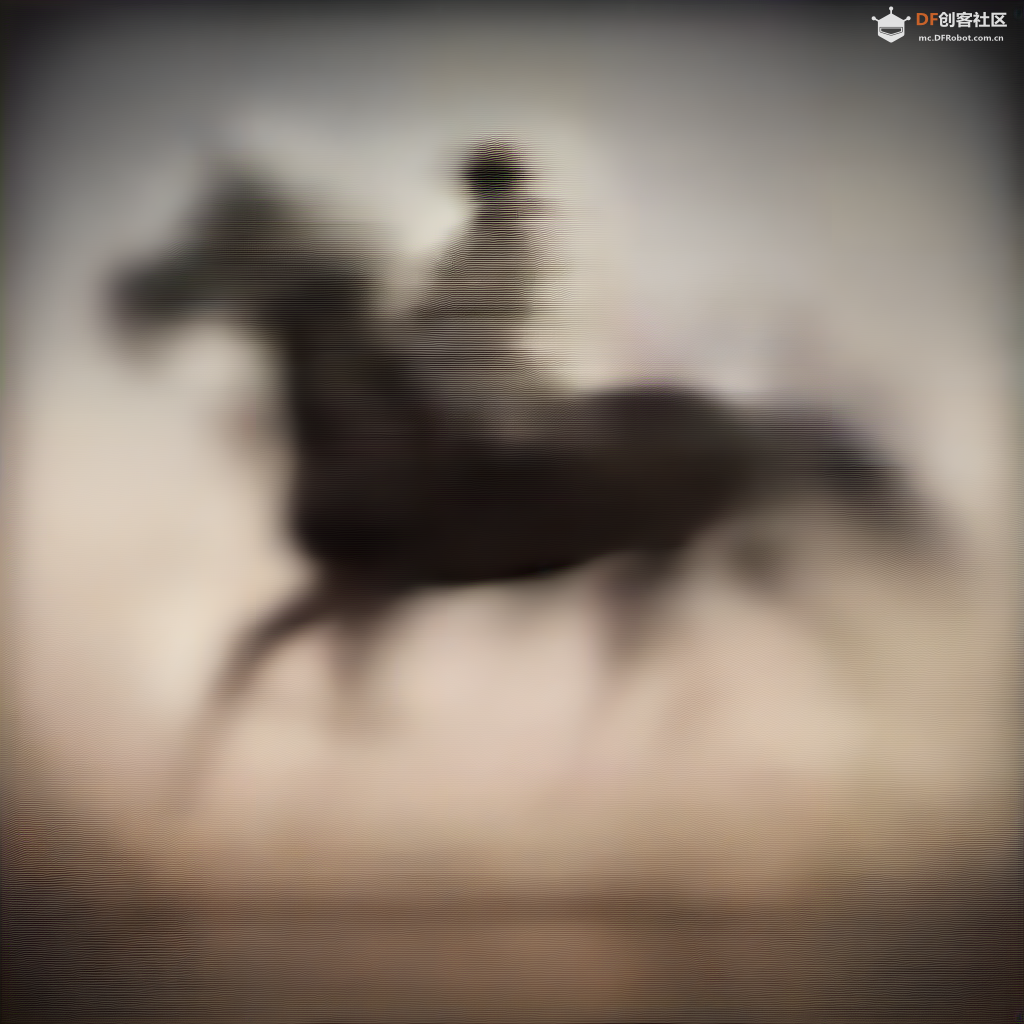
It can basically satisfy the elements of prompt, but it's not perfect yet, so let's keep trying, try to modify the steps or use XL1.5, TBD.
2. Experiment on Stable Diffusion XL 1.5
After running, Stable Diffusion 1.5 has better model size, memory footprint, and generation speed than XL1.0
2.1 Clone Stable Diffusion model: Clone Stable Diffusion 1.5 model from here
Use the command:
#Download the model and unzip it to the Raspberry Pi, the 1.5 model is relatively small, only about 2G!
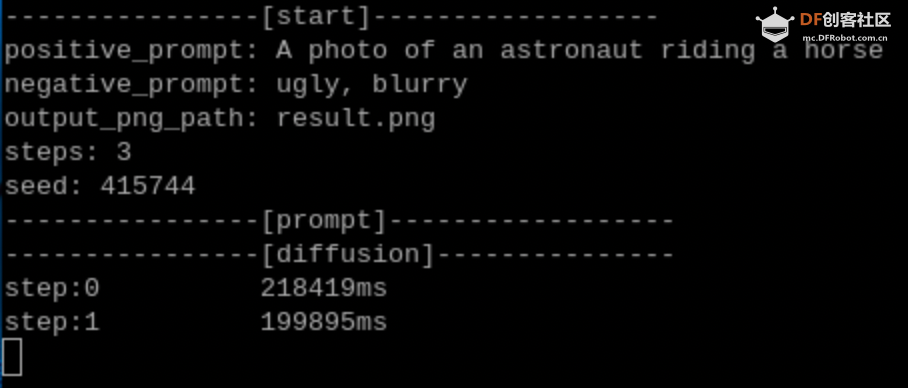
2.2 Start diffusion1.5
# This time we'll adjust the parameters and switch to the 1.5 model catalogue.
# Run . /sd --models-path /home/pi/xxx/SD1.5 --output result.png --prompt "A photo of an astronaut riding a horse" --steps 3 --ram --rpi
2.3 Output
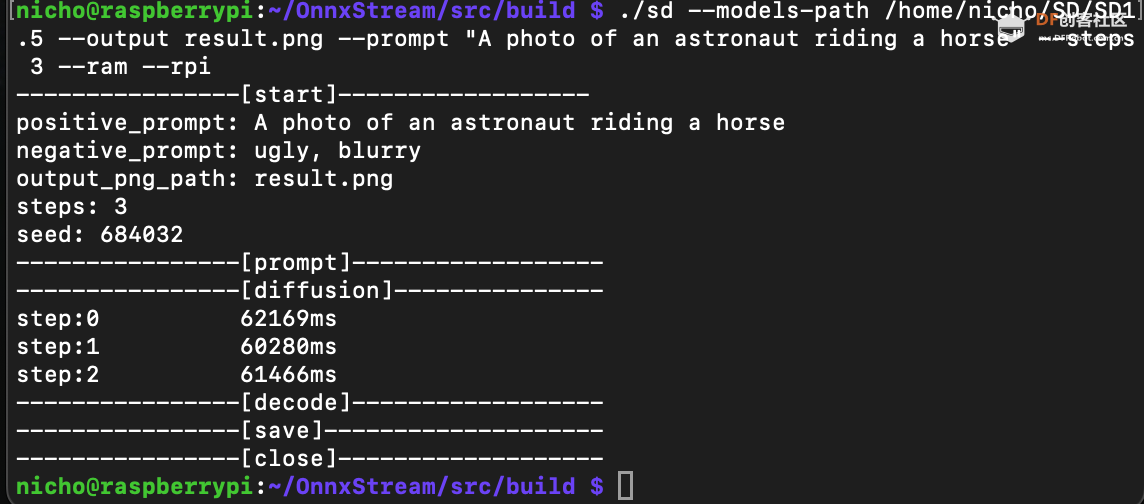
2.4 The result (steps=3), which took about 4 minutes, is very much faster!
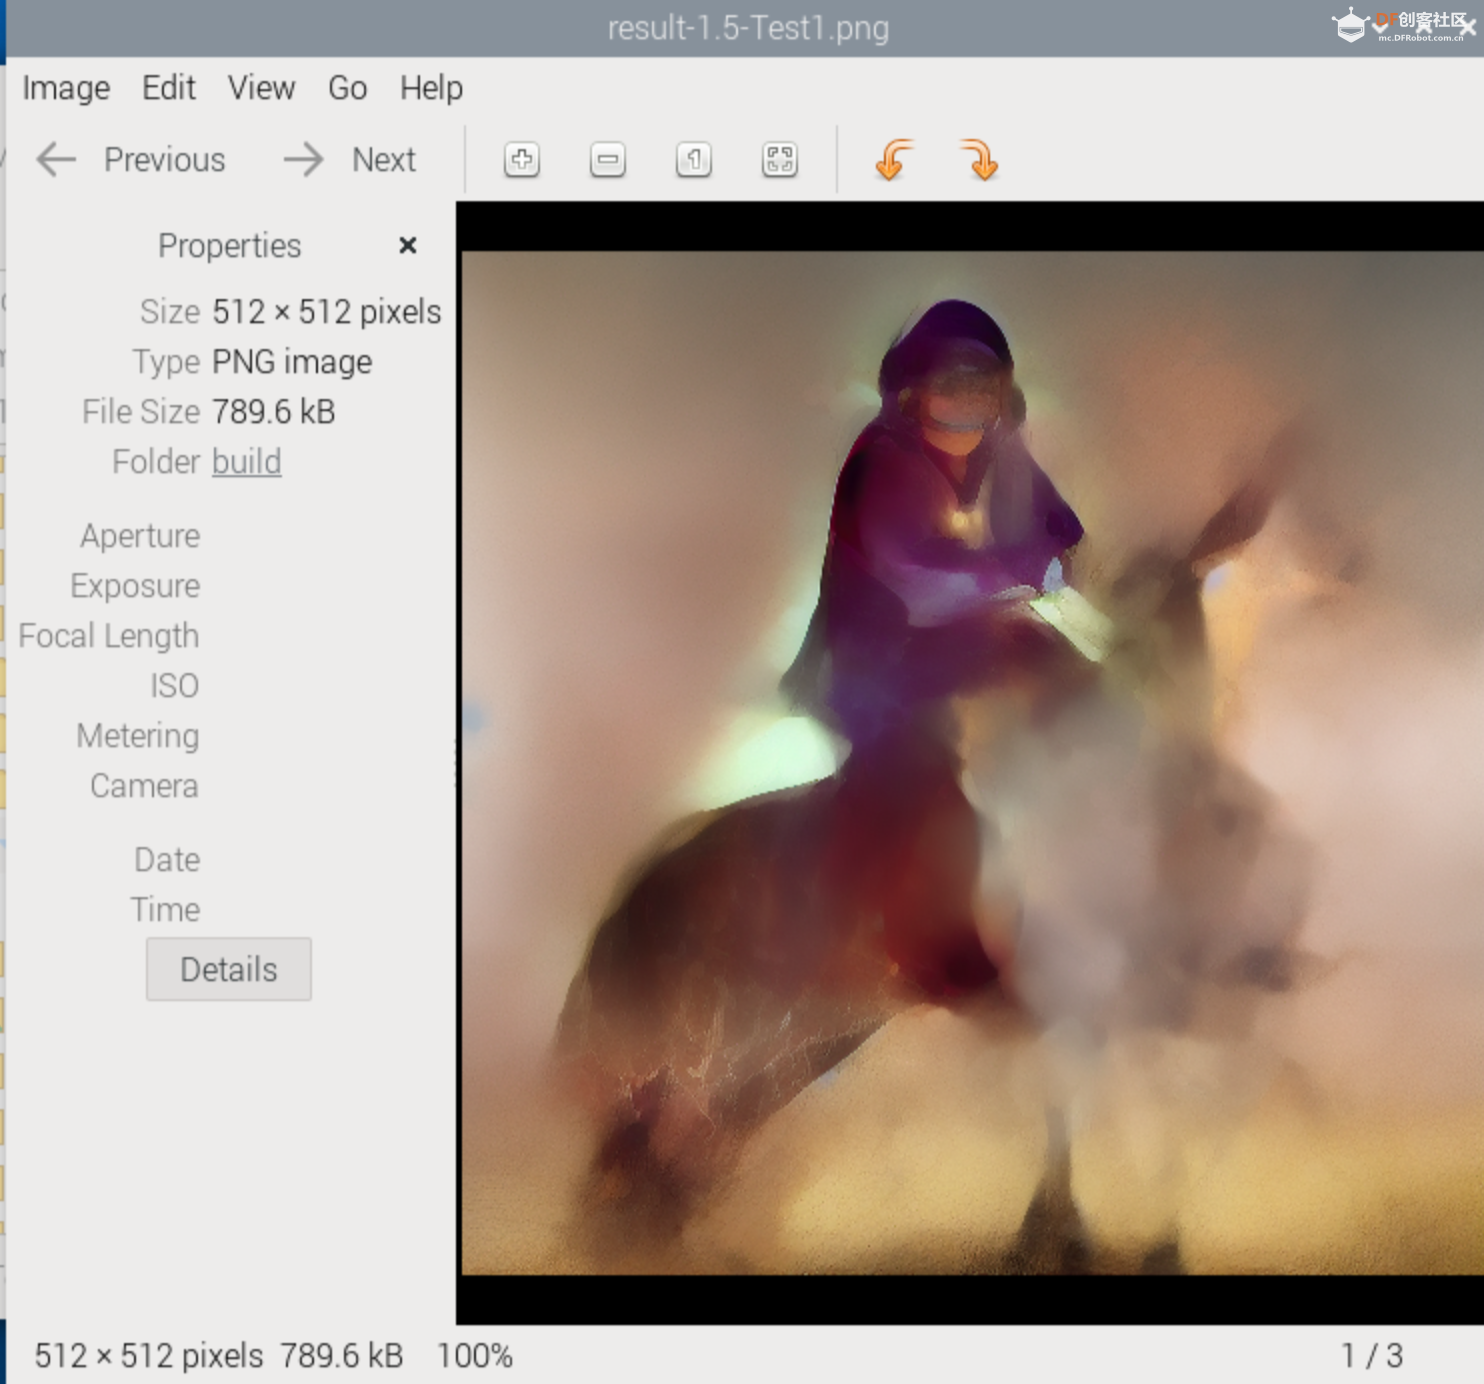
The elements of the prompt are largely satisfied, but not perfect, so let's keep trying, and try modifying --steps 5.
2.5 Results (steps=5), took about 6 minutes
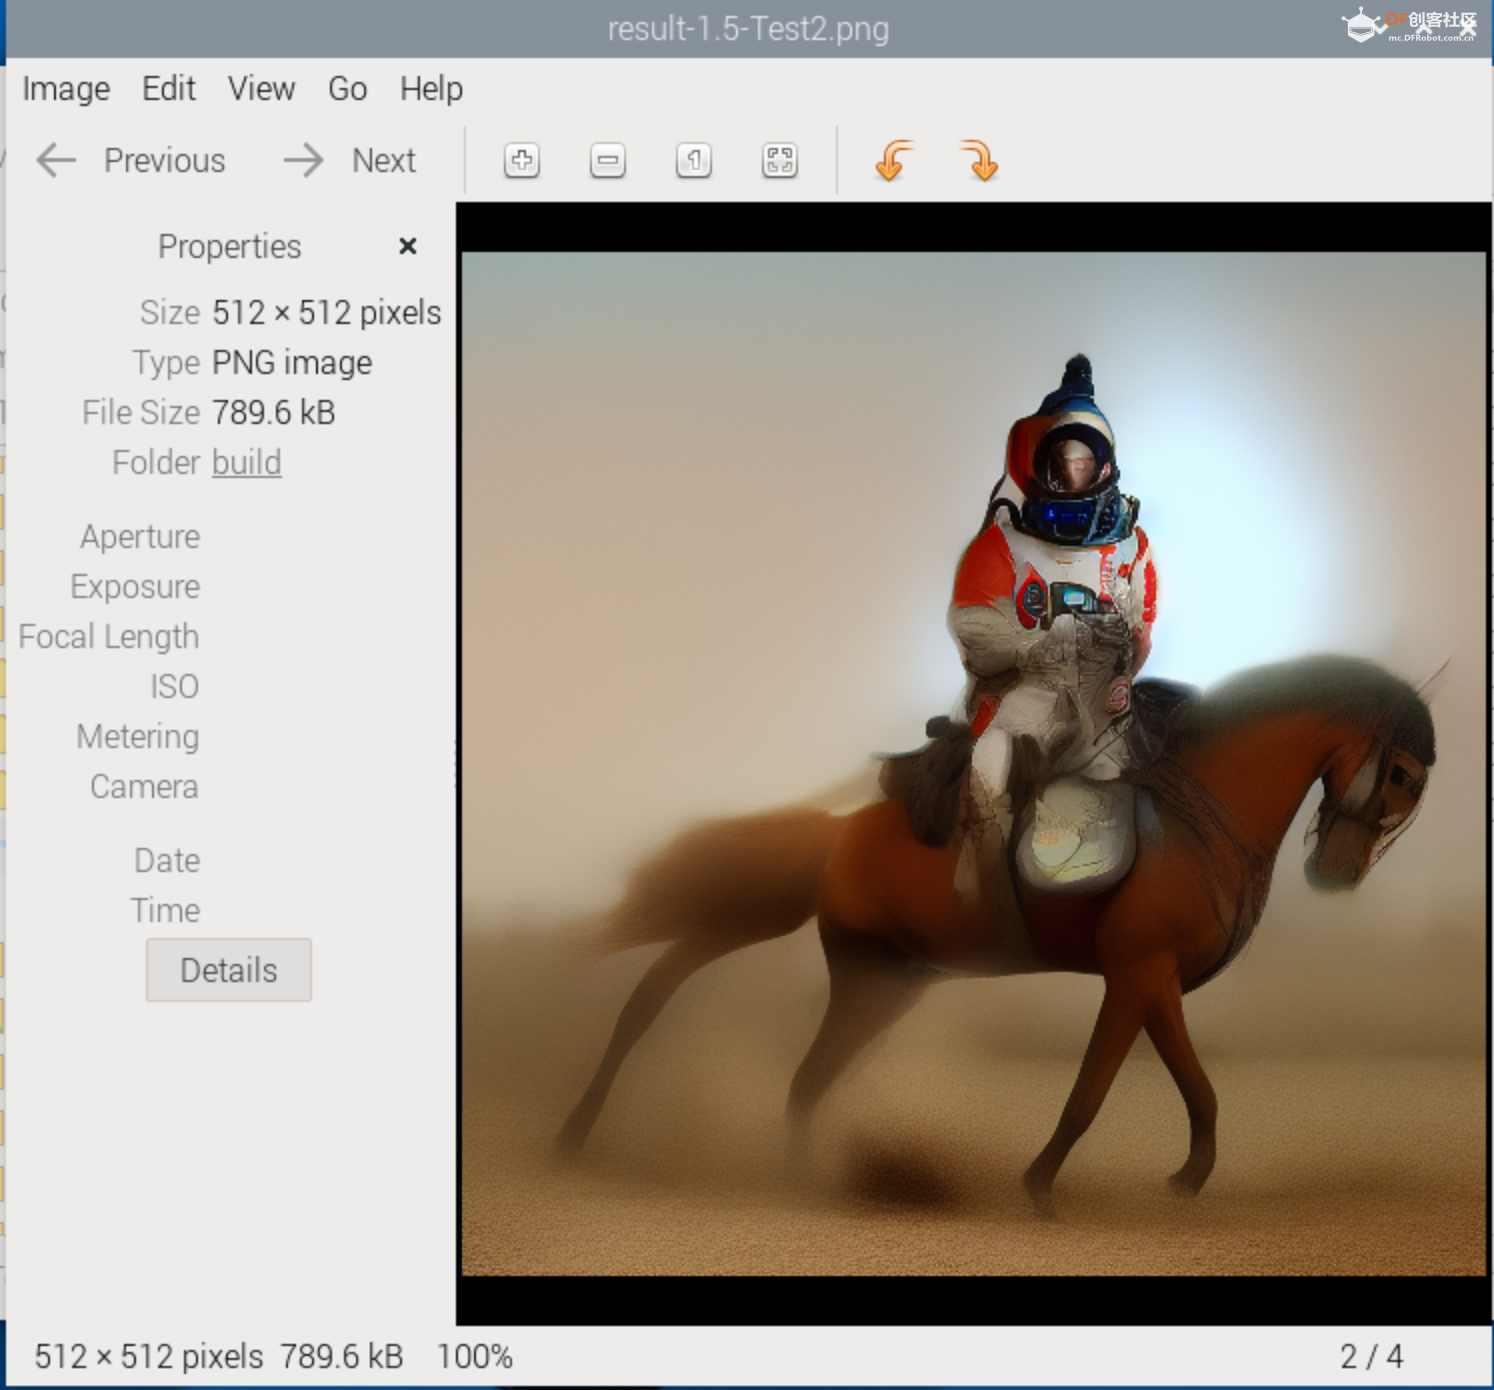
We can see what the astronauts look like now, so go ahead and try to modify --steps 12
2.6 Results (steps=12), approx. 15 min.
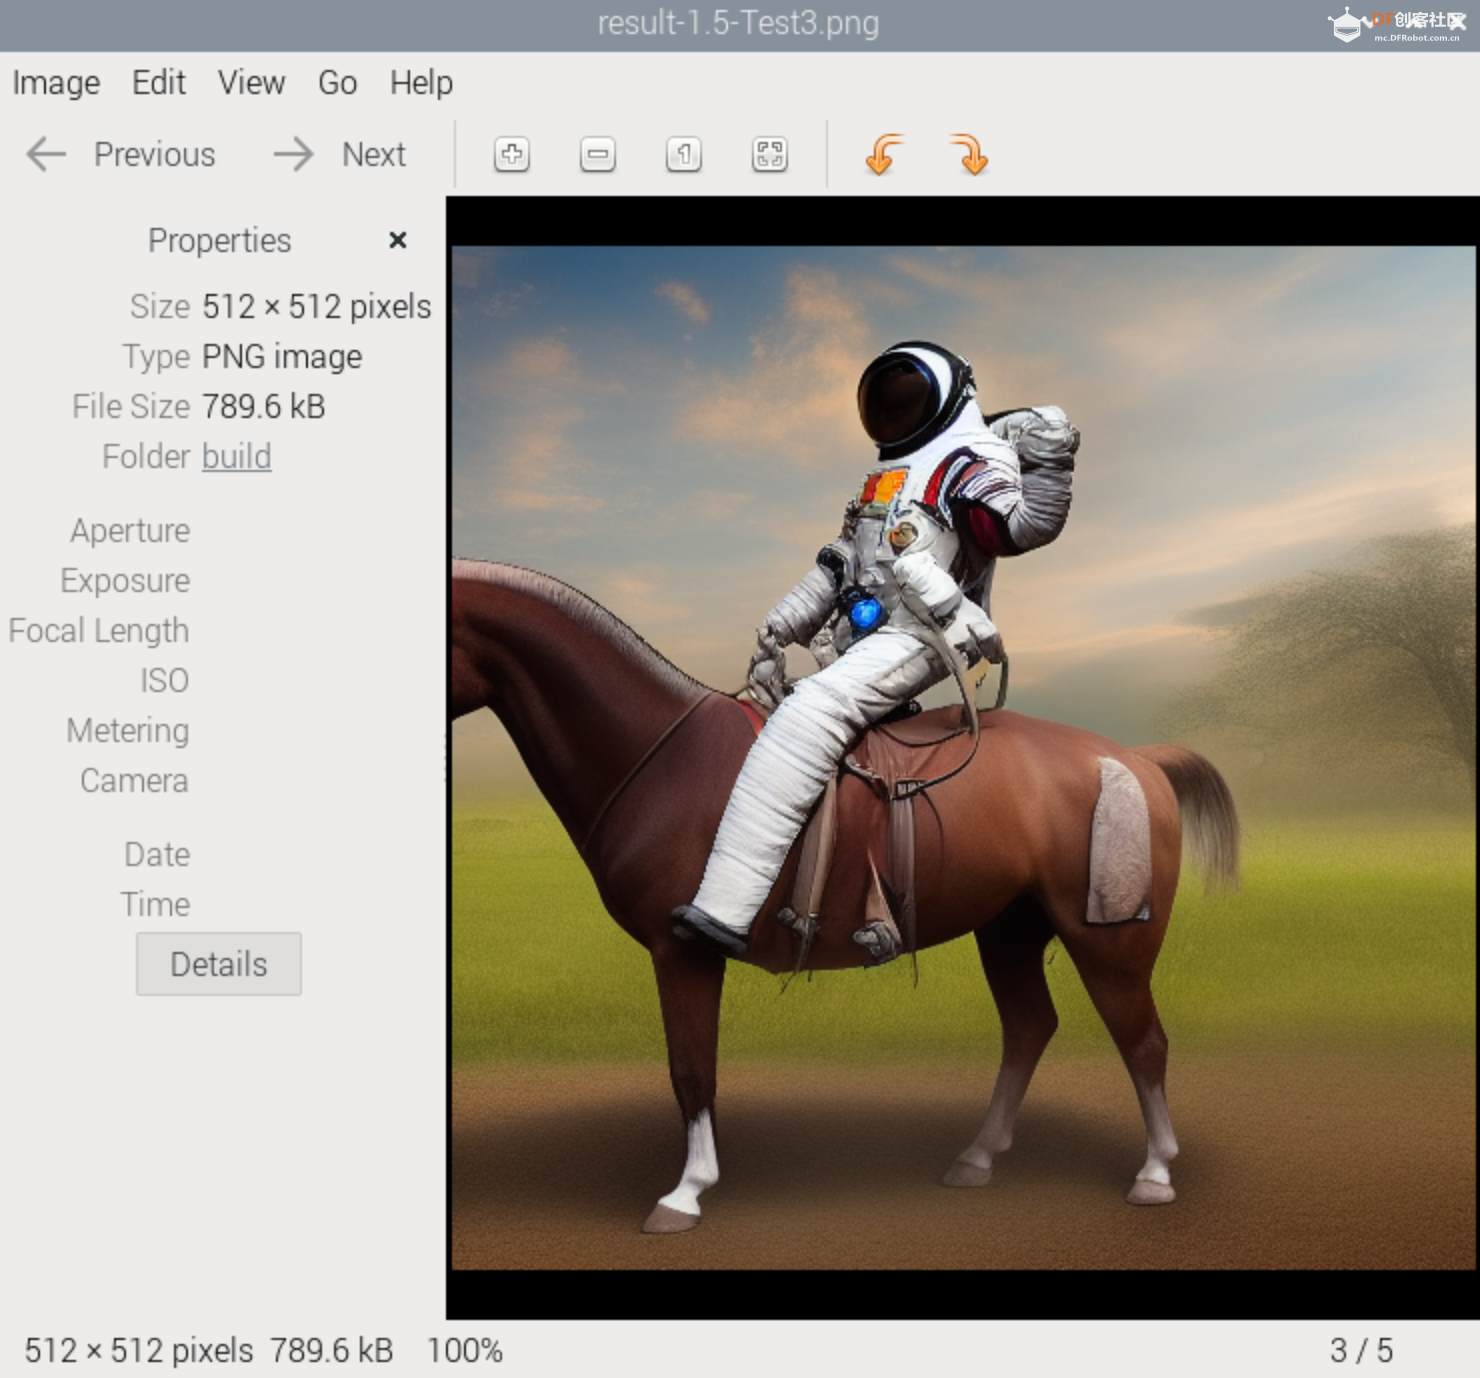
Keep trying, TBD.
3. Supplementary
It runs fine under Raspberry Pi 4, but it's not as fast as Raspberry Pi 5, and takes 3 times as long in a rough test!
The article was first published on https://mc.dfrobot.com.cn/, December 30, 2023
Cr: https://mc.dfrobot.com.cn/thread-317627-1-1.html
Author: nicho


