

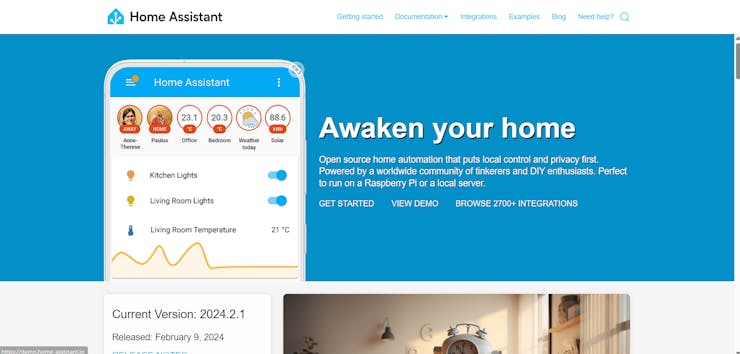
Home Assistant is an impressive platform that empowers you to control your home devices and services seamlessly. Whether you’re a tech enthusiast or simply want to enhance your living space, Home Assistant has got you covered.
Get PCBs for Your Projects Manufactured:
You must check out PCBWAY for ordering PCBs online for cheap!
You get 10 good-quality PCBs manufactured and shipped to your doorstep for cheap. You will also get a discount on shipping on your first order. Upload your Gerber files onto PCBWAY to get them manufactured with good quality and quick turnaround time. PCBWay now could provide a complete product solution, from design to enclosure production. Check out their online Gerber viewer function. With reward points, you can get free stuff from their gift shop. Also, check out this useful blog on PCBWay Plugin for KiCad from here. Using this plugin, you can directly order PCBs in just one click after completing your design in KiCad.
Prerequisites:
1. Windows 11: Ensure you’re running Windows 11 on your host machine.2. VirtualBox: Download and install VirtualBox if you haven’t already.
Installation Steps:
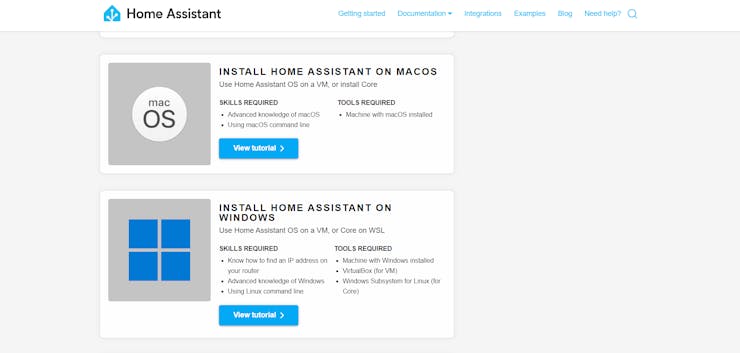
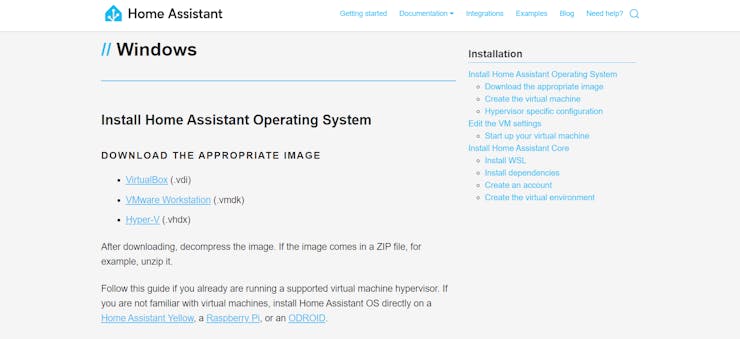
1. Download the Home Assistant Image:
Visit the Home Assistant installation page.
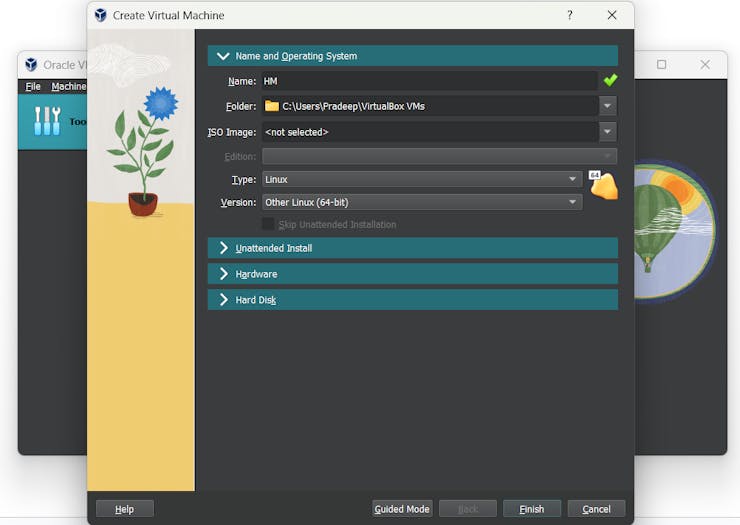
2. Create a Virtual Machine in VirtualBox:
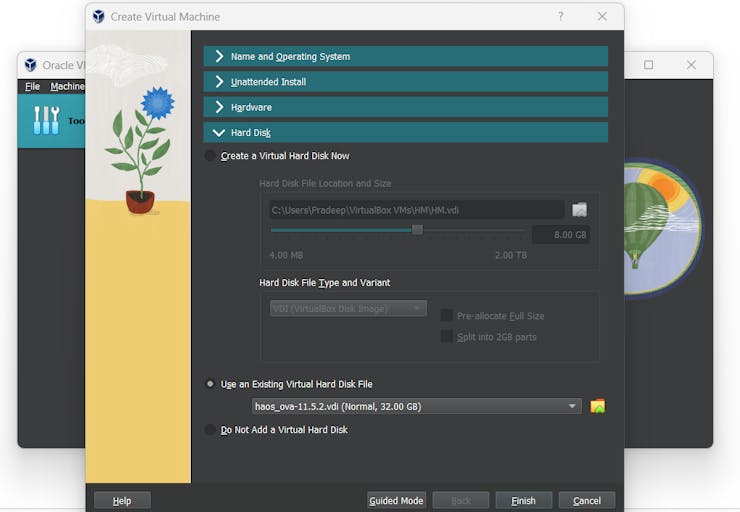
3. Load the Home Assistant Image:
In the VM settings, go to the “Harddisk” tab. Add a new optical drive and select the Home Assistant VDI file you downloaded. Make sure the optical drive is set as the first boot device.
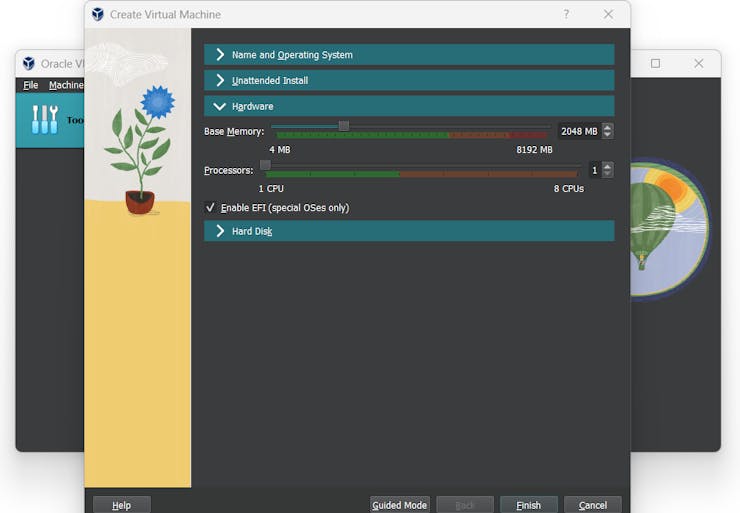
4. Configure the VM:
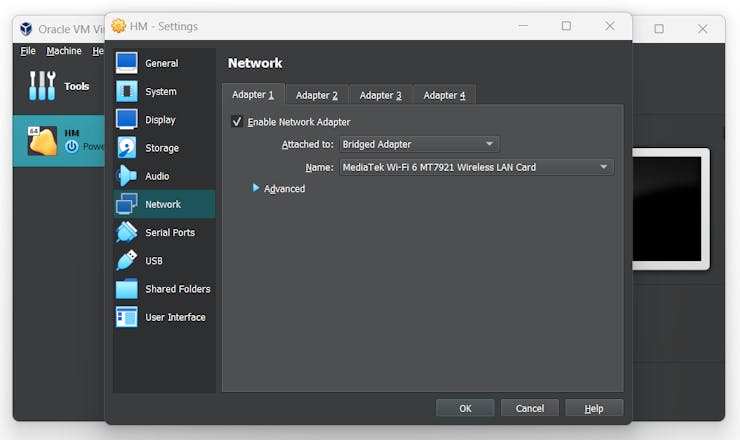
Go to the “Network” tab and ensure that the network adapter is set to “Attached to Bridged Adapter.” This allows Home Assistant to communicate with other devices on your network.
5. Install Home Assistant:
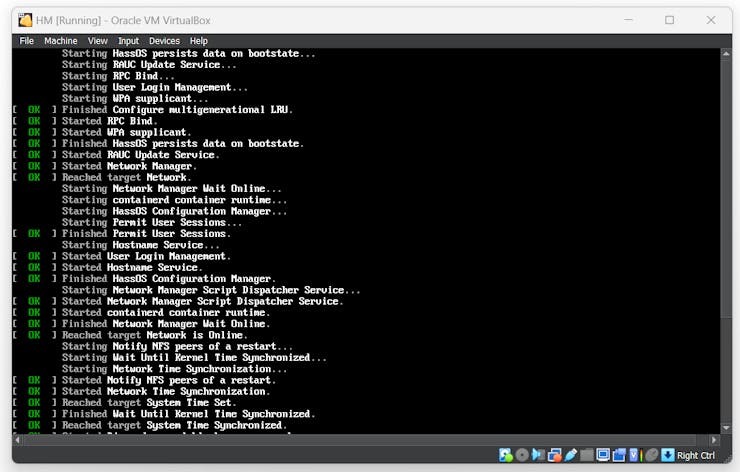
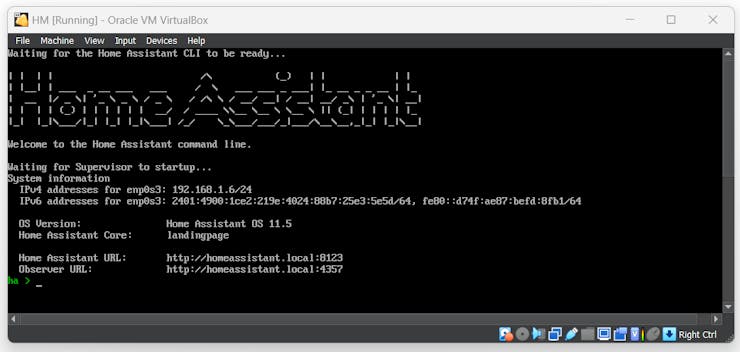
Observe the boot process of the Home Assistant Operating System.
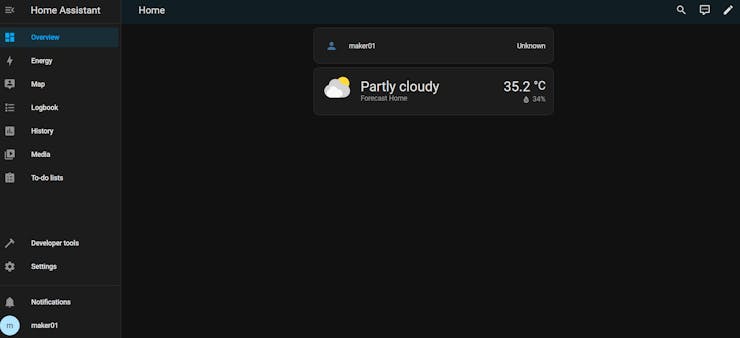
6. Onboarding:

Important Notes:
Running Home Assistant Core directly on Windows is not supported. Use the Windows Subsystem for Linux (WSL) to install Home Assistant Core. The provided VDI image contains the Home Assistant Operating System, which is a lightweight and optimized environment for running Home Assistant.
Remember to explore Home Assistant’s extensive documentation and community forums for further guidance and customization options. Enjoy building your smart home!


