
Learn how easy it is to make a simple scope using Nextion display with Arduino and Visuino.
Watch the Video!


In the Toolbar click on the "Compile" buttonIn the Menu Select "File" > "TFT File Output"Set the Output folder & click on the "Output" buttonSave the File to the SD cardInsert the SD card to your Nextion DisplayPower the Arduino and you will notice that the Nextion Display will start to Update it selfOn the Finish disconnect the power and remove the SD card from the Nextion display

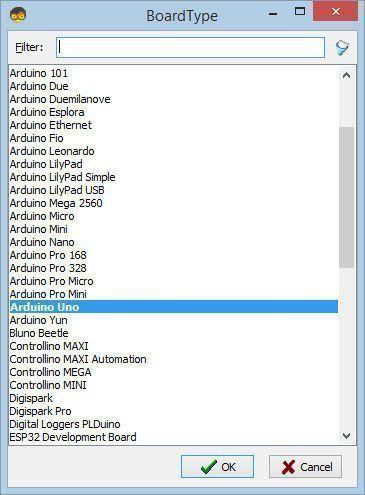
Start Visuino as shown in the first picture Click on the "Tools" button on the Arduino component (Picture 1) in Visuino When the dialog appears, select "Arduino UNO" as shown on Picture 2
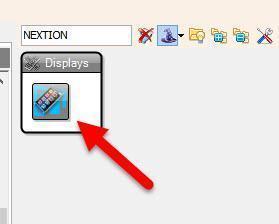


Add "Nextion Display" componentDouble click on the "DisplayNextion1" And in the Elements window drag "Scope" to the left sideClose the Elements window
Using Signal generator:
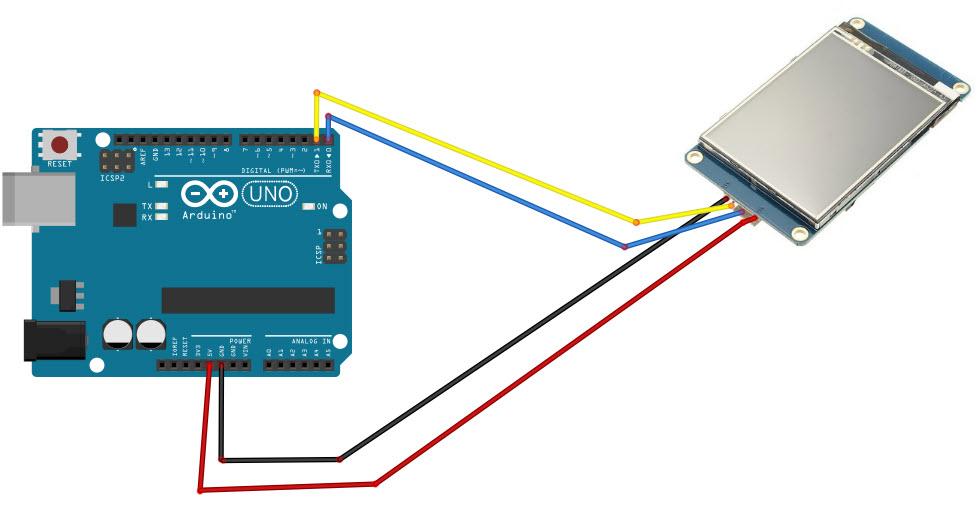
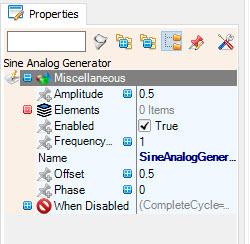
Add "Sine Analog Generator" componentOptional Set "Frequency" or other properties in the Inspector windowConnect "SineAnalogGenerator1" pin [Out] to "DisplayNextion1" > "Scope1" > "Channel1" pin [In]
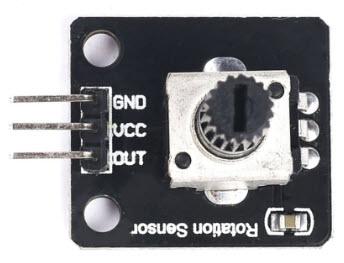
Using Potentiometer:
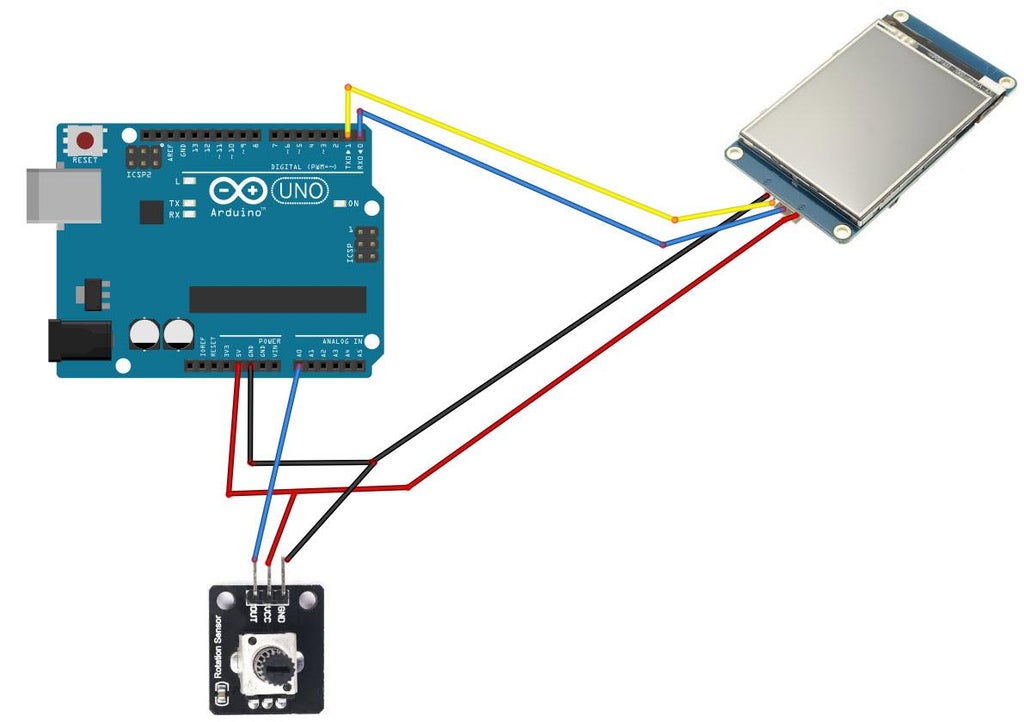
Connect Arduino Analog pin 0 [Out] to "DisplayNextion1" > "Scope1" > "Channel1" pin [In]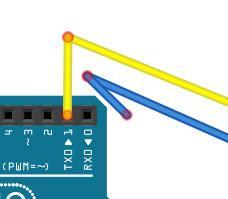

Before Uploading Disconnect RX pin on Arduino and connect it back after the Upload.
In Visuino, at the bottom click on the "Build" Tab, make sure the correct port is selected, then click on the "Compile/Build and Upload" button.
If you power the Arduino module the Nextion display will show the Sine wave, and if you connect the potentiometer you will be able to change the wave on the Nextion Display.
This approach is very handy to display different data on the scope such as Temperature or humidity.
Congratulations! You have completed your project with Visuino. Also attached is the Visuino project, that I created for this Instructable, you can download it here and open it in Visuino: https://www.visuino.eu


