In this Simple tutorial, you will learn how to control the linear actuator using the Light sensor module, Arduino and L298N DC motor driver.
Watch the video!
STEP 1
What You Will Need
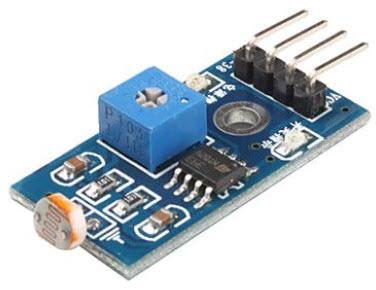
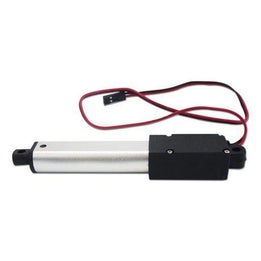
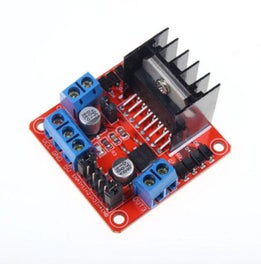
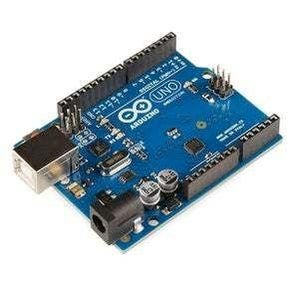
Arduino UNO (Or any other Arduino)Linear ActuatorLN298N DC Motor DriverLight sensor moduleJumper wiresPower SupplyVisuino program: Download Visuino
STEP 2
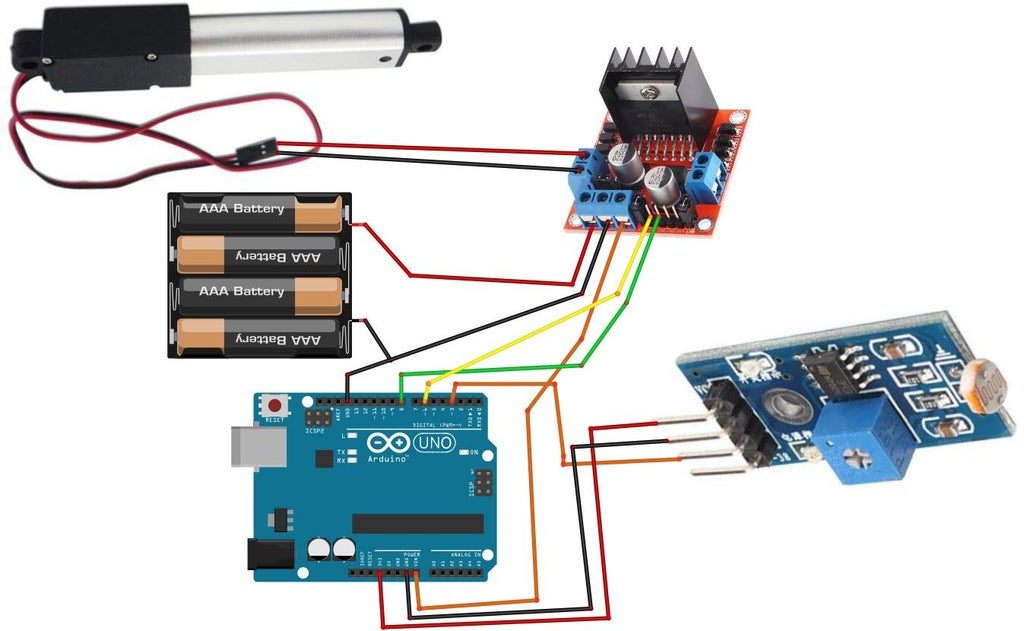
The Circuit
Connect Power supply (batteries) pin (gnd) to motor driver controler pin (gnd)Connect Power supply (batteries) pin (+) to motor driver controler pin (+)Connect Power supply (batteries) pin (+) to Arduino pin (VIN)Connect GND from Arduino to motor driver controler pin (gnd)Connect digital pin(6) from Arduino to motor driver pin (IN1)Connect digital pin(8) from Arduino to motor driver pin (IN2)Connect Linear Actuator to the motor driver as you can see on the schematicConnect Light Sensor module pin [DO] to arduino digital pin [3]Connect Light Sensor module pin [VCC] to the Arduino pin [5V]Connect Light Sensor module pin [GND] to the Arduino pin [GND]
STEP 3
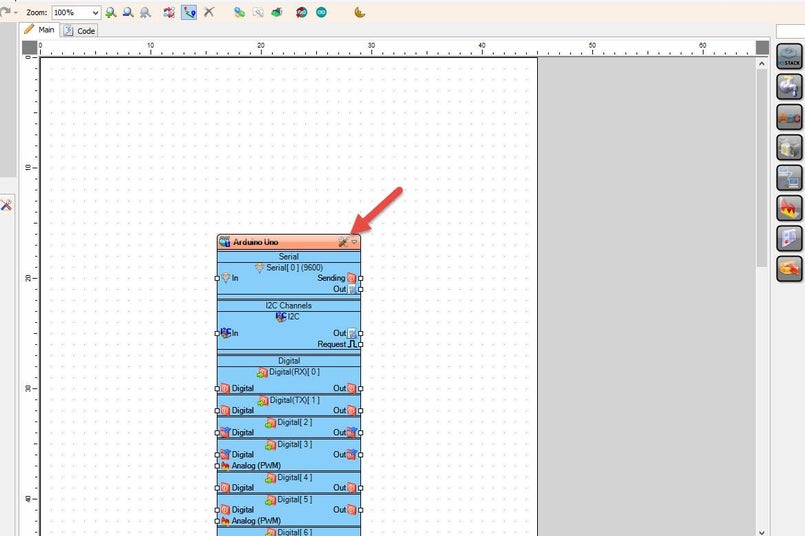
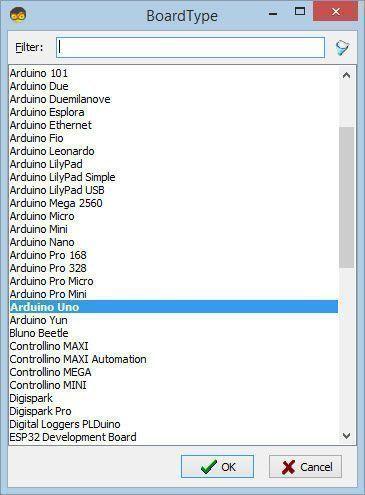
Start Visuino, and Select the Arduino UNO Board Type
STEP 4
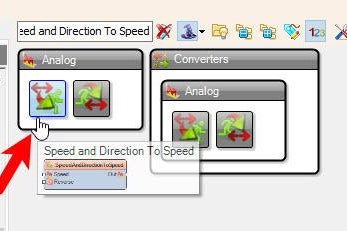
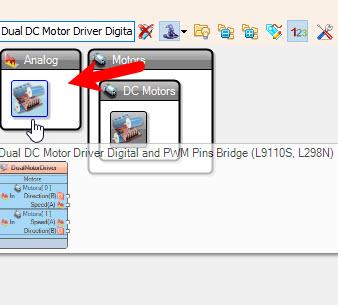
In Visuino Add & Connect Components
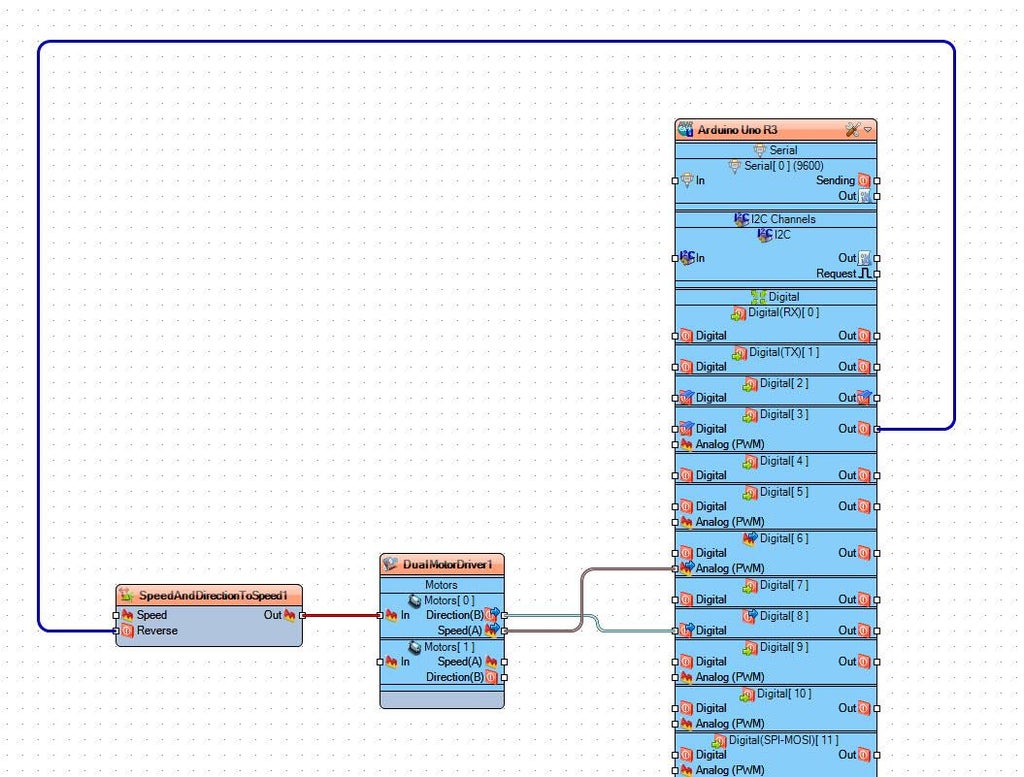
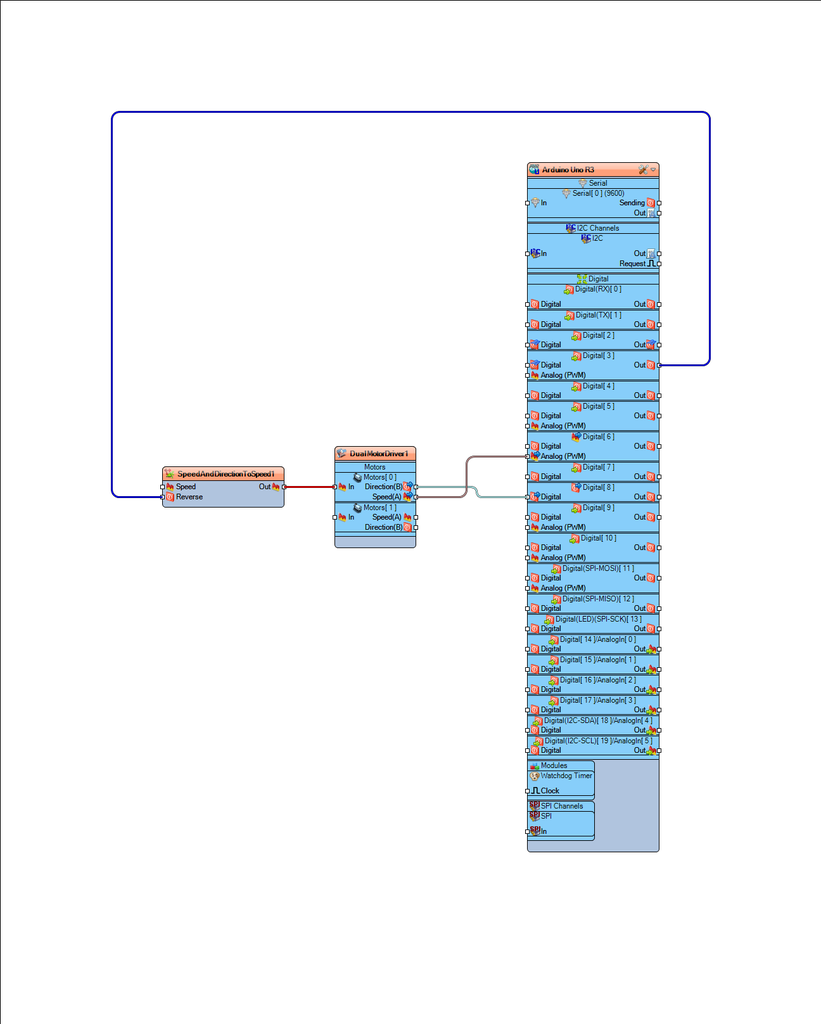
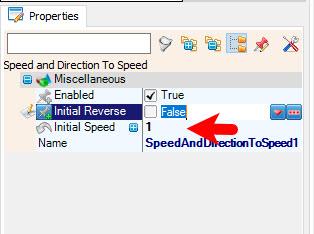
Connect Arduino digital pin [3] to "SpeedAndDirectionToSpeed1" pin [Reverse]Connect "SpeedAndDirectionToSpeed1" pin [Out] to "DualMotorDriver1" > "Motors [0]" > pin [In]Connect "DualMotorDriver1" > Motors [0] Pin [Direction]" to Arduino digital pin[8]Connect "DualMotorDriver1" > Motors [0] Pin [Speed]" to Arduino digital pin Analog PWM[6]
STEP 5
Generate, Compile, and Upload the Arduino Code
STEP 6
Play
If you power the Arduino module the Linear Actuator will start to move in one direction and if you cover the light sensor module it will reverse.
Congratulations! You have completed your project with Visuino. Also attached is the Visuino project, that I created for this Instructable, you can download it here and open it in Visuino: https://www.visuino.eu
License 
All Rights
Reserved

0


