
The smart planter that turns your plant into pet.
Things used in this project
Hardware components
Hand tools and fabrication machines
Soldering iron (generic)
Solder Wire, Lead Free
Story
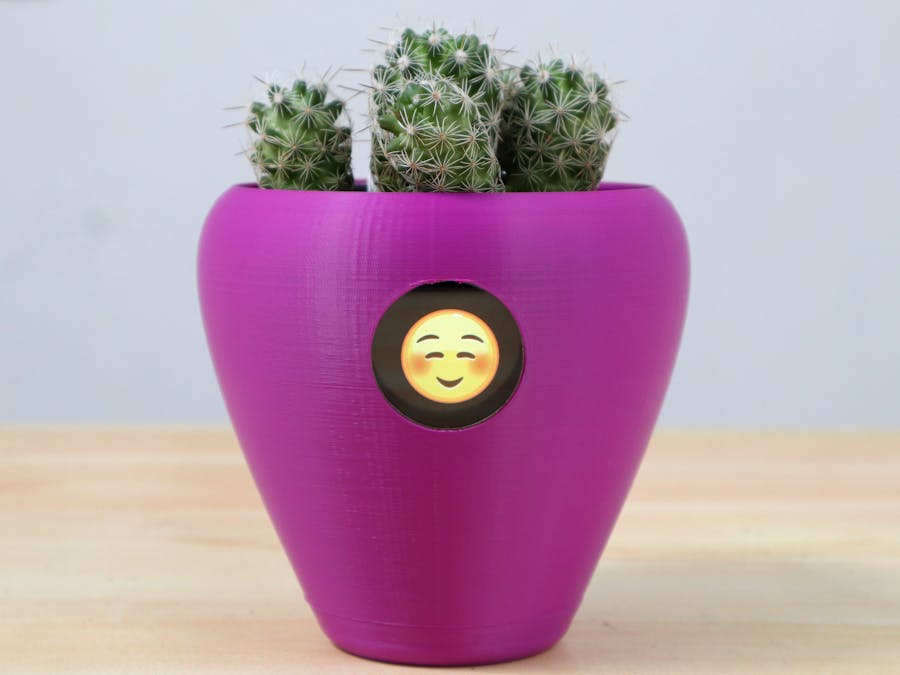
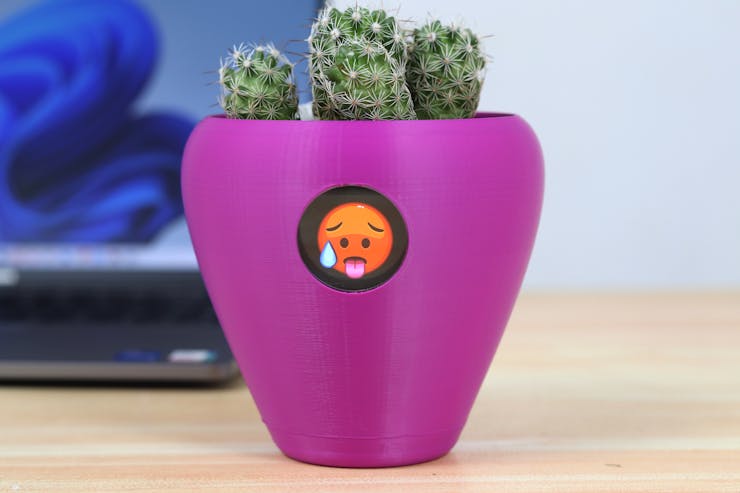
Fytó is a smart planter that can easily turn your plant into a pet. It comes with built-in sensors that measure everything from light exposure to soil moisture which can trigger six different emotions that will communicate how your plant is doing. The emotions are displayed on the front screen.
Are you a phytophile? Just add your plant to Fytó, it will start communicating with you.
Our Pet and It's Emotions
Our pet comes with 3 basic senses.
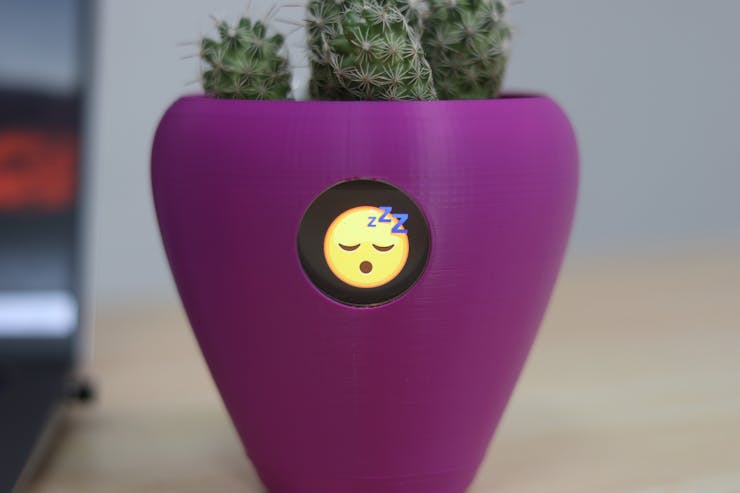
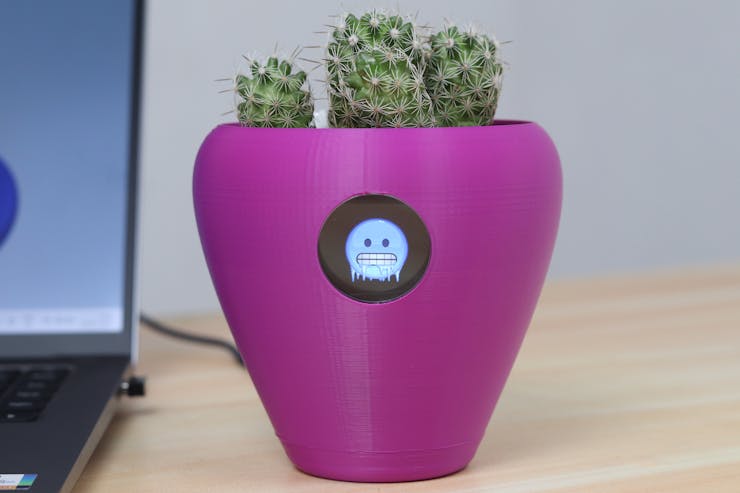
Soil MoistureTemperatureLight ExposureFytó displays 6 expressions which are directly related to our plant's health.
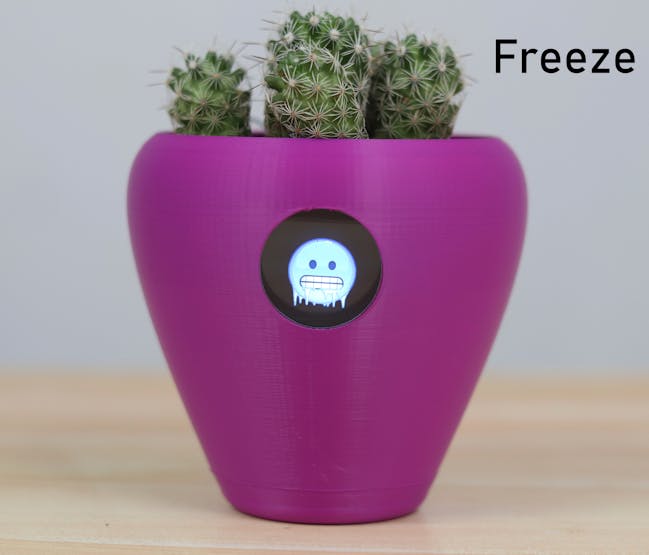
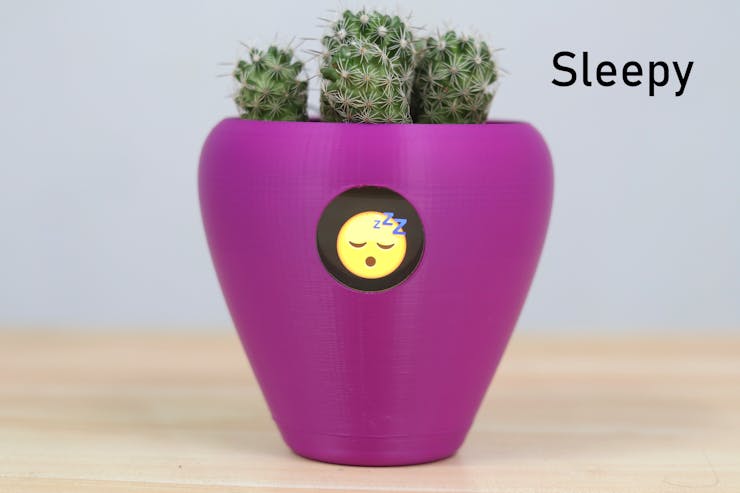
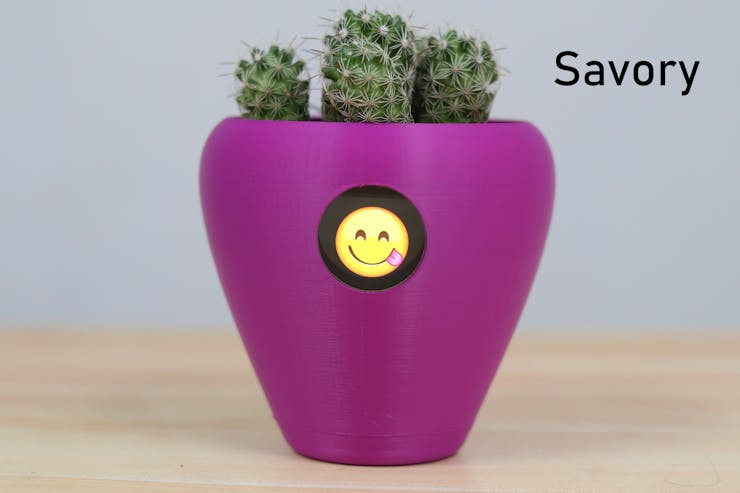
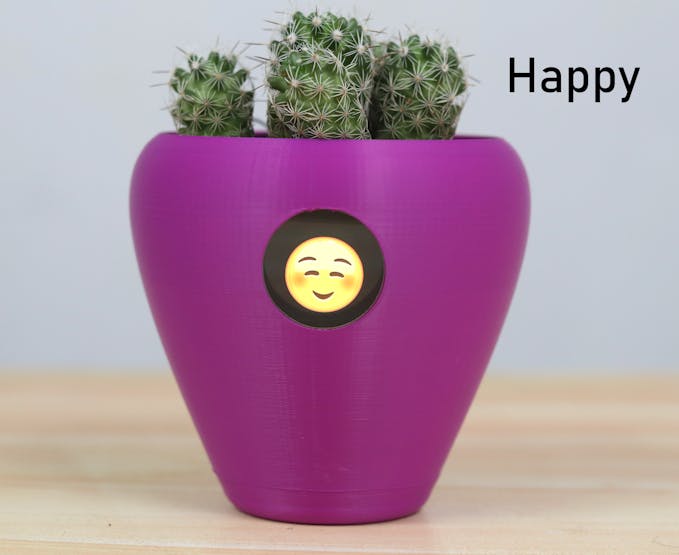
Thirsty : Fytó displays thirsty whenever the soil moisture is too for the plant and is looking for some waterHot : Displayed whenever Fytó is too hotFreeze : When the temperature drops too low, Fytó needs some warmthSleepy : When the light exposure is too low, Fytó is too sleepySavory : When the plant gets some water, it's too delicious na?Happy : When everything is perfect, Fytó is too happy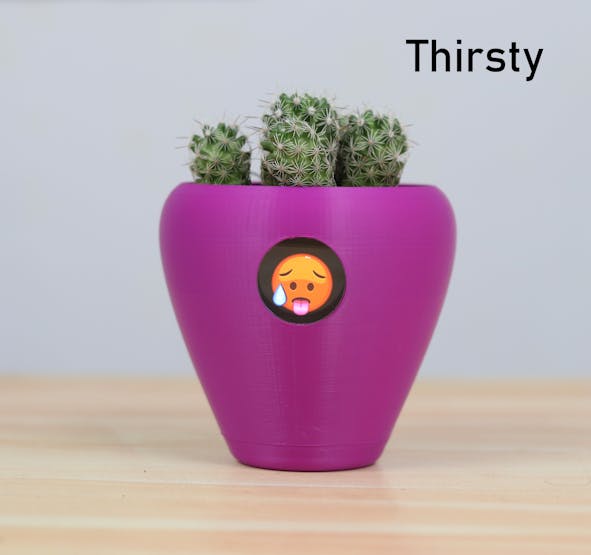

PI ZERO 2W(BRAIN)
We will use Raspberry Pi Zero 2W, as the controller for this flower pot. We have different generations of Raspberry pi includes PI3, 4 and zero and zero2w. The reason why we used is due to its smaller size and higher perfomance.
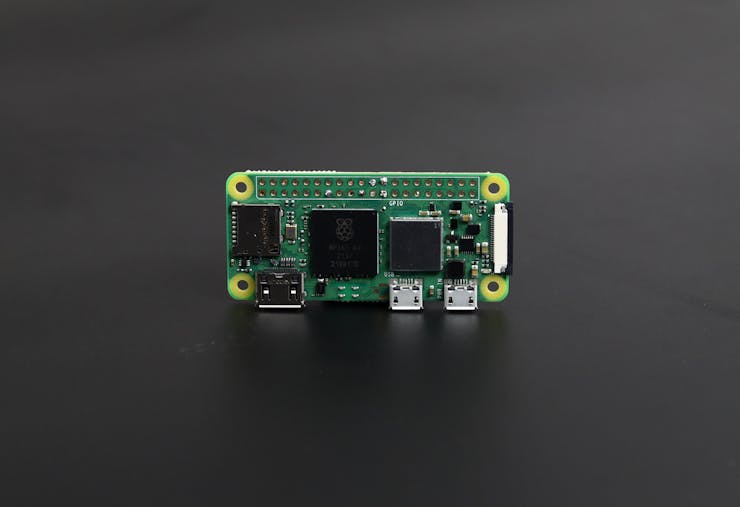
At the heart of the Raspberry Pi Zero 2W is a 1GHz BCM2710A1 with 64-bit ARM Cortex-A53 CPU with 512MB RAM. Quite frankly, this Pi is about four times faster than the original Raspberry Pi and is only a fraction of the cost of the current RPi3. So they can easily handle the GIF playing on the screen.
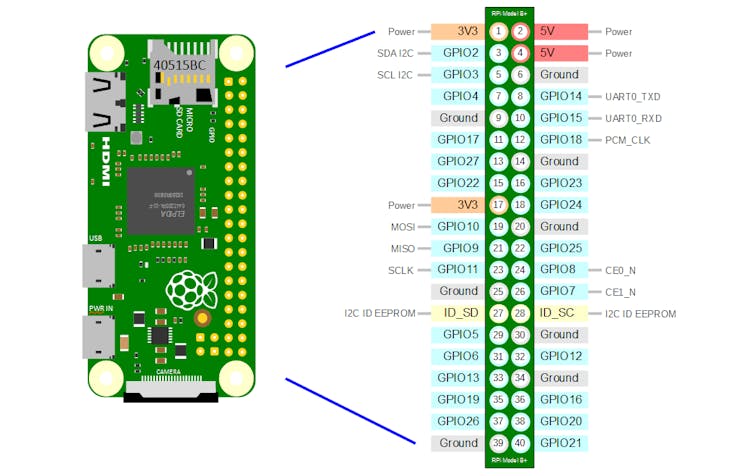
For setting up the Raspberry pi, please refer this documentation.
SENSORS WITH ADC
The sensors used in this projects are
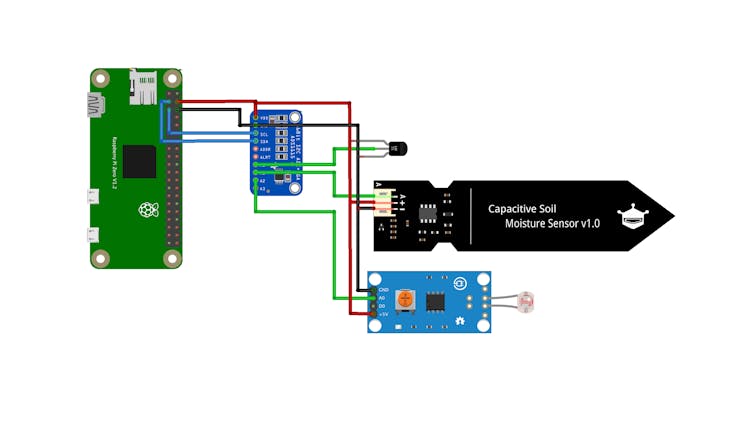
Capacitive Soil moisture sensor - which is used to sense the soil moisture levels.They measures the soil moisture levels by capacitive sensing, rather than resistive sensing like other types of moisture sensor. The ability to prevent corrosion is because it is made of a corrosion resistant material giving it a long service life.LM35 temperature sensor - which is used to sense the temperature, you can use any temperatures sensor you want.LDR module - is used to detect the intensity of light, here we actually used ldr module which contains built in smd resistor. If you are using a bare LDR use a resistor for Pull down/ Pull up.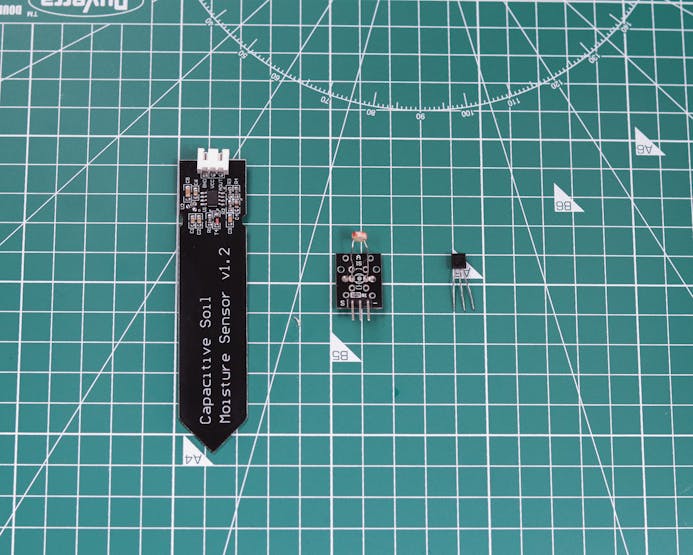
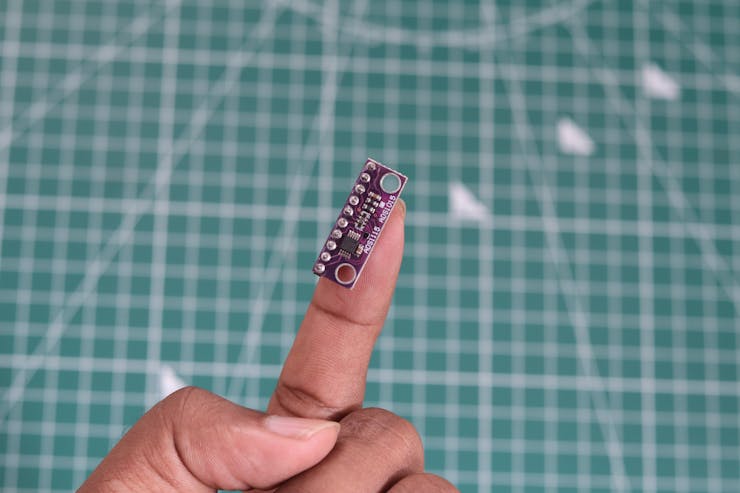
The main problem is that the Raspberry Pi cannot sample data from these analog sensors. In this case, analog sensors can be interfaced with Raspberry Pi using two ways. One is to use an external analog-to-digital converter; the second is to sample data from analog sensors using a microcontroller and transfer all captured data to Raspberry Pi via a serial interface.
Here we are going with the first case, to use an analog-to-digital converter named ADS115 ADC. It's a 16 bit ADC with high accuracy.
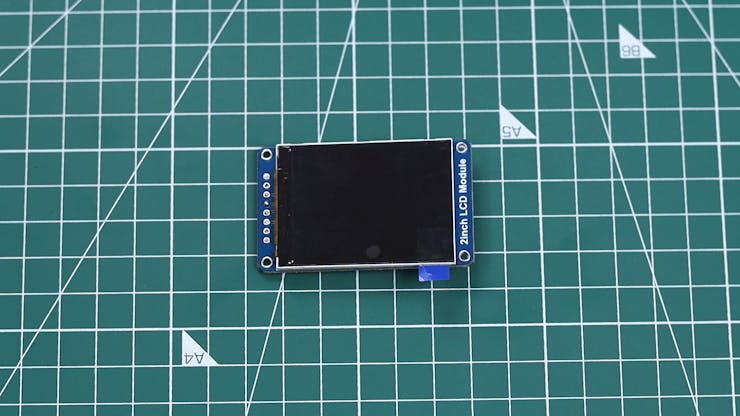
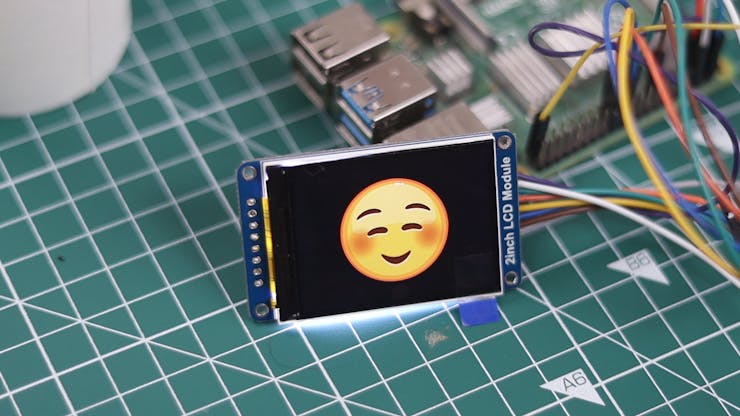
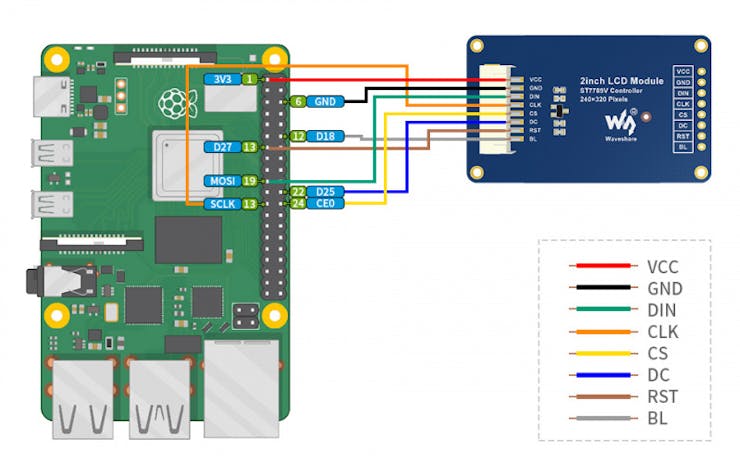
240×320, General 2inch IPS LCD Display Module
In our plan, first we proceeded with playing normal black and white emojis. So for that purpose the normal OLED display would be enough. This display with this particular emojis failed to accentuates the whole project. Then we changed to the coloured emojis, to display that we used this 2inch IPS LCD display module. IPS displays have superior high contrast, wide viewing angle, color reproduction, image quality etc. It only costs 13$, super cheap.
In the next setup, we will calibrate the sensors.
Calibration
Calibration is important because it helps ensure accurate measurements, So we hooked up all sensors and the LCD module by means of jumpers and breadboard to the raspberry pi 4 to make testing and calibration much easier because Pi zero 2w has no headers.
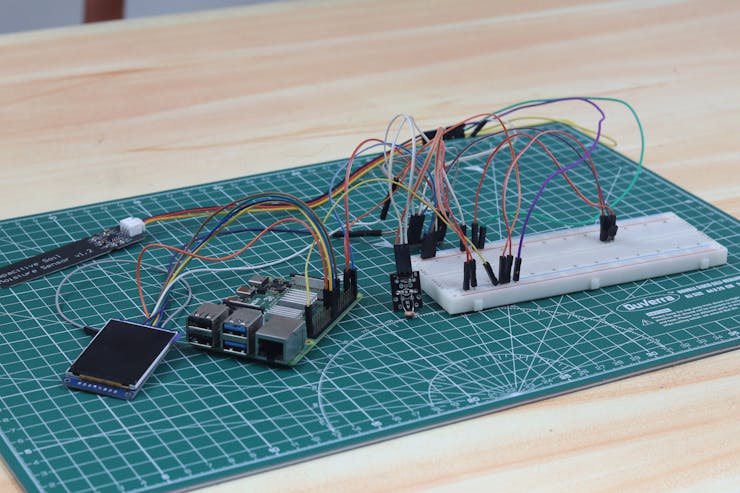
We wrote down a piece of python code in raspberry pi and figured out the max and minimum analog values of moisture and LDR modules (Please ensure the connected channel is correct in the code).

The code is updated and can play emojis on display according to the sensor values. Here we used 6 emojis.
3D PRINT
It's the time to design the flower pot, we used the Auto desk fusion 360 to get the job done.
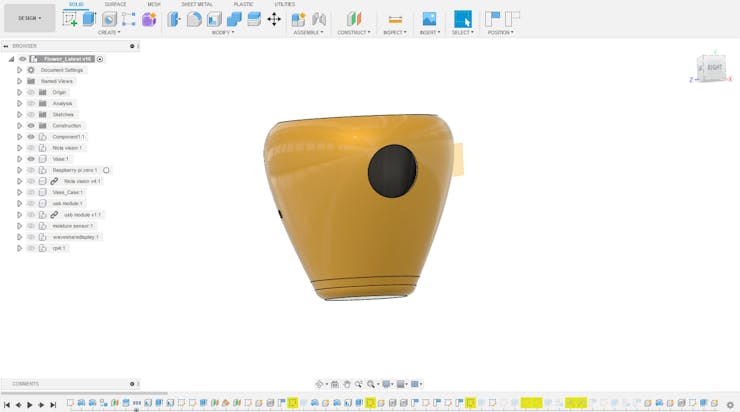
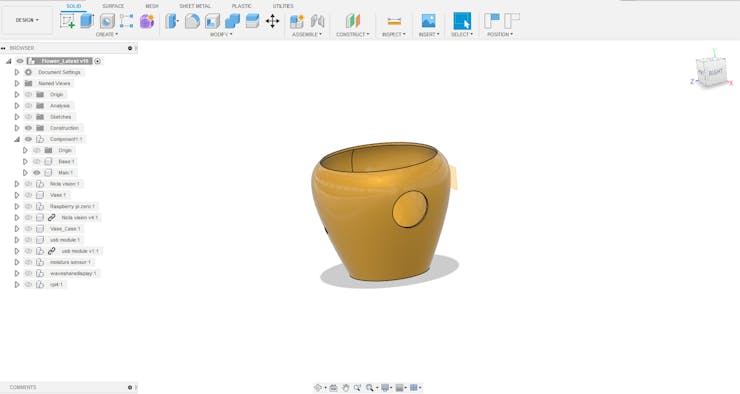
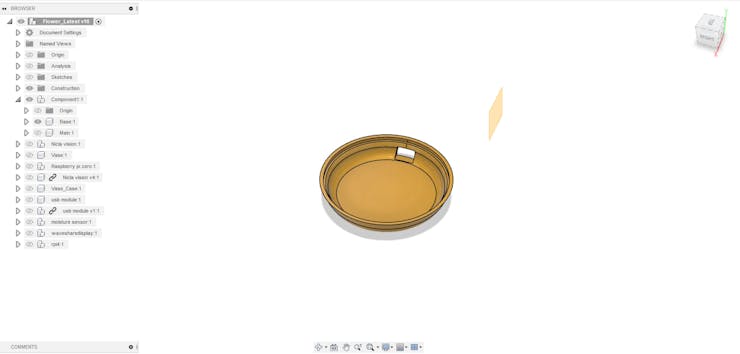
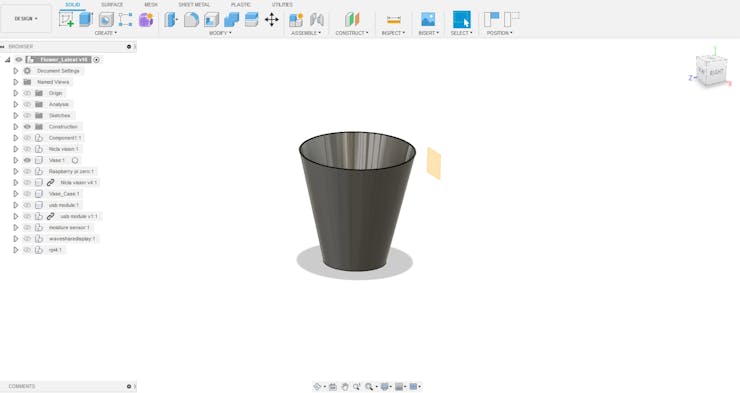
The Pot consists of mainly 3 parts, the Outer cover, base and a container, the container is the place where the plant is to be set. If your plant needs more space consider increase the size of the container.
One of the interesting facts in the 3d design is that we didn't add up any screws for attaching the components because lower diameters screws are not easily available in the markets. If you have to do so, kindly look over the attached step file. We used PLA material for printing these parts with an infill of 10%.
WIRING
We started soldering the components according to the schematics. The First diagram shows the connections between sensors and Raspberry Pi and the second diagram shows the connection between display and Raspberry pi.
First we soldered the lm35 to a small perf board, so we can easily attach it to the outer cover. Then we shorten the length of the LDR in that module. After that we we took out of wire from every components by using a 30 AWG silicone wire.
For powering up the module we used a tiny usb module and a power supply of 5V 2A adapter. If you have mobile charger with the same specs, you can use it also, not necessary to buy a new one.
Tip : For soldering the components use a temperature between 300-350 degree celsius
Assembly
Then we started assembling the components one by one. First we attached the LCD module to the front end. Then we laser cut a 2mm transparent acrylic sheet to place in front of the display, its intention is to hide the depth between the LCD module and he outer cover.
_Wtws5InfRE.jpg?auto=compress%2Cformat&w=740&h=555&fit=max)
Then we secured the LDR module and the tempertaure sensor at the opposite sides. The both sensors are visible to the outside. Finally we attached the ADC and Pi zero 2W by means of the strong double sided tape.
_b4dxHLGT1B.jpg?auto=compress%2Cformat&w=740&h=555&fit=max)
_4eChlHhNM8.jpg?auto=compress%2Cformat&w=740&h=555&fit=max)
_wKwIQ38tbw.jpg?auto=compress%2Cformat&w=740&h=555&fit=max)
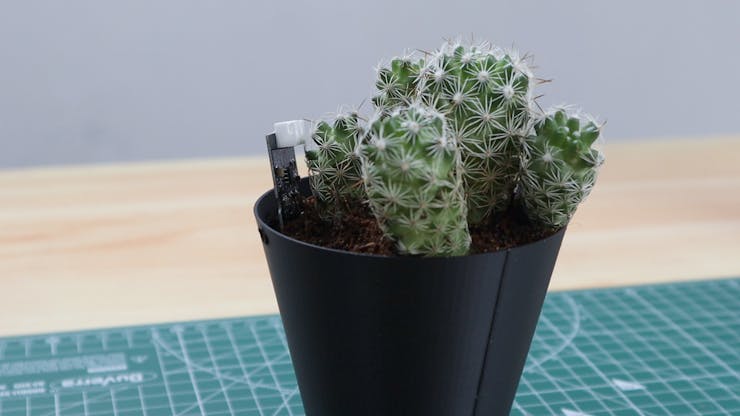
After we connected the USB module with the raspberry pi and glued the base and the outer cover. Then we inserted the moisture sensor into the container where the plant is already set and made remaining connections. Finally we placed the container inside the outer cover.
FINAL RESULTS
Just power up the Fytó, it will start communicating with you.
It's the perfect addition to your inner garden houseplants, it's lively personality makes it the ideal plant companion.
Custom parts and enclosures
Fytó

Base

Container

Outer Cover

Schematics

The article was first published in hackster, July 25, 2022
cr: https://www.hackster.io/coderscafe/fyto-turn-your-plant-into-pet-1373d5
author: Team CodersCafe: Shebin Jose Jacob, Nekhil


