In this Tutorial we will learn how to use an LCD I2C to make a blinking Text project using Arduino. Watch the video!

Things used in this project
Hardware components
Story
Step 1: What You Will Need
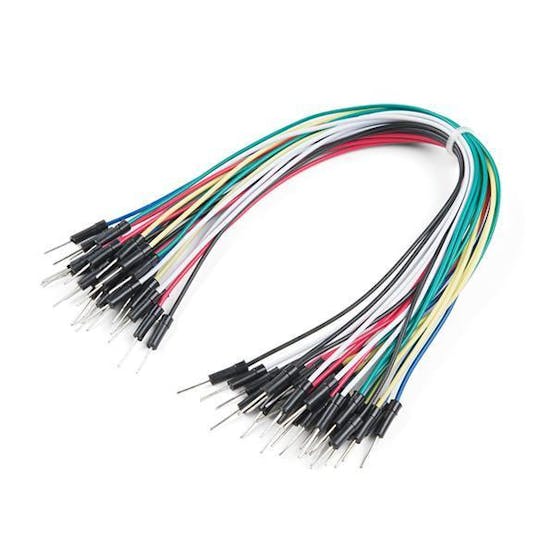
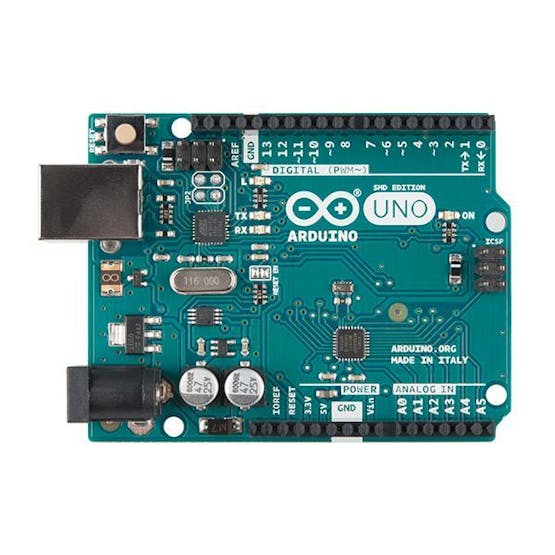
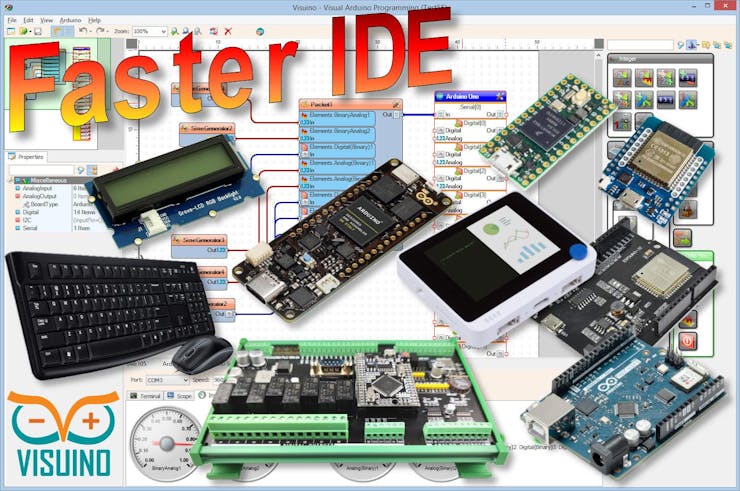
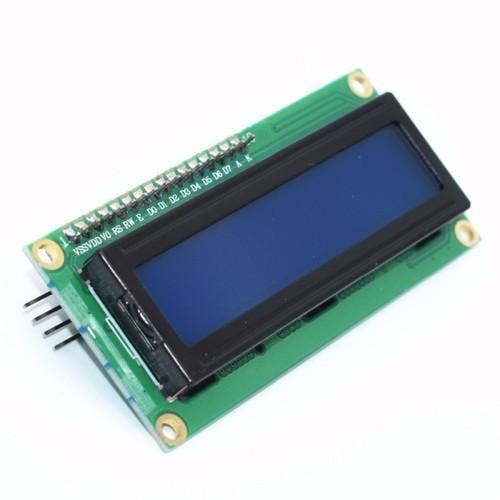
-LCD Display I2C 20X4 (if you use diferent LCD then make sure that you specify the right Columns and Rows in the Visuino component) -Jumper wires -Arduino UNO or any other board -Visuino software: Download here
Step 2: The Circuit
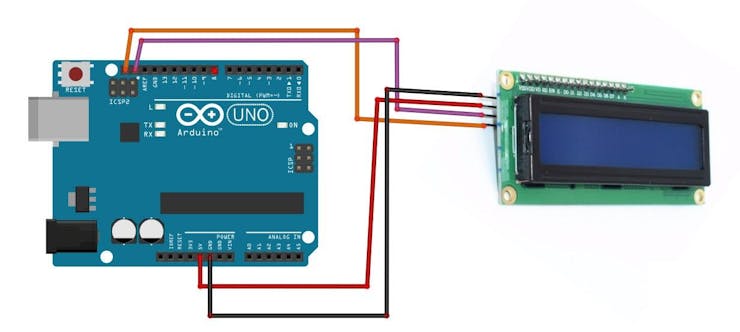
-Connect LCD Display pin VCC to Arduino pin 5V -Connect LCD Display Module pin GND to Arduino pin GND -Connect LCD Display pin SCL to Arduino pin SCL -Connect LCD Display pin SDA to Arduino pin SDA
Step 3: Start Visuino, and Select the Arduino UNO Board Type
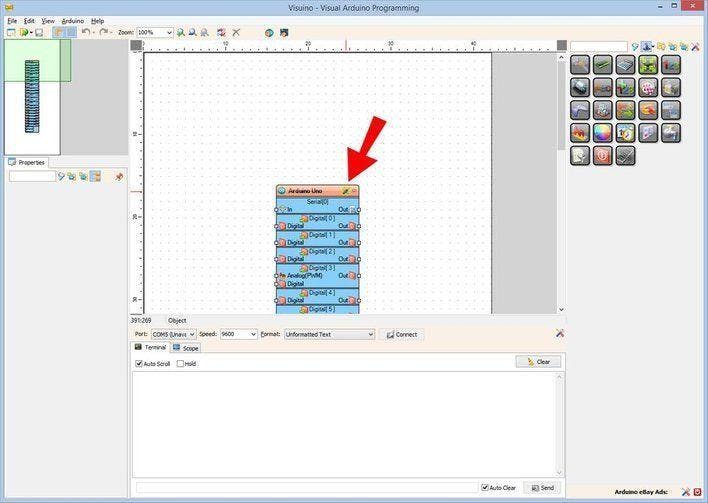
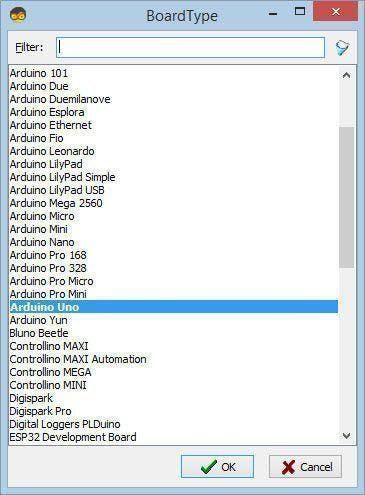
The Visuino: https://www.visuino.eu also needs to be installed. Download Free version or register for a Free Trial.
Start Visuino as shown in the first picture Click on the "Tools" button on the Arduino component (Picture 1) in Visuino When the dialog appears, select "Arduino UNO" as shown on Picture 2
Step 4: In Visuino Add Components
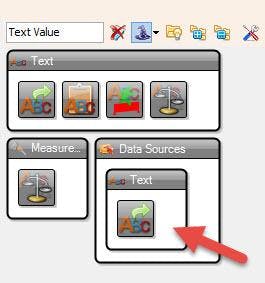
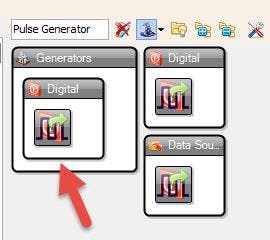
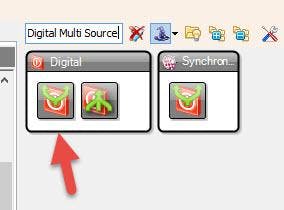
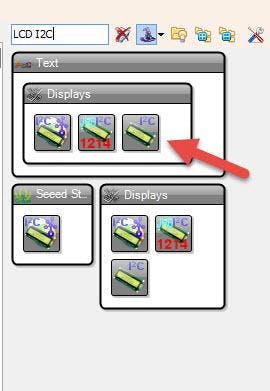
-Add "Pulse Generator' component -Add "Digital Multi Source" component -Add "Text Value" component -Add "Detect Edge" component -Add "Liquid Crystal Display (LCD) - I2C" component
Step 5: In Visuino Set Components
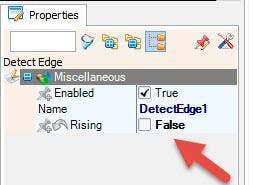
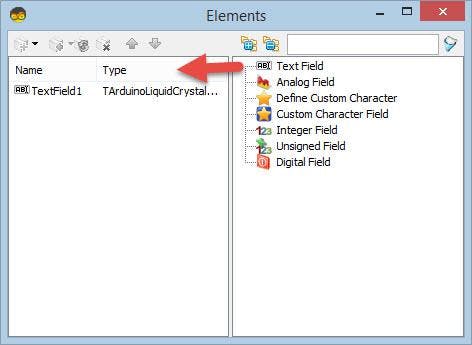
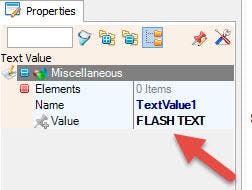
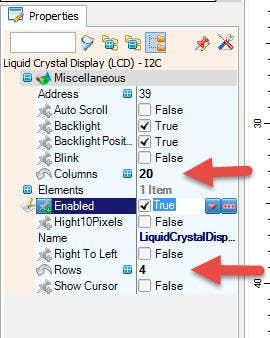

-Select "TextValue1" and in the properties window set "Value" to FLASH TEXT < -Select "DetectEdge1" and in the properties window set "Rising" to False -Select "LiquidCrystalDisplay1" and in the properties window depending on the type of your display set the number of Columns and Rows in this case "Columns" 20 and "Rows" 4 -Double click on the "LiquidCrystalDisplay1" and in the elements window Drag "Text Field" to the left side and in the properties window Optionally set "Width" to 20, different Row if you want or Colums, Experiment to see what fits you.
Note: If you want to increase the blinking speed increase the "PulseGenerator1" frequency
Step 6: In Visuino Connect Components
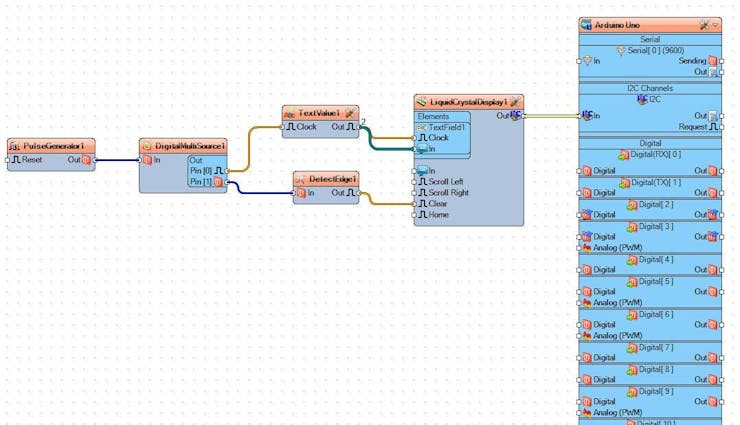
-Connect "PulseGenerator1" pin [Out] to "DigitalMultiSource1" pin [In] -Connect "DigitalMultiSource1" pin [0] to "TextValue1" pin [Clock] -Connect "DigitalMultiSource1" pin [1] to "DetectEdge1" pin [In] -Connect "TextValue1" pin [Out] to "LiquidCrystalDisplay1" > "Text Field" pin [In] -Connect "TextValue1" pin [Out] to "LiquidCrystalDisplay1" > "Text Field" pin [Clock] -Connect "DetectEdge1" pin [Out] to "LiquidCrystalDisplay1" pin [Clear]
Step 7: Generate, Compile, and Upload the Code

In Visuino, at the bottom click on the "Build" Tab, make sure the correct port is selected, then click on the "Compile/Build and Upload" button.
Step 8: Play
If you power the Arduino module the LCD will start to blinking the text.
Congratulations! You have completed your project with Visuino. Also attached is the Visuino project, that I created for this Instructable, you can download it and open it in Visuino: https://www.visuino.eu
Schematics
Code


