
Smart Backpack helps you to avoid injuries caused by backpacks by alerting you about improper uses.

Things used in this project
Hardware components
Story
Introduction
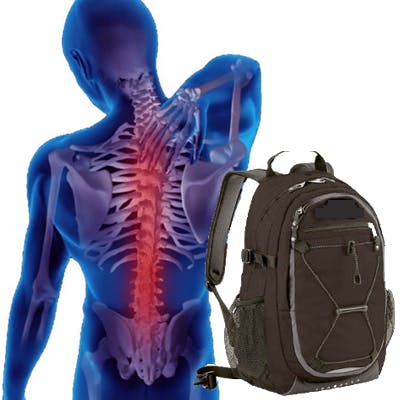
A backpack leaves with people in the morning and stays with them until they get home. It's important for holding laptops, books and any other materials used in the office or school. Not only school children and office people, even travelers and hikers are using backpacks according to its convenience. Therefore, there is no argument to say that a backpack is not an important accessory in one’s life. Though it’s convenient, they can also be the reason for many injuries.

Today, there are many healthy backpacks available in the market which are designed and shaped to minimize injuries and health issues. However, though they are made in a safe manner, still people can use them in improper ways.
Here are some improper ways of using backpacks which can lead to having injuries.
Overloading and improper strap tighteningWearing backpack for a long timeSlinging the backpack over only one shoulder.Incorrect postures while wearing heavy loads.
According to the United States product safety commission, in 2013 nearly 22, 200 students were treated for injuries caused by backpacks. The main reason for this is using backpacks in an improper way. The following can be caused by the improper usage of backpacks:
Back painMuscle spasmsScoliosisSpine damagesShoulder and neck strains
It can be your child or your loved one who becomes the next victim of this.As a solution for this, I started working on a smart device “Smart Carry” which is connected to backpack to avoid above improper uses.
Functionality
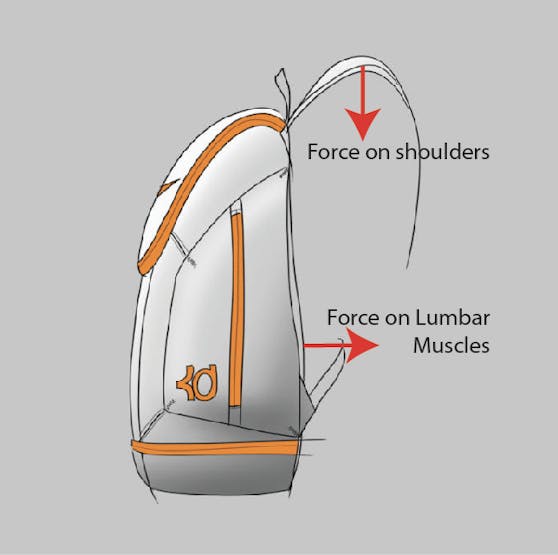
"Smart - carry" is a device which notifies and helps you to use your backpack in a proper manner. To do that, smart carry measures the forces in the places shown in the following image.
Using the measured forces, safe carry helps the user in following ways.
Calculates the safe carrying weight and notifies if the weight is exceededHelps to balance the weight over both shoulders.Alerts about the incorrect postures.Notifies if the backpack is over filled.
The total cost for this device is about 60$. But the results are priceless because we cannot set a price for our life.
Components
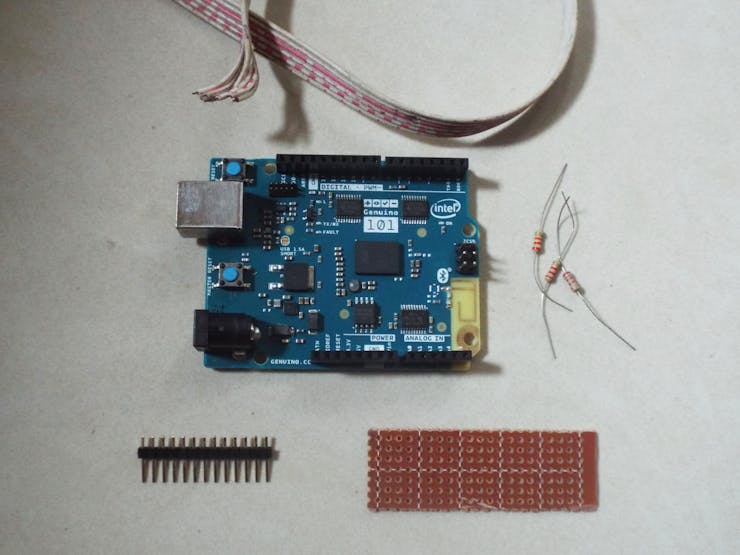
Basically we need a processing board, a Bluetooth module, an accelerometer and force sensitive resistors. To minimize the wire connections and space I have chosen Arduino 101 board for this. Another advantage of using this board is, it contains a BLE module which consumes less power than standard Bluetooth.
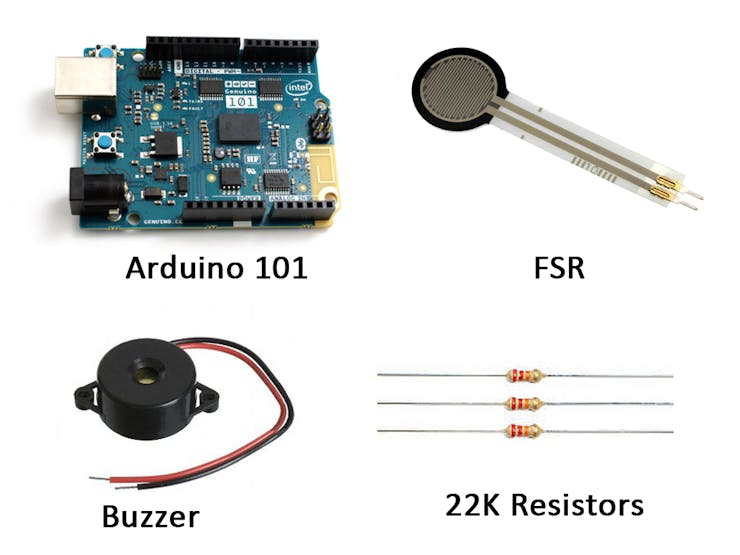
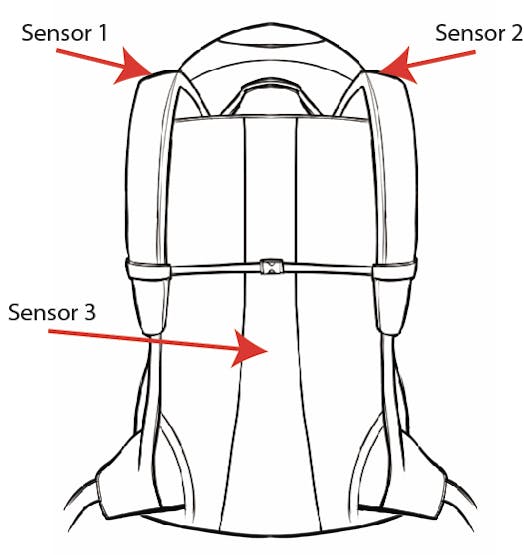
Here we are using 3 force sensitive resistors. Force sensitive resistors(FSR) change their resistance when it is pressed. Therefore 2 FSRs are placed inside the 2 straps. The remaining one is placed at the center of the backside.
Placing Sensors
As the initial step, we need to identify the place on the strap where the maximum force would be when wearing the backpack. No need to find the exact point but a rough point within a radius of 2cm from the exact point would be considerable. Most probably this point is at about 1cm to the front side from the top of the shoulder. Check following images.
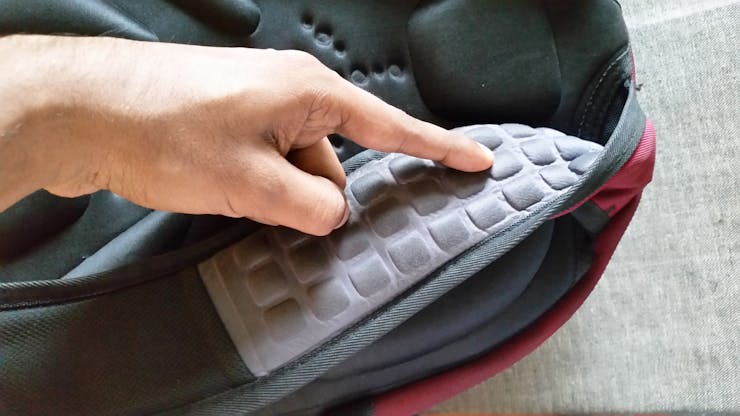
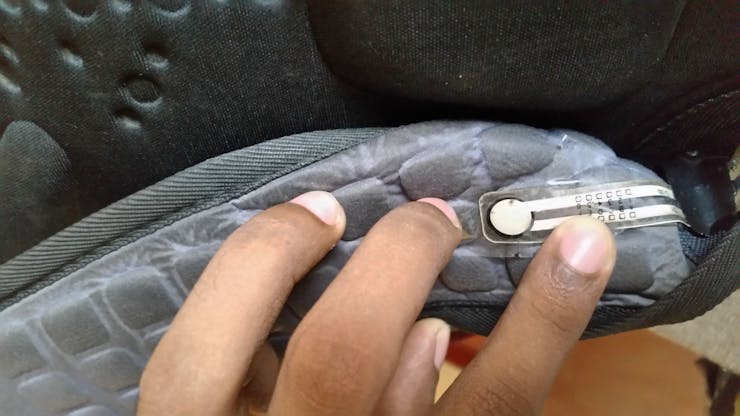
We have to mount the Force Sensitive Resistors (FSR) on these two places. As it’s a thin plastic layer, no discomfort will be added to the strap after placing this.
A common question can be popped up into your minds. Do we need to place both FSR exactly on the same place on both straps? The answer is NO. It will be enough to place it on nearly equal places. That’s why I have included an algorithm for calibration in my code. Leave it to the algorithm.
As I mentioned in the introduction, the force of the backpack also exerted on the center of our backside or center of the spine. Therefore we have to measure that force to make sure that it’s within the safe limit.
Again set the strap to a convenient length and identify the place which exerts the maximum force on your backside. Place the third FSR there.
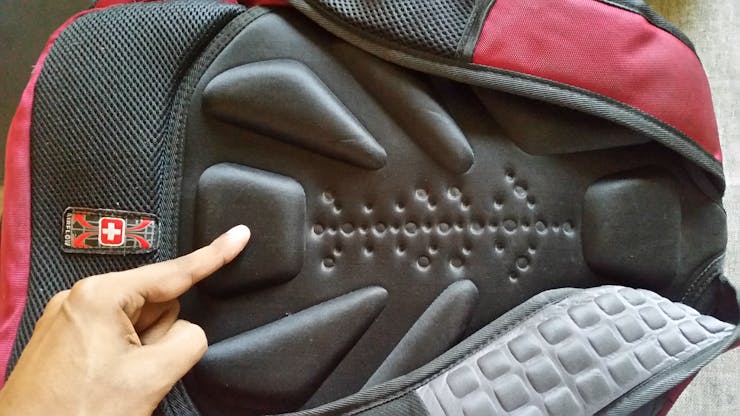
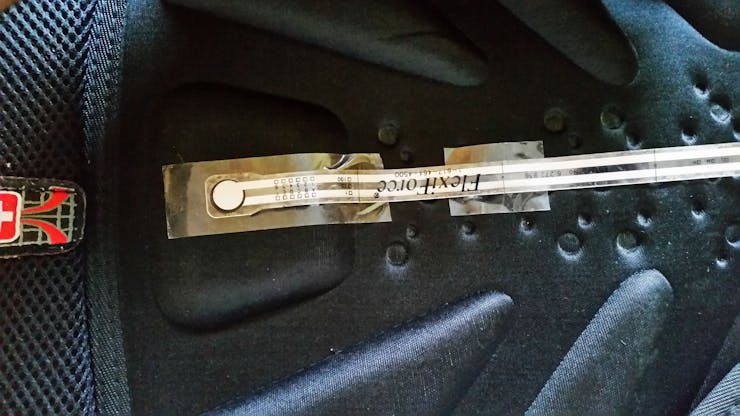
This sensor is used to sense whether the backpack is overfilled. When overfilled, the shape will be like a balloon and exerts more force on the backside. This can cause a severe long-term back-pain.
Making the Circuit
After mounting the sensors, the rest of the circuit have to be completed. Check the following diagram.
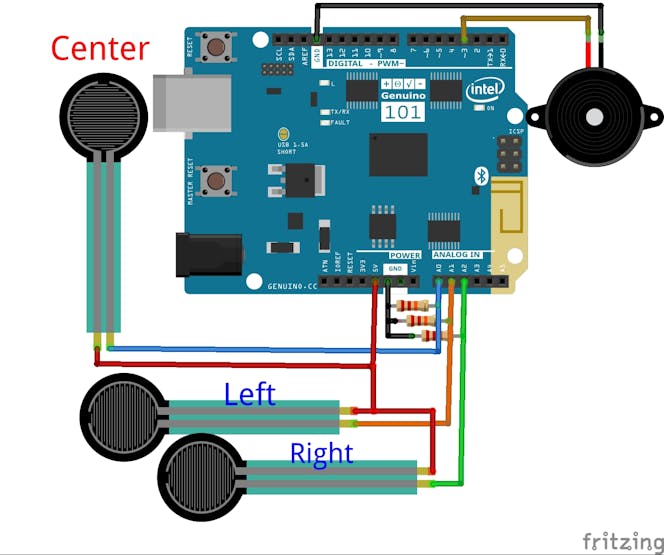
Left and Right FSRs are fixed on the shoulder straps and the center FSR is mounted on the back pad. One pin of every FSR is connected to 5V pin. Other pins are connected to A0, A1 and A2 pins. 22K resistors are connected between A0, A1, A2 pins and the Ground to make a voltage divider. Following image shows how to connect a FSR correctly.

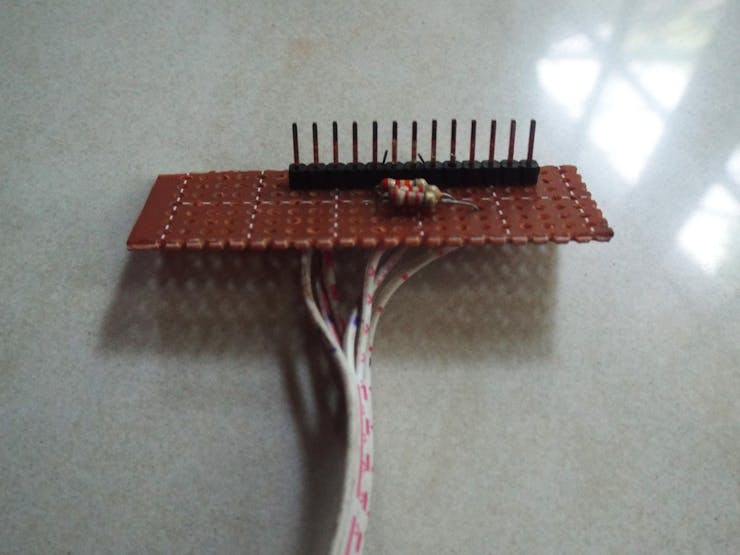
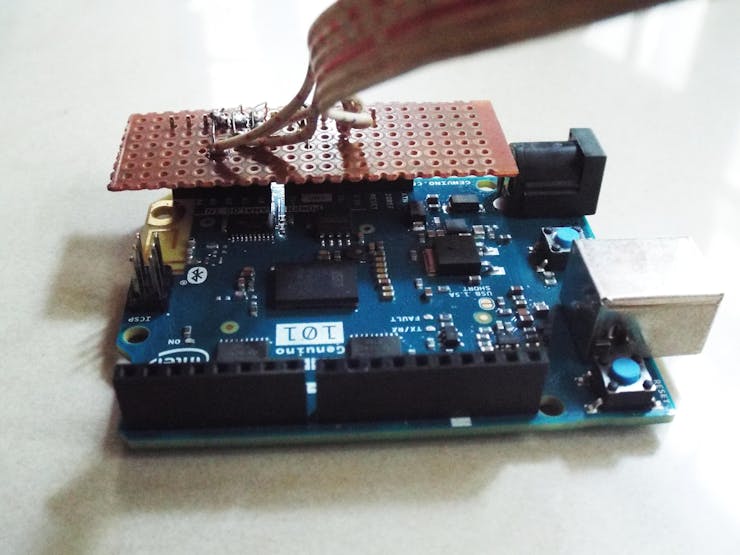
Header pins are soldered to the dot board to make it easy to connect with the Arduino board. A ribbon wire is used to connect FSRs as shown in following images.


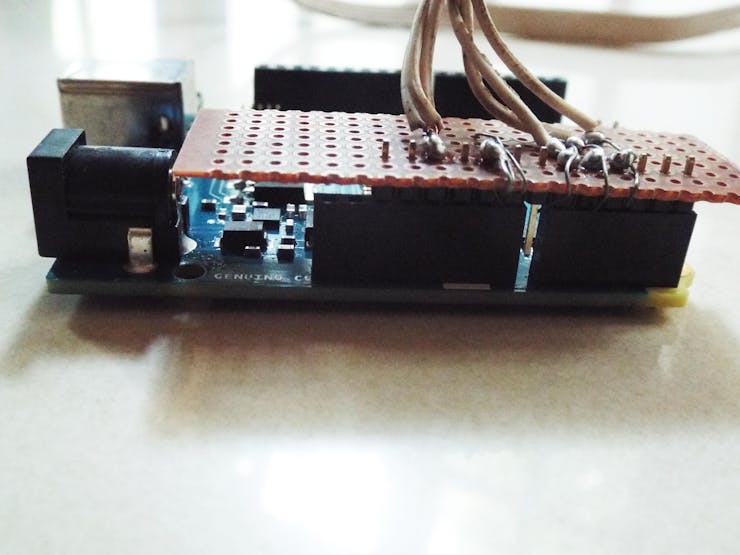
Buzzer is directly connected to the Ground and to one of the PWM pins (D3).
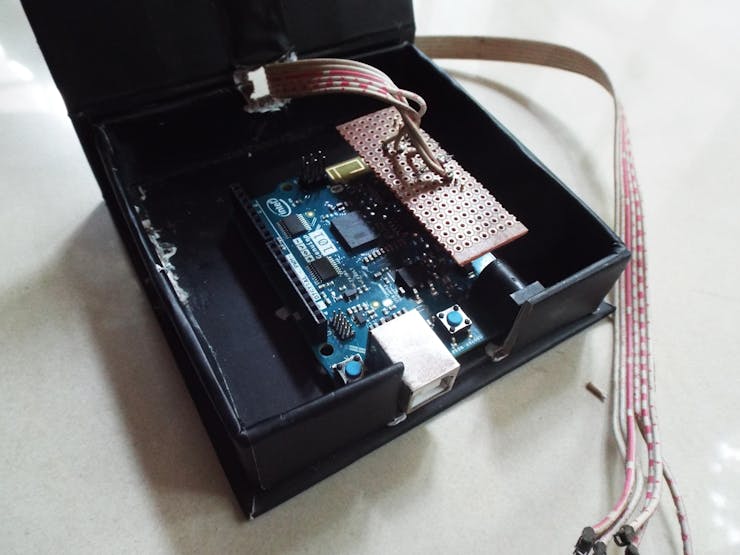
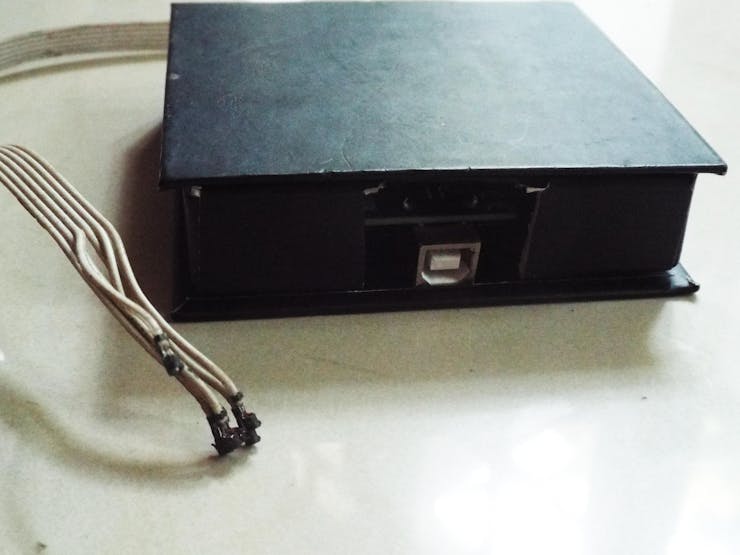
Enclosure
After making the circuit it has to be mounted inside an enclosure. I found an old plastic box for this. If you cannot find one, use the CAD file I have uploaded to make an enclosure using a laser cutter. Resize is according to your requirement.
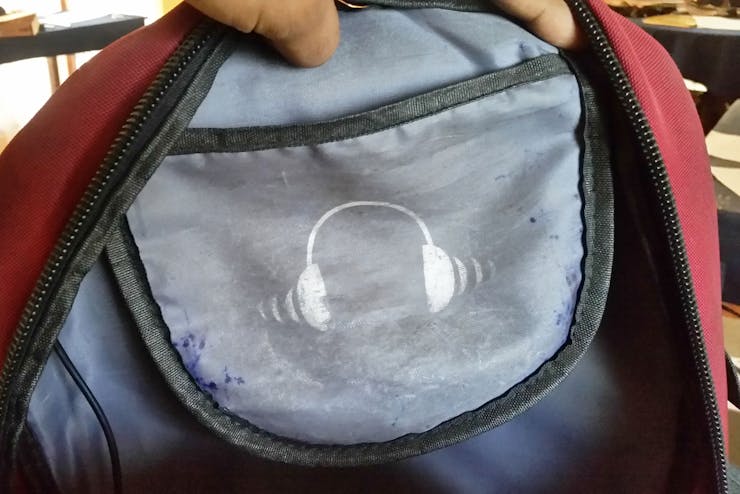
Finally, mount the device inside the backpack. I have chosen the music player pocket, to mount the device. Apply some glue to make sure it doesn't go anywhere else.

To power up the circuit, you can use your power bank or a 2 cell Li-Po battery. If you are using the power bank, use the USB cable which is used to program the Arduino board. For Li-Po batteries, use Vin and Gnd pins of the Arduino board to supply the power.
Working with Blynk
I have used Blynk app to create the mobile phone interface. Download and install it from Android play store. Start a new project and add 4 buttons, 1 slider, 1 BLE and 1 terminal. Following images show how to configure them.
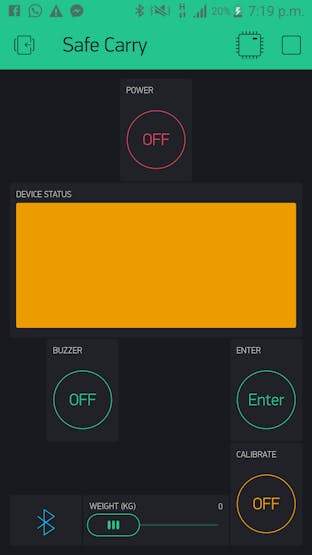
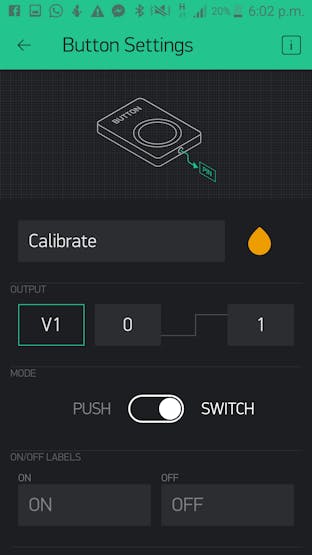
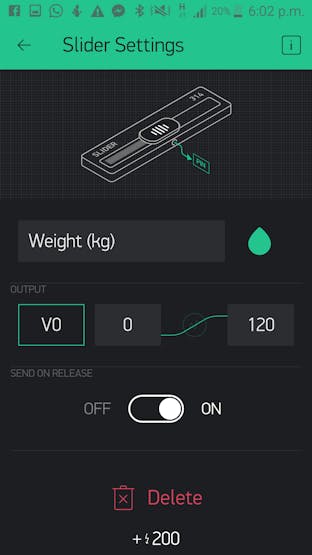
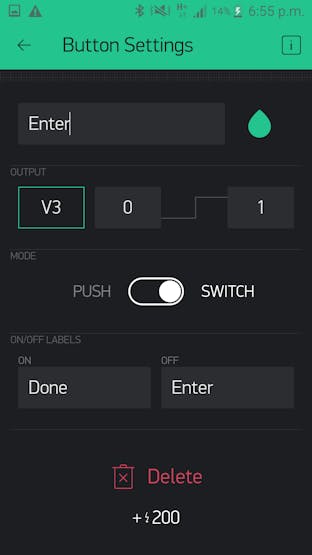
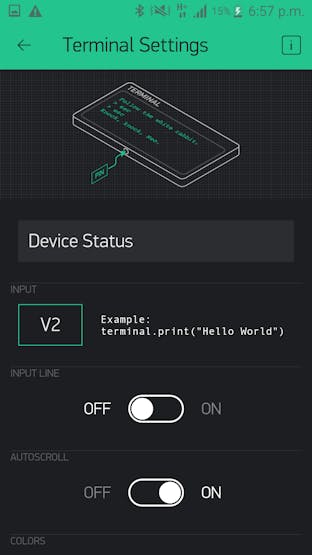
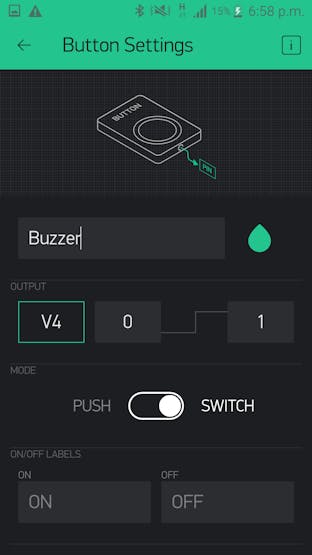
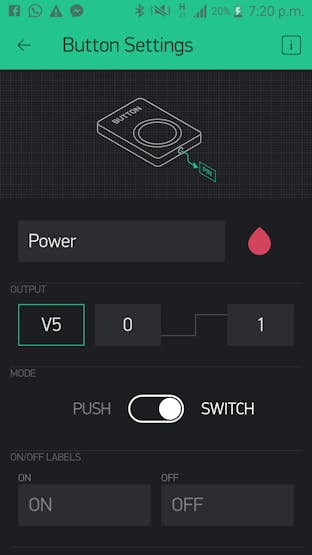
The Power button is to turn on/off the device. Before doing anything the device is needed to be turned on. Calibrate button is for the calibration process. It has to be done before the first use and after every change in the sensor placements and the circuit. Weight slider is to set the user's body weight. Buzzer button is to turn on the buzzer to find your backpack instantly.
Arduino Code
Before using the Arduino 101 board with the Arduino IDE, the plugins should be installed.
Go to Tools > Board > Boards Manager. Install Intel Curie Boards plugin. Now it's ready to work with the 101 board.
Open the code file in Arduino IDE. Enter your Blynk authorization code. The authorization code is generated when you create the interface.
#define BLYNK_PRINT Serial
#include <EEPROM.h>
#include "CurieIMU.h"
#include <BlynkSimpleCurieBLE.h>
#include <CurieBLE.h>
#include <Wire.h>
#include <SPI.h>
WidgetTerminal terminal(V2);
#define center A0                  //Define FSR Sensor pins
#define left A1
#define right A2
#define buz 2
char auth[] = "######################";          //Enter your Blynk Authorization Code Here
BLEPeripheral  blePeripheral;
Following code lines detect any improper uses and trigger the alarm.
1 ) Compares the absolute value of the difference between the force on the left FSR (fl) and the right FSR(fr) and alerts is the difference is greater than 300g.
if(abs(fl-fr)>300) {
 tone(buz,300);
 terminal.println("Straps are unbalanced");
 }
2) Alerts if the force on the back pad FSR (fc) is greater than 500g.
if(fc> 500) {
 tone(buz,600);
 terminal.println("Harmful force on the spine.");
 }
3) Alerts if the total force on the shoulder straps are greater than the safe carrying weight.
 if(fl+fr>cal_weight){
   tone(buz,1400);
   terminal.println("Too heavy");
 }
4) Alerts if the user bends more than the safe angle limit.
if (abs(thx-x)>30 or abs(thy-y)>30 or abs(thz-z)>30){
     tone(buz,2000);
     terminal.println("Harmful posture detected");
 }
Upload the code to the Arduino 101 board.
Calibration
After turning on the circuit, connect it to the smartphone by touching the Bluetooth icon on the Blynk interface. Now the device needs to be calibrated. Following steps will guide you to calibrate the device correctly.
Press the Power button to turn on the device.Press Calibrate button to turn on the calibration mode.Set the weight slider to user's weight.Place 1kg weight inside the backpack and make the strap lengths equal.Press Enter button.Place 2kg weight inside the backpack and make the strap lengths equal.Press Enter button.Press Calibrate button to turn off the calibration mode
Now the backpack is ready to use. It will automatically notify you when you are wearing it incorrectly or using it in an inappropriate manner.
Notifications

Buzzer gives alerts by beeping in different frequencies. Further, all alerts are displayed in the Blynk terminal. Following are the buzzer alerts.
Unbalanced straps - Low frequency tone (300Hz)Overfilled - Mid frequency tone (600Hz)Over weight - High frequency tone (1400Hz)Improper angles - Very high frequency tone (2000Hz)
This is my first testing video.
Hope you like this post. Waiting for your ideas and comments.
Thank You.!!!
The article was first published in hackster, March 16, 2017
cr: https://www.hackster.io/tharindu-liyanage/avoid-injuries-with-smart-backpack-60130e
author: Tharindu Suraj


