Pico Edge Impulse ML powered barrel that detects shots from a Nerf Blaster and simulates the barrel heating up with an LED.

Things used in this project
Hardware components
Hand tools and fabrication machines
Multitool, Screwdriver
Soldering iron (generic)
Drill / Driver, Cordless
Hot glue gun (generic)
Story
The Inspiration
I was watching a streamer called Pestily play Escape from Tarkov the other week and I noticed that the gun barrels/suppressors in the game heat up from firing; a good example of this is here:
So I thought it would be cool to make a Barrel for a Nerf Blaster that simulates heating up with a glowing LED when darts are shot, I have a previous project that uses a proximity sensor on the end of the barrel to detect shots - my Nerf Ammo Counter Project; but that is looking rather archaic now.
Why use a proximity sensor to detect the darts flying out when I can train an ML model to recognise darts being shot from an MPU6050's accelerometer and gyro data?
It's a much cleaner, albeit more difficult and complex solution and it also allowed me to finally get up to scratch with using Edge Impulse for data gathering, processing, training and model creation.
The Hardware
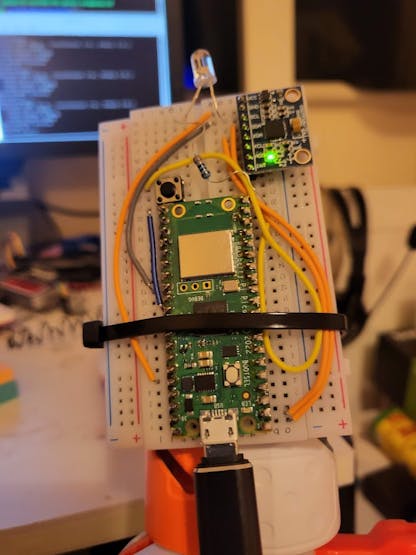
It's a relatively simple setup, a Pico hooked up to an MPU6050, with an LED, and a button for resetting.
Using the instructions for wiring up an MPU6050 to a Pico from here.
And the instructions for a reset button here. This just makes it easier to set the boot mode for dropping uf2 files onto the Pico without having to unplug and plug the USB.
The red LED is hooked up to pin 15 and has a 330ohm resistor on it.
Here is the training board that I used to gather all the data:
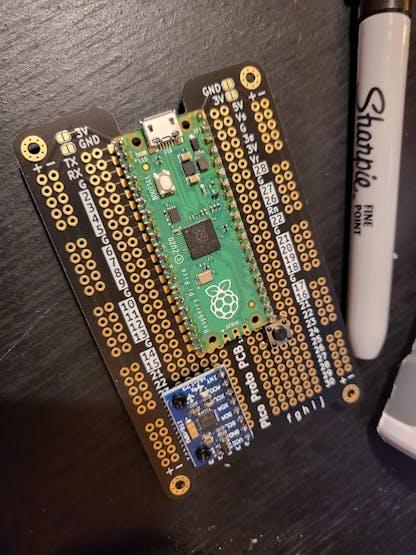
Later on this was soldered up onto the Pico Protoboard:
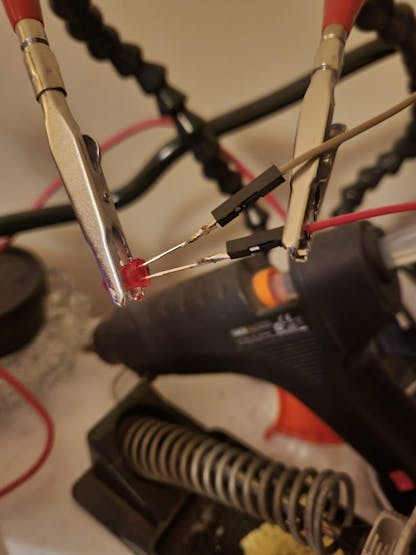
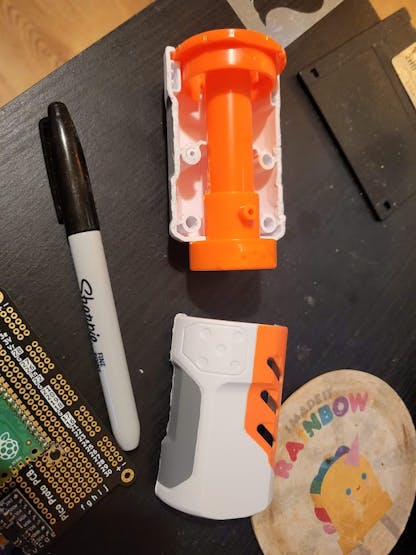
Then I had to split the Nerf Barrel open to add the LED inside with hot glue:
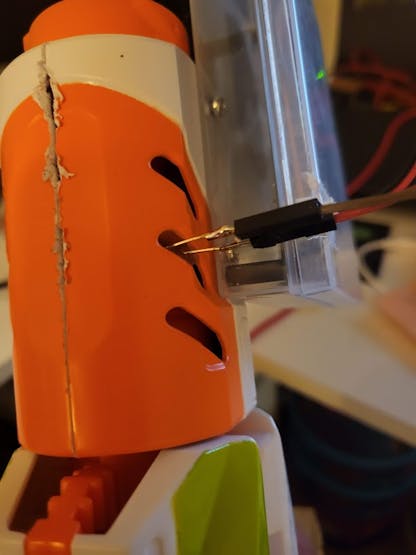
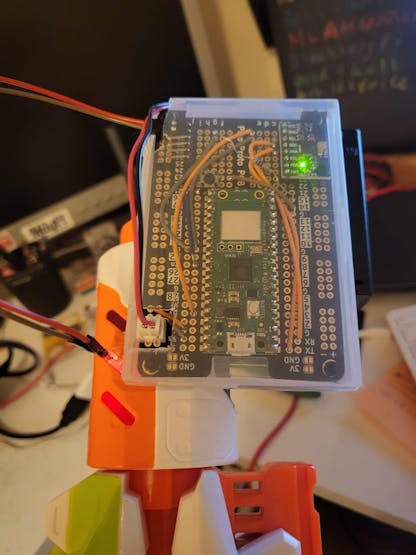
I also screwed the box on that holds the Pico (to the right side of the barrel with the MPU6050 at the end with the tantalum cap facing down):
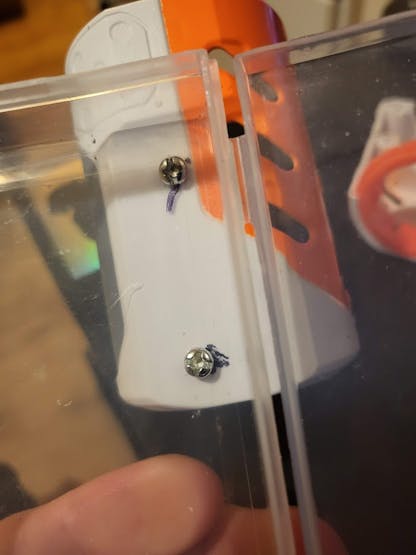
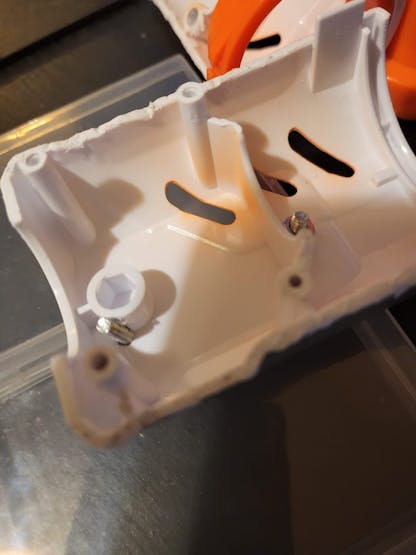
And then glued on the 3x AA battery box onto that box:
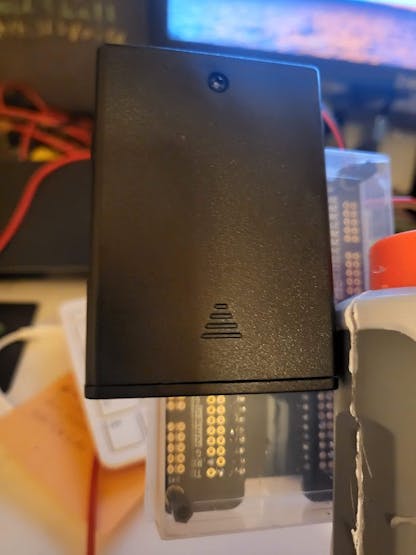
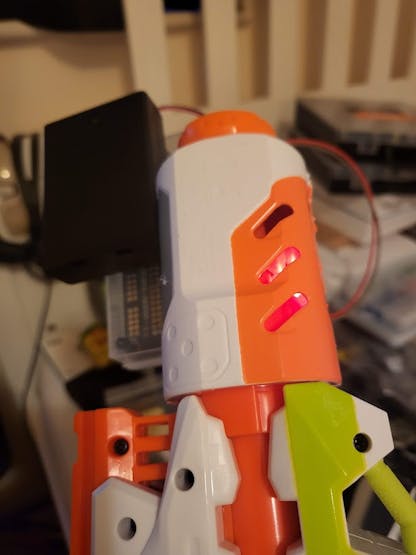
And with the barrel back together and everything closed up, with a test of the LED:
The Model
The main enabler for this project was Edge Impulse - which I have been meaning to properly learn for a while now and this project gave me the opportunity.
It allows you to create a project, gather data, sort out all the pre-processing of the data, train a model and even tune the model automatically. Then a final model can be downloaded for specific devices or as a C++ library along with the model data that can be compiled for almost anything.
You can see the public version of my model here.
I gathered data from this by using the Edge Impulse guides here, here and here.
There is also a nice guide for MPU6050 on Pico with Edge Impulse for gesture recognition here.
They have a nice pre-made sensor reader for the MPU6050 but it only reads the accelerometer data, so I made my own which also prints out the gyro data as well to try and get more movement data to train the model on various movements; you can grab this from my GitHub.
With this setup and the prototype board setup plugged in and connected to the project I was able to collect 3 types of data:
Reload Fire Movement
So I had to fire off hundreds and hundreds of shots while recording data, do hundreds of reloads and move the Nerf Blaster around while pretending to run etc. to allow it to detect when the Blaster is just moving normally.
https://www.tiktok.com/@314reactor/video/7181786239362747654
I recorded reloads because in future I plan to use this model to make an ML based Ammo Counter that does not rely on barrel sensors and won't require a manual reload button.
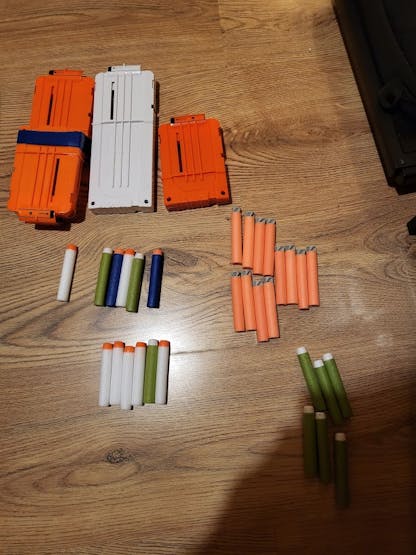
The aftermath:
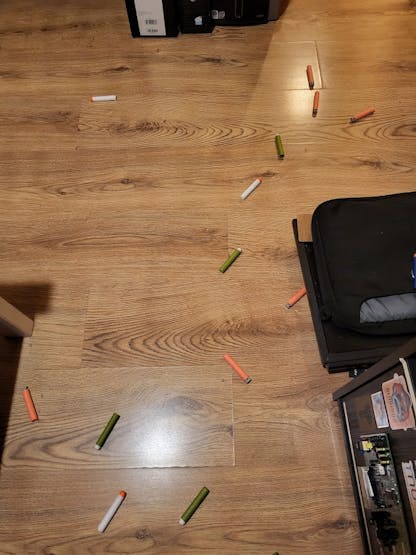
After all the data was collected you can see some examples here:
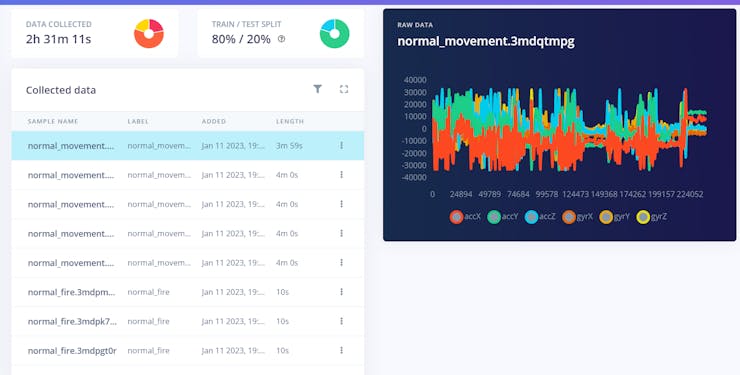
From the public Edge Impulse model above you can see the main impulse setup:
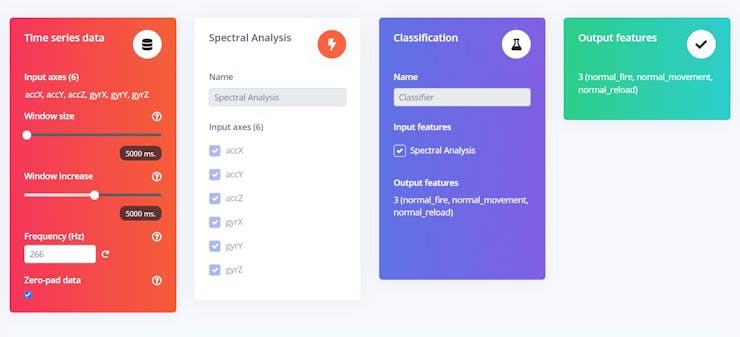
Which has about 3+ hours of training data put into it. After going through the generic NN (Neural Network) model setup and then running the EI EON Tuner (which runs through data and various pre-processing and NN setups to find the best configuration for the model) I was able to get itl tuned nicely:
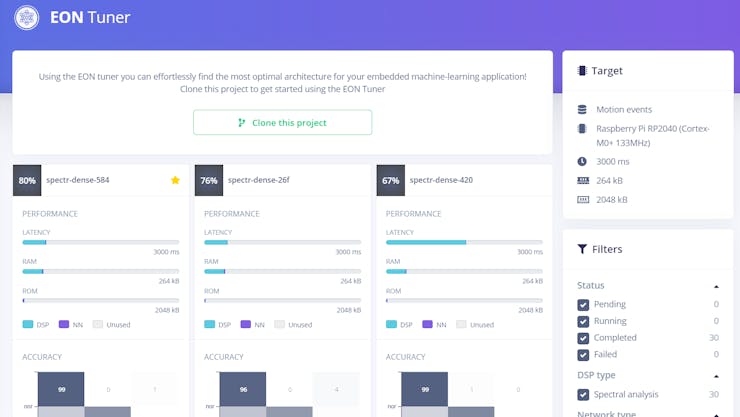
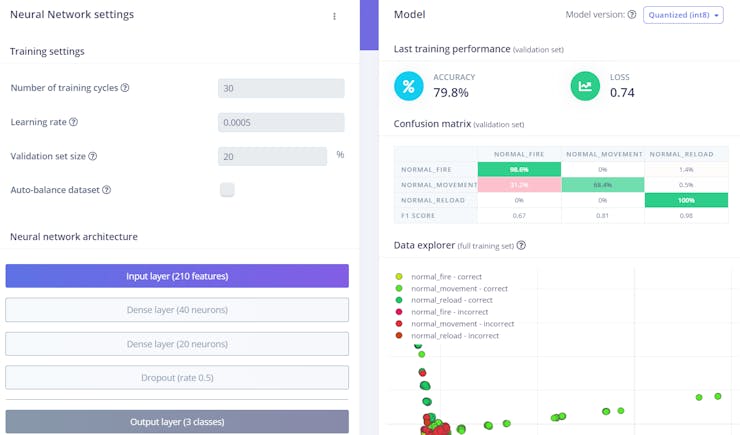
I found that just holding the blaster to my shoulder and breathing normally would cause the model to think it was firing - so I added a bunch of data of just me holding the weapon; which unfortunately resulted in confusion between firing and normal movement, but it did prevent the barrel glowing when just holding the blaster so it was a trade off.
However, later on when testing data was put through the model it was more accurate, also the float32 version was really accurate:
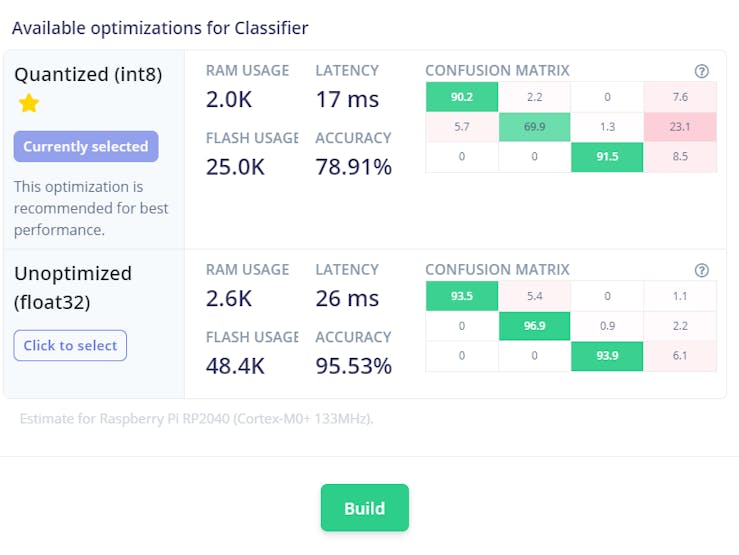
The only trouble is that the float version takes about 6+ seconds per inference and the quantised version only takes about 2/3 seconds per inference - hopefully in future the Pico 2 will be out and will be a lot more powerful and allow real-time float32 models to run.
I did try adding even more firing data but there was still some confusion between normal movement and the firing - but it's nothing too bad. Version 5 will hopefully be a lot more refined now that I have more knowledge on EI (Edge Impulse).
The Software
The code is best compiled on a Raspberry Pi, I used a Pi400. There are pre-requisites that can be found here, which guide you through setting up the Pico-SDK and the Edge Impulse stuff required.
The code can be grabbed from my GitHub.
You will also need to grab the example inferencing code from EI.
Then paste all the stuff from my repo into the 'example_inferencing_pico' folder, overwriting anything in there.
Then grab the deployment files for the model from the EI public project link above and go to deployment, selecting the C++ library:
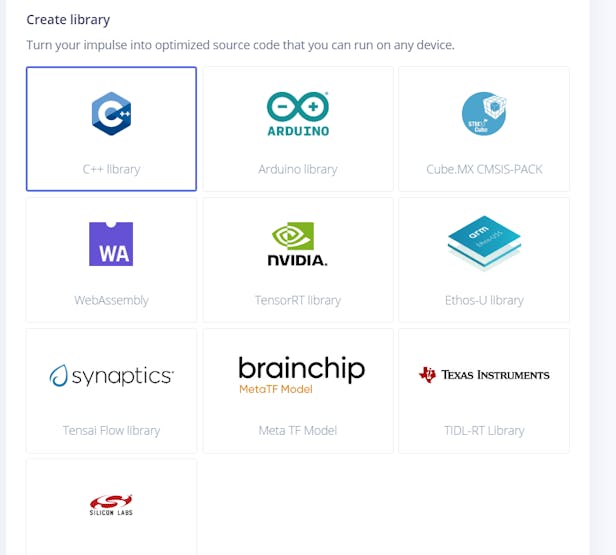
Then enable the EON compiler optimiser and download the int8 version (you can use the float32 version but as above, this will be slow on a Pico).
Then drag the 3 folders in the downloaded zip into the 'source' folder under the 'example_inferencing_pico' folder.
Then navigate to the 'build' folder and run:
cmake .. && make(can optionally add -j4 to the end of the second command to speed up compilation - changing the number to the number of cores you have)
There should now be a 'NerfBarrel.uf2' file in the build folder.
Plug in a Raspberry Pi Pico to your computer while holding the bootsel button, then let go, the Pico should mount a folder on the OS - simply copy the 'NerfBarrel.uf2' file to the Pico folder and wait for it to transfer and bootstrap.
Once running you can install and use screen to check it is working and reporting the movement predictions.
sudo apt install screen
screen /dev/ttyACM0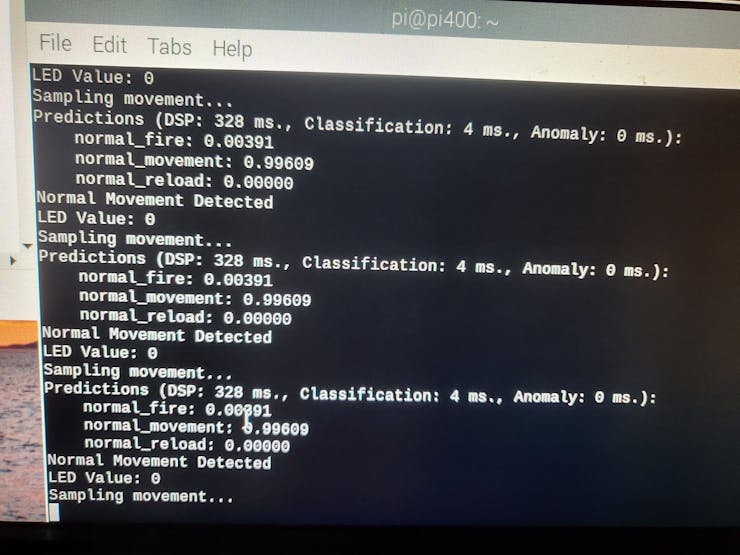
This code is written in C++ because this allows for multiple libraries and interaction with the LED alongside the inferencing, also there is no Pico specific MicroPython model download available from Edge Impulse yet.
The code is setting up an I2C connection with an MPU6050 sensor and reading data from the sensor. The sensor data is then processed and passed through the machine learning model to classify the data as one of several different actions.
Depending on the result of the classification, the code will either set a flag to "normal fire detected" or "normal movement detected" and then pass it to another function called "multicore_fifo_push_blocking", which allows another thread to pick up the result; because the main inferencing occurs on one of the Pico's Arm Cortex-M0+ cores and the actual LED brightening/dimming is handled on another, allowing for smooth LED operations while running inferencing at the same time. Otherwise the changes to the LED's brightness would only be changed after every inference, which would be slow as the inferencing takes a few seconds.
Unfortunately this means that there is a delay from shooting Nerf darts to the LED actually brightening up, but it should be quite smooth as it dims down and will also get brighter the more shots are detected, giving it a natural simulation of getting hot.
The code also has some parameters for adjusting the brightness of LEDs on the board, and some debug features for printing the results of the classification.
In Action
Here you can see the heating and cooling glow effect after a few shots:

And the video going over the blaster itself with some example shots:
It works most of the time, of course as mentioned earlier, in order to not confuse normal movement for firing I had to gather some more data; which switched the confusion to confusing fire with normal movement; so occasionally it won't register firing. Using the float32 model really increases the accuracy and it picks up shots far more often, but is of course too slow.
But in general firing off a few darts and waiting a couple of seconds will show the barrel glowing red and then slowing dimming off. It's quite cool and makes the blaster feel really fun to fire.
It will be picking up reloads from a normal 'hold the blaster up and switch magazines like in Modern Warfare 2022' movement, but there is nothing programmed for this yet so it will only show up on the printed output from USB using screen.
It's much cooler than the previous proximity sensor method I was using and also doesn't suffer from detecting nearby movements as dart shots - it even seems to avoid detecting dry fires of the blaster as a shot, so you can put in an empty mag and pull the trigger and it won't detect shots, which is great. I think the actual firing of darts creates a slight bit of extra movement that the model is able to detect.
All the data has been trained on an electric Nerf Blaster so I am not sure if it will work on a normal blaster - I don't have a working one to hand at the moment with the proper barrel extension to connect the device to but I imagine the differing 'recoil' from shots may not work correctly. So that could be a limitation, however easily fixed by just recording more data from another blaster, reloads should work fine, though.
Cooling Off
I was very happy with how this works, even though it does tend to confuse firing with normal movement a bit - but after a few shots it generally gets the idea, the only other issue is that the inferencing takes a while and so it can be delayed before it detects the shot and lights the LED, also multiple shots can be fired off and it will only detect one; which is why the ML Ammo Counter will have to wait for now.
So this project was fun to make and a good learning exercise for EI and ML in general - I learnt a lot about data gathering, pre-processing and how the EON tuner stuff works in EI; it also opens up the doors for future ML projects using the Pico or the Arduino BLE Sense 2.
Also as mentioned earlier, I can use this same tech to make a new, better Nerf Ammo Counter in future I will just have to tweak some things and/or find a faster microcontroller to get the inferences done quicker so the shots can be detected one-by-one and be properly counted. It would be a much better and cleaner solution as it wouldn't have the requirement of a proximity sensor precariously on the end of the barrel:
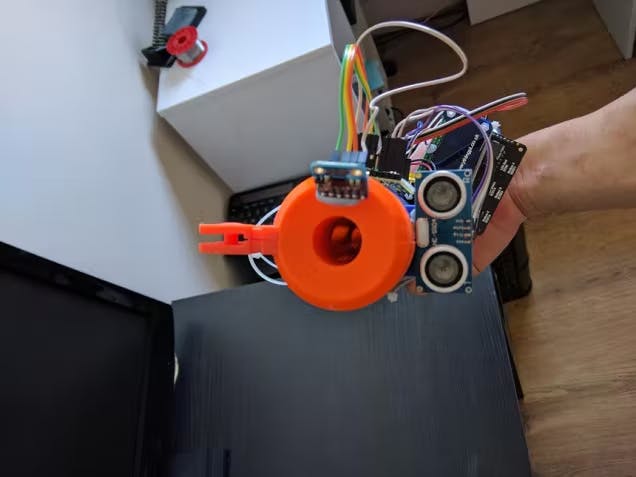
2017, aka 40 billion years ago.
It will also be much more intuitive to use, with a simple on switch and the ability to just fire off shots, have them counted and detect reloads from movement naturally. The main thing to be thought of will be how the number of rounds in the magazine will be determined to count down from.
If you have any suggestions for extra training data or want to add some yourself feel free to clone the public project from EI and let me know of any tweaks or optimisations.
Thanks for reading this far and hope you enjoyed! I will see you next time when I finally FINALLY get my Cyberpunk inspired project out.

I even have the jacket for the video.
Code
Pico Inferencing Example
Code from Edge Impulse that is used to compile the main code.
Nerf Barrel Code
C++ code that handles the ML inferencing and the LED brightening/dimming
Sensor Reader
The code that is used to print out the Accelerometer and Gyroscope data for use with data acquisition with Edge Impulse data forwarder
The article was first published in hackster, January 14, 2023
cr: https://www.hackster.io/314reactor/ml-powered-overheating-nerf-barrel-ea5bf8
author: Michael Darby - 314Reactor


