
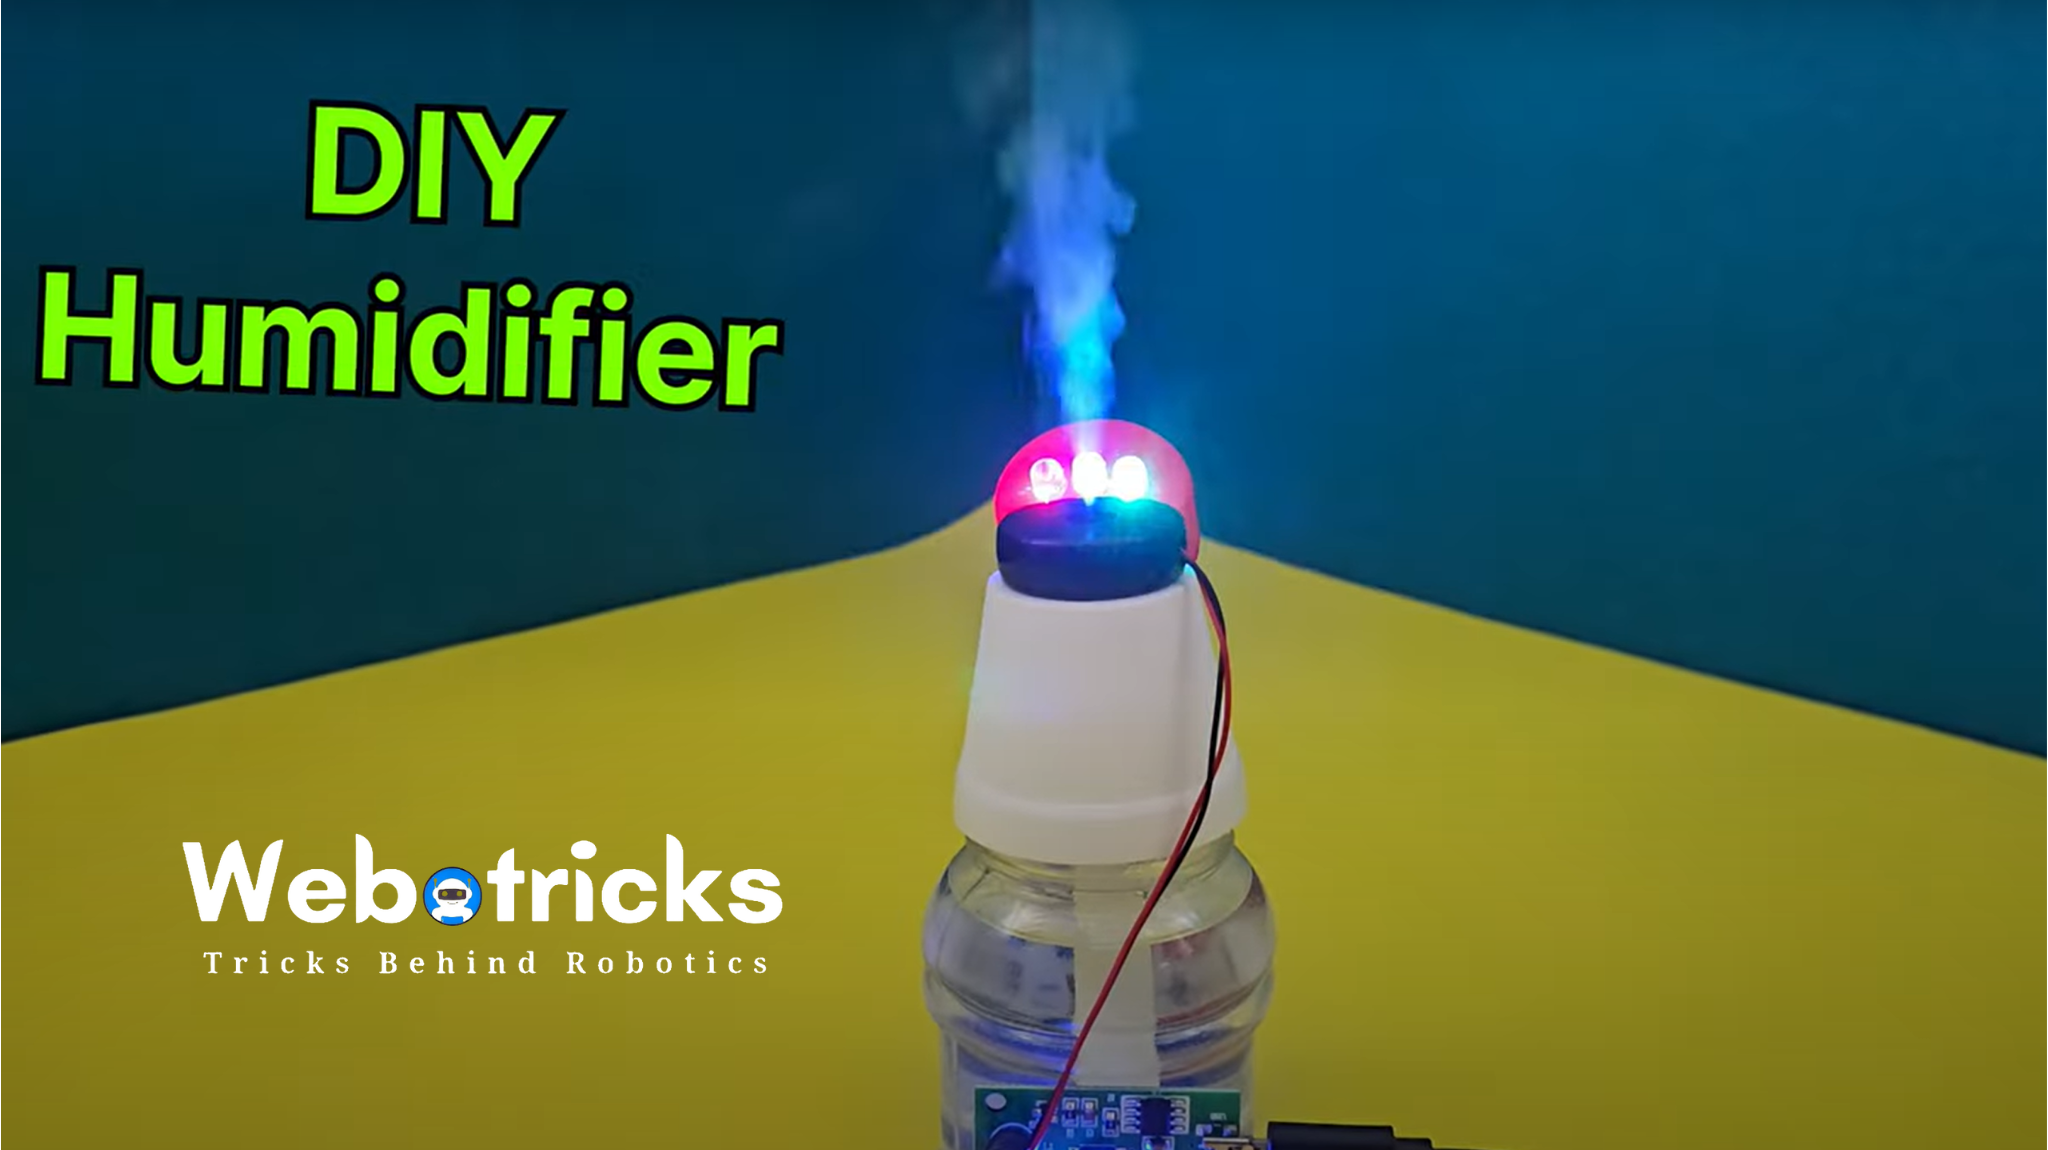
A humidifier is a useful device that adds moisture to the air, making it beneficial for maintaining indoor air quality. In this project, we will build a simple DIY humidifier using an Ultrasonic Mist Maker, RGB LED lights, and a few household materials. This project is perfect for science experiments or home use!
Components Required
Ultrasonic Mist Maker (5V)
Plastic Bottle
PVC Pipe
Switch
RGB LED Light
9V Battery
Bottle Cap
Step 1: Preparing the Bottle
Take a plastic bottle and clean it thoroughly.
Cut a small hole near the top side of the bottle to insert the PVC pipe for mist output.
Make another hole in the bottle cap to fit the Ultrasonic Mist Maker and secure it in place.
Step 2: Installing the Ultrasonic Mist Maker
Place the Ultrasonic Mist Maker inside the bottle, ensuring the misting element is submerged in water.
Secure the bottle cap with the mist maker attached.
Step 3: Adding the RGB LED Light
Attach the RGB LED Light inside the bottle for an amazing lighting effect.
Position the LED so it illuminates the mist when turned on.

Step 4: Powering the Humidifier
Connect the Ultrasonic Mist Maker and RGB LED Light to the 9V battery.
Use a switch to control the power supply.
Step 5: Testing the DIY Humidifier
Fill the bottle with clean water, ensuring the mist maker is submerged.
Turn on the switch to activate the mist maker and RGB lighting.
Observe the cool mist effect as the humidifier starts working.
Final Demonstration
Your homemade DIY humidifier is now ready! It will add moisture to the air while providing a beautiful visual effect with RGB lighting.


