
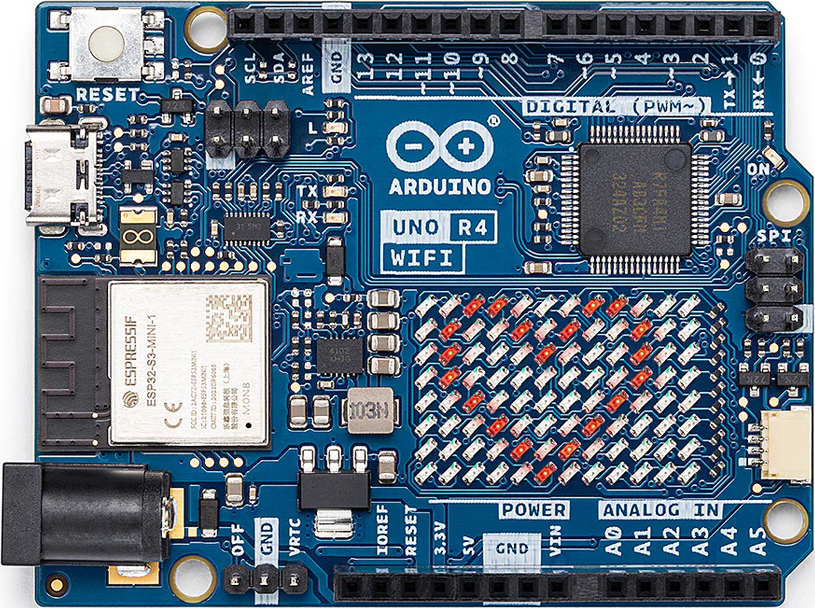
In this tutorial we will learn how to make a simple weather station using the Arduino UNO R4 WiFi board & Visuino to display Temperature & Humidity values on the matrix display.
Watch the video!


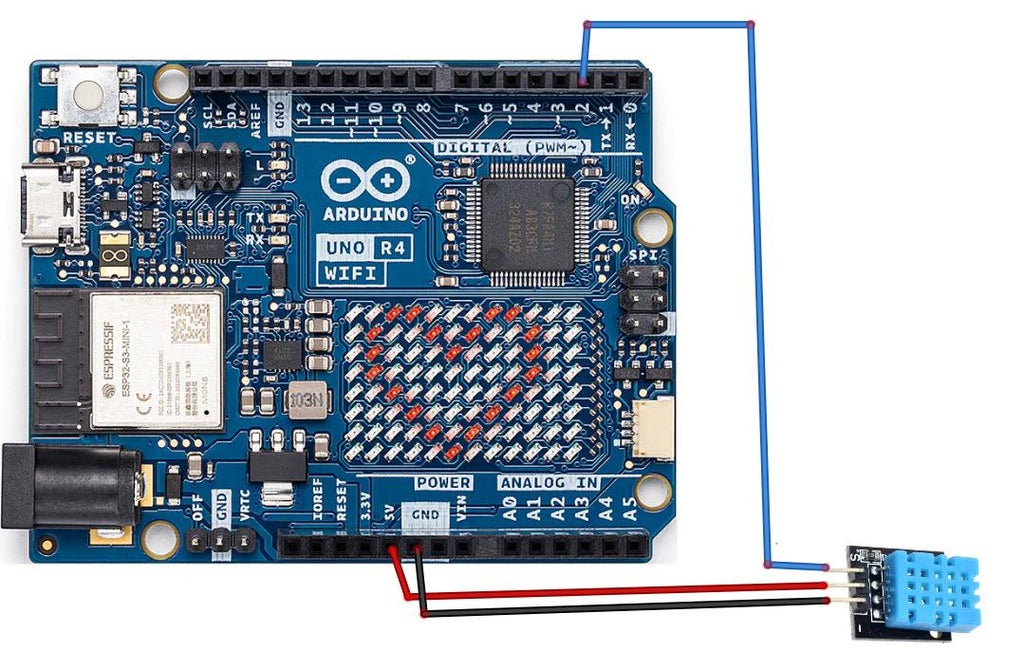
Connect DHT11 Sensor pin (VCC +) to Arduino pin [+5V]Connect DHT11 Sensor pin (GND -) to Arduino pin [GND]Connect DHT11 Sensor pin (S) to Arduino pin digital (2)

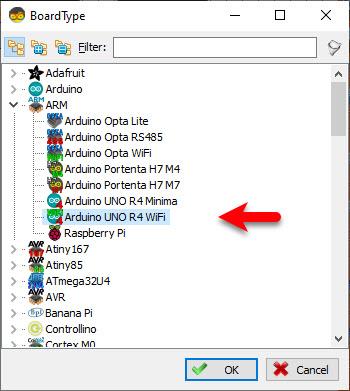
Start Visuino as shown in the first picture Click on the "Tools" button on the Arduino component (Picture 1) in Visuino When the dialog appears, select "Arduino UNO R4 WiFi" as shown on Picture 2
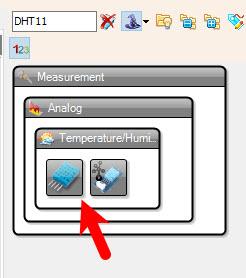
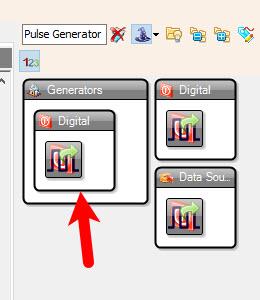
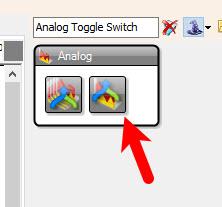
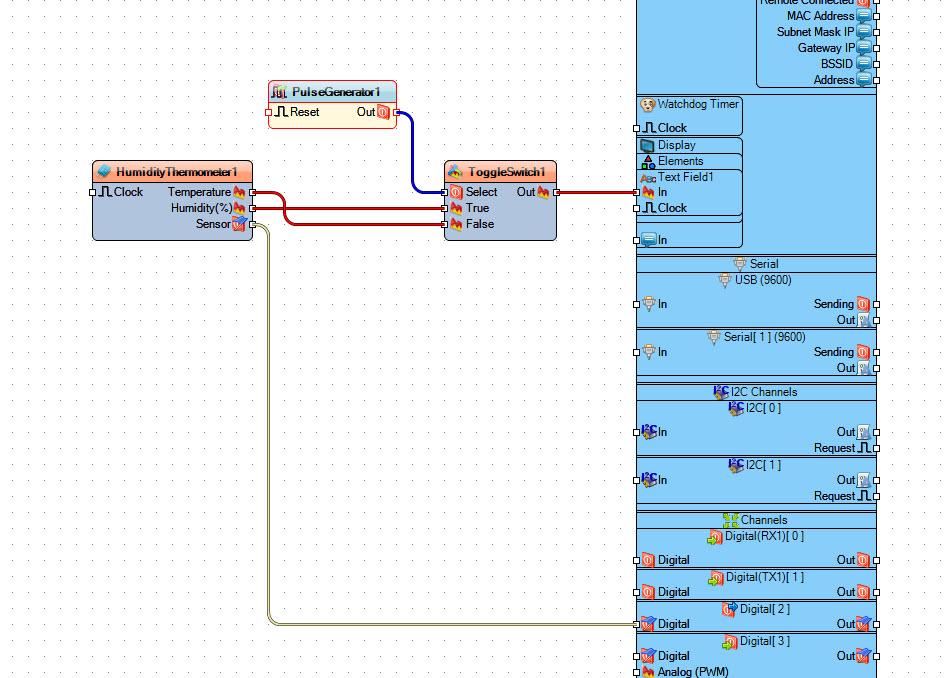
Add "DHT11" componentAdd "Pulse Generator" componentAdd "Analog Toggle Switch" component
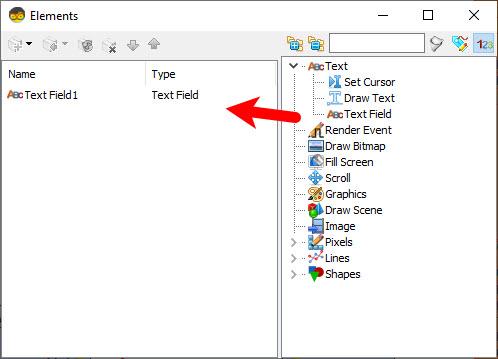
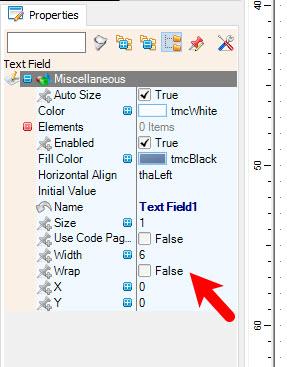
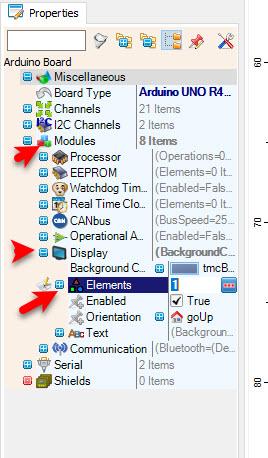
Select ArduinoUNO R4 WiFi board and in the properties window expand Modules>Display and select Elements and click on the 3 dots button, in the Elements window drag "Text Field" to the left side and in the properties window set "Wrap" to FalseClose the Elements window
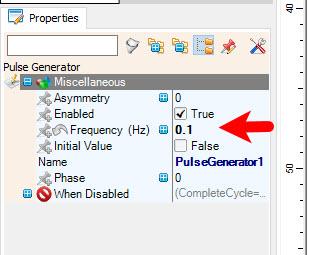
Select "PulseGenerator1" and in the properties window set "Frequency" to 0.1
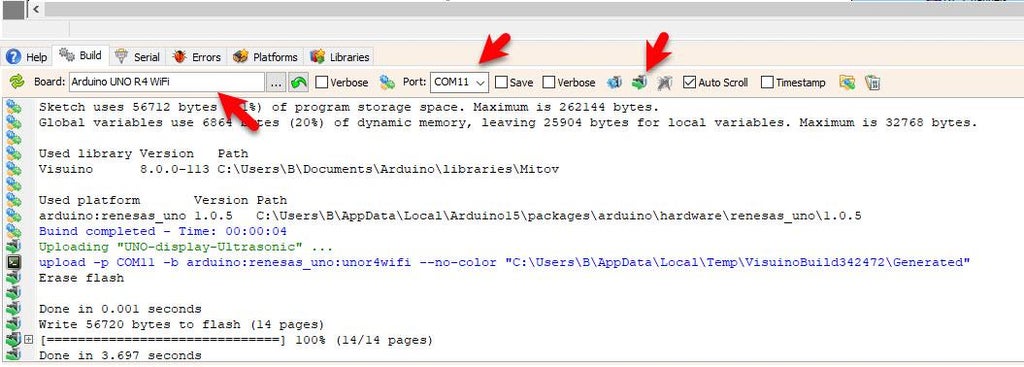
In Visuino, at the bottom click on the "Build" Tab, make sure the correct port is selected, then click on the "Compile/Build and Upload" button.
If you power the Arduino module the LEDs on the Arduino Display will start to display the Temperature and Humidity values.
Congratulations! You have completed your project with Visuino. Also attached is the Visuino project, that I created for this tutorial, you can download it and open it in Visuino: https://www.visuino.com


