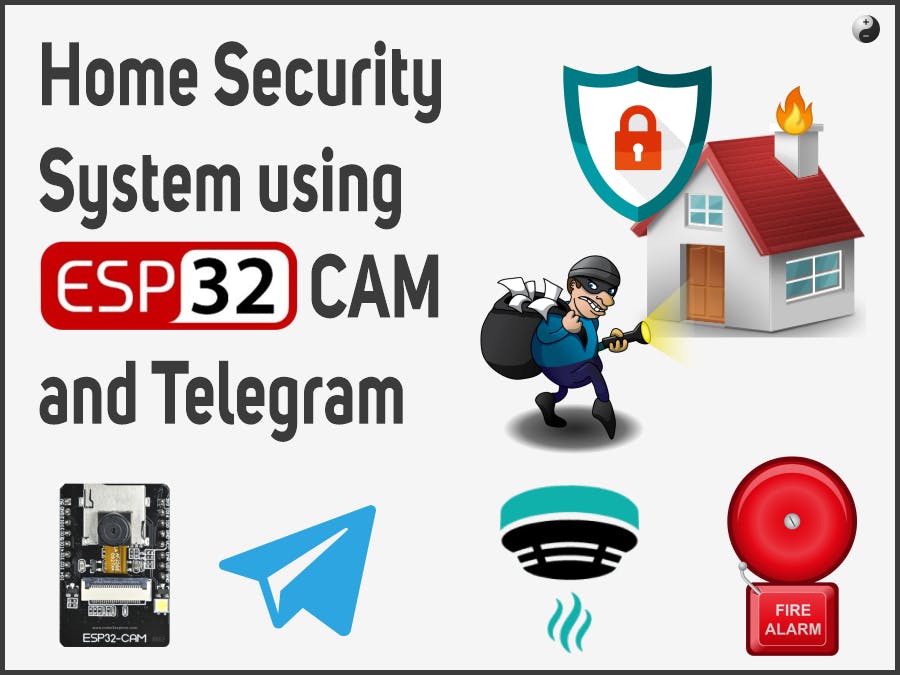
This project gives Intruder Alert, Door Open Alert, Gas Leak Alert, Smoke Alert and Fire Alert on Telegram Application.

Software apps and online services
- Arduino IDE
- Microsoft Visual Studio Code Extension for Arduino
- PlatformIO IDE
- Telegram Application
Story

Home security systems are networks of integrated electronic devices working together to protect a home from potential intruders, fires, carbon monoxide, and other hazards. These systems typically include a variety of components and technologies designed to monitor, detect, and respond to security breaches or emergencies.

Overview
- In this project we’ve build a Home Security System using ESP32-CAM Which notify us on Telegram App about any Intruder trying to break-in our house by capturing and sending his photo to us. For that we’ve used motion and Door Sensors.
- We’ve also implemented Fire, Smoke and Gas Leak Alert system in this project.
Objectives
In this Home Security Systems project we're going to
- Monitor Doors - (to detect any Forced/Unauthorized Entry)
- Detect Motion - (for Intruder Alert)
- Sense Smoke/Fire/Flame - (to detect fire in house)
- Detect Gas leak
For this we'll use
- Magnetic (Reed) Switch Door Sensors
- PIR Motion Sensor Module
- Flame/Fire Sensor Module
- MQ-6 Liquefied Petroleum Isobutane Propane Gas Sensor module
- Also ESP32-CAM Board has on-board camera, which we'll use to capture the Photo of Intruder.
Functional Block Diagram

How it Works ?
- All sensors connected to ESP32-CAM Development board. ESP32-CAM is Wi-Fi enabled so it connects to our Wireless router which is further connected to Internet.
- To Interact with our security system and get notified about all the alerts we need to create Telegram Bot on Telegram Application in our smartphone.
- Using this Telegram bot we can Engage/Disengage (Arm/Disarm) our Home Security System and All the alerts. On Telegram app, we can also take/get live photos of our monitoring area where we have installed our ESP-CAM.
- If all sensors and alerts enabled, then system will give alerts on telegram about whenever any security related event occurs. for example - Fire or smoke alert. You can operate from anywhere in the world, You just need Telegram application with Authorized bot and Internet connectivity to your phone.
- Only allowed/Authorized users (who's Chat ID is registered) will be able to interact with this Bot.
What are Telegram Bots ?
To Interact with our security system and get notified about all the alerts we need to create Telegram Bot on Telegram Application in our smartphone.
"Bots are third-party applications that run inside Telegram. Users can interact with bots by sending them messages, commands and inline requests. You control your bots using HTTPS requests to our Bot API."
you can check out more info about bots on Telegram Website - https://core.telegram.org/bots

Hardware - Components 🛠️
To build this project we'll require
- AI Thinker ESP32-CAM Dev Board
- Mini PIR motion sensor (AM312)
- Magnetic (Reed/Switch) Door Sensor
- MQ6 Gas/Smoke Sensor
- Flame Sensor Module
- 10k Resistors – 2 Nos
- Logic Level Shifter Module
- FTDI programmer (to upload code)
- Breadboard MB102
- MB102 Breadboard Power supply Board
- Jumper wires
- Battery 7.4V LiPo or Power Bank
- USB A to Mini USB Cable (To upload the code)
Schematics

Check out following video (Part-I) of this project, where we have explained all the above steps.
Software
We'll be using Arduino IDE for programming this project.
Step 1 - Installing Boards and Tools in Arduino IDE
We’ll program the ESP32-CAM board using Arduino IDE, so make sure you have it installed in your Arduino IDE. You can check out following video for that, there we have explained in detail about how to install ESP boards into an Arduino IDE
Step 2 - Installing libraries
For this project you need to install several libraries.
Telegram Bot Library, ArduinoJson Library
The following library can be installed through the Arduino Library Manager. Go to Sketch > Include Library> Manage Libraries and search for the library name.
- ArduinoJson Library : you have to install the ArduinoJson library
Universal Telegram Bot Library
To interact with the Telegram bot, we’ll use the Universal Telegram Bot Library created by Brian Lough that provides an easy interface for the Telegram Bot API.
Follow the next steps to install the latest release of the library.
- Click here to download the Universal Arduino Telegram Bot library.
- Go to Arduino IDE, Sketch > Include Library > Add.ZIP Library...
- Add the library you’ve just downloaded.You can also use Arduino Library Manager install Libraries, but just pay attention that you are installing latest version
For all the details about the library, take a look at the Universal Arduino Telegram Bot Library GitHub page.
Step 3 - Code of the project is given below, with libraries. It is also available on our GitHub. We have explained code in following video, check out to learn more
Step 4 Alert and Notifications System
So, there are several ways you can raise alerts for security threats in house.
Like we can use SMS, Email, Push Notifications etc. But for the time being and for easy setup we decided to go with Telegram Messages and Notifications leveraging "Telegram Bot API" feature.
Setting Up Telegram Bot
Telegram Messenger is a cloud-based instant messaging and voice over IP service. You can easily install it in your smartphone (Android and iPhone) or computer (PC, Mac and Linux). It is free and without any ads. Telegram allows you to create bots that you can interact with.
"Bots are third-party applications that run inside Telegram. Users can interact with bots by sending them messages, commands and inline requests. You control your bots using HTTPS requests to Telegram Bot API"
There are three very important steps -
- Create Telegram Bot
- Get your Telegram chat ID
- Libraries required for Telegram bot ESP32 integration
Create a Telegram Bot
- We need to create a Telegram Bot that can alert us when our Edge AI Vision module detects the people. For that open Telegram App on your PC or Phone and search for BotFather.

- You have Chat with Bot named 'BotFather' to create your own new bot and its HTTP API credentials. i.e Bot Token

Get your Telegram chat ID
- In the telegram messenger every user, chat, and group is having a unique ID. So To prevent any unauthorized access to our bots from other users we need to find our unique user ID and use it inside our Arduino code for ESP32.
- To know your Telegram chat ID you have to chat with Bot named 'IDBot, For that open Telegram App on your PC or Phone and search for “@myidbot”.

Libraries required for Telegram bot ESP32 integration
To establish communication with the Telegram bot, we’ll be using the Universal Telegram Bot Library created by Brian Lough that provides an easy interface for Telegram Bot API.
We also have to install the ArduinoJson library
You can either install above libraries in Arduino IDE by adding their zip file or You can also use Library Manager.
for more details about How to create Telegram Bot? and how you can integrate it with your ESP32 Board?. please check out following video.
So we've explained all above steps in following video, check out and complete all above steps
Step 5 - Programming ESP32-CAM Dev Board - to program the ESP32-CAM you need to setup following circuitry

You can Check out following video, where we have explained How to program ESP32-CAM Dev Board
Demo
The Final demonstration of project with all assembled circuit, all features and functionality is explained in following video.
Project Documentation
Project is open Source with (CC BY-NC-SA 4.0) We will share all the documents, codes, schematics, etc. on GitHub.
Suggestions about this Tutorial/Project design, Circuits, code modifications, Optimization, Errors/Bugs findings and queries are most welcomed. Feel free to raise you queries, suggest your opinions and point out any errors or bugs.
Credits
Thank you Hackster, and all other peoples, websites and entities who helped us (directly/indirectly) for creating this article.
This article was first published on Hackster on March 30, 2021
cr: https://www.hackster.io/make2explore/home-security-system-using-esp32-cam-and-telegram-app-dce4f8
Author: make2explore


