
In this Visual Programming Visuino tutorial, we’ll use the M5Stack Core2 to fetch jokes from a free online API and display them interactively on the screen.
When you press the first button on the device, the ESP32 inside the M5Stack Core2 connects to the internet and requests a random joke from the Official Joke API. The first part of the joke, called the setup, is displayed on the screen — usually a question or humorous introduction.
Pressing the second button reveals the punchline, completing the joke and delivering the humor.
The joke data is retrieved in JSON format from the API and then processed in Visuino, separating the setup and punchline so they can be displayed at the appropriate time when the buttons are pressed.
Using Visuino’s drag-and-drop visual interface, you can easily configure the Wi-Fi connection, send HTTP requests to the joke API, and display the received text on the M5Stack Core2 screen.
This project demonstrates how to build an interactive internet-connected device that retrieves live data from an online API and presents it in a fun and engaging way.
If you enjoy experimenting, you can easily modify or expand this project — for example by adding categories of jokes, automatically loading new jokes after a timer, displaying the jokes on external displays, or storing your favorite ones locally.
For more information about the joke API used in this tutorial, visit the GitHub repository:
Watch the Video! 🎬
- M5Stack Core2 ESP32 IoT Development Kit
- Visuino program: Download Visuino
Note: You can use any other Board with the Display and WiFi
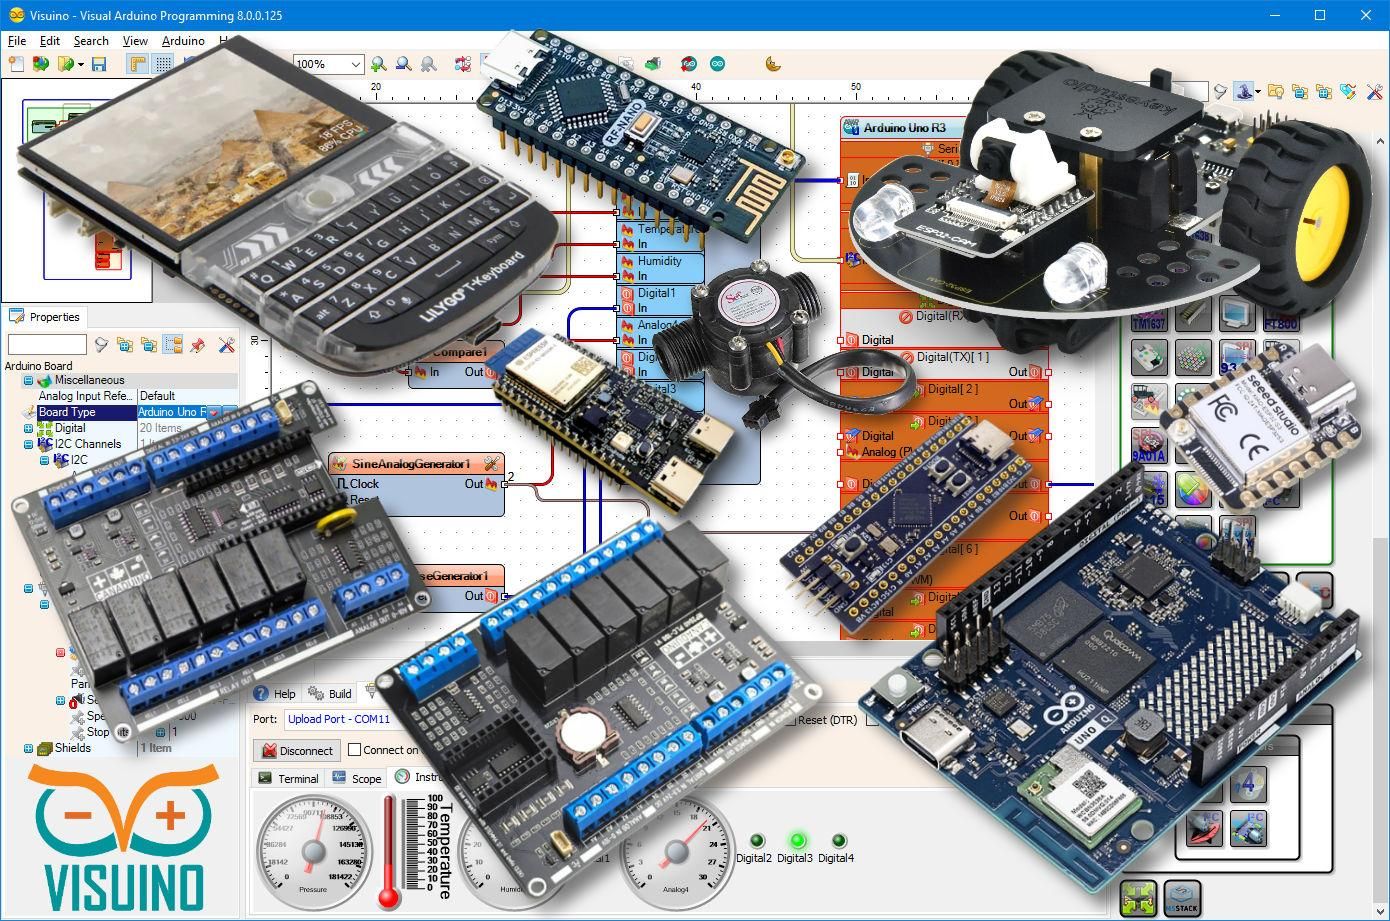

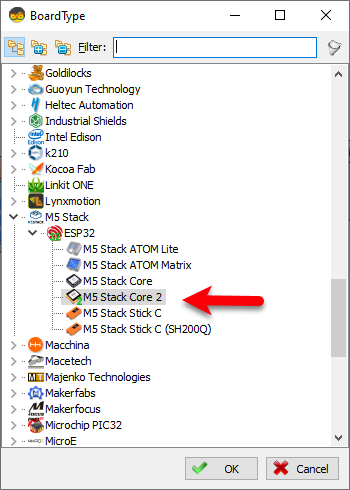
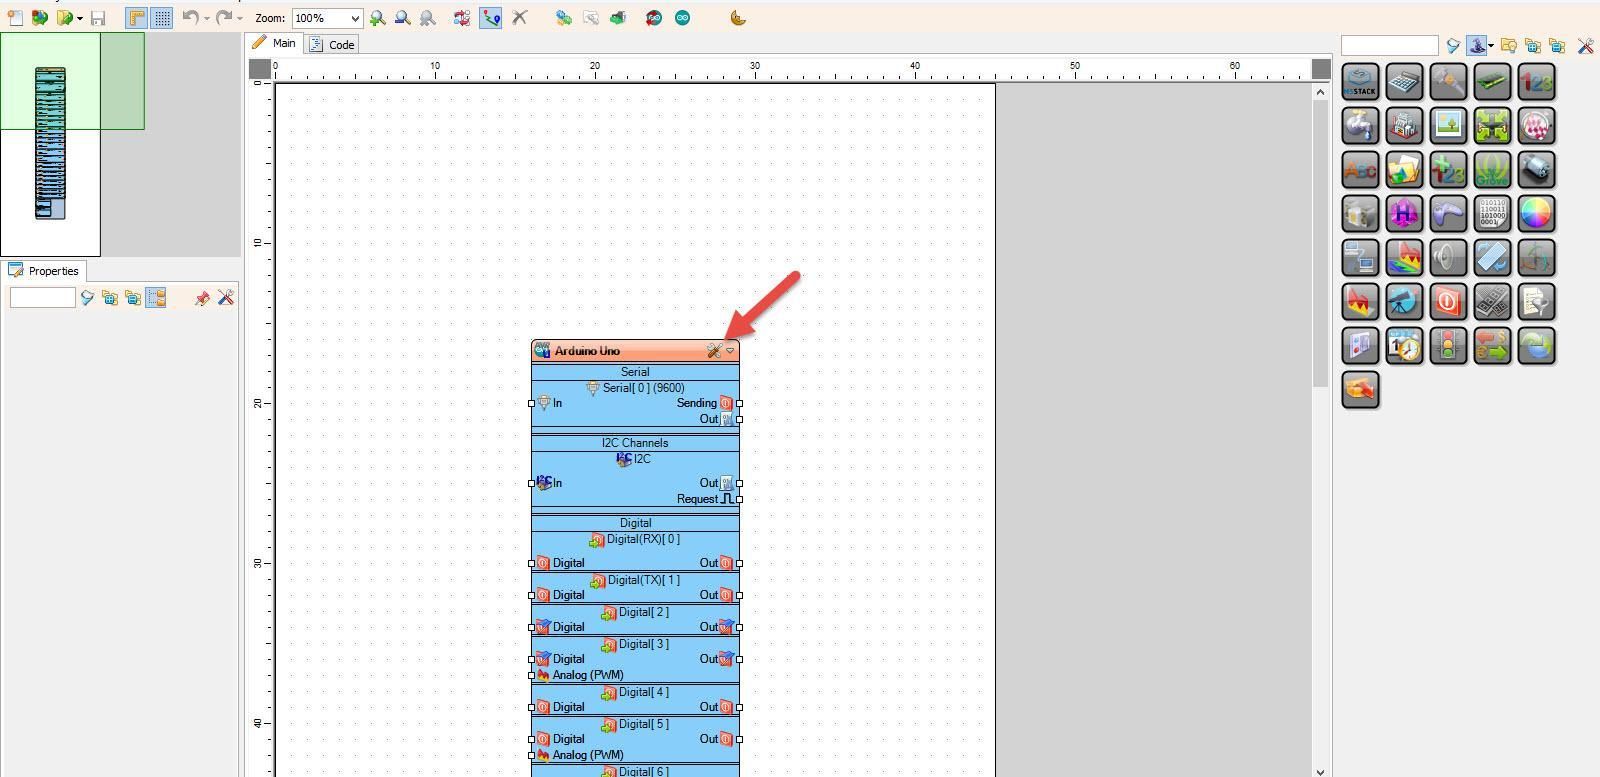
Start Visuino as shown in the first picture Click on the "Tools" button on the Arduino component (Picture 1) in Visuino When the dialog appears, select "M5 Stack Core 2" as shown on Picture 2
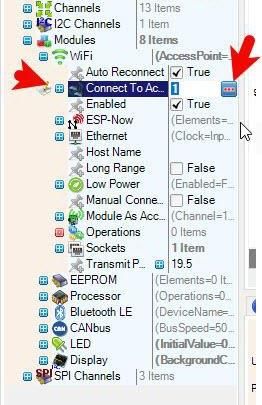
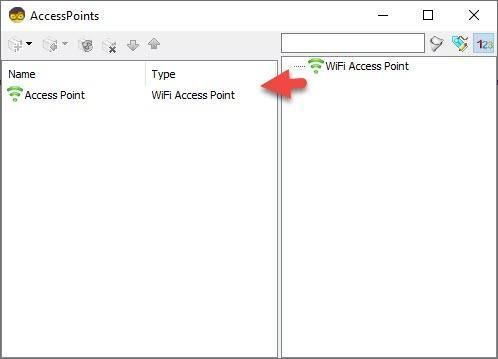
Select M5 Stack Core 2 board and in the editor Modules>WiFi>Access Points, click on [...] button, so that "Access points " window will open.In this editor drag the WiFi access point to the left side.
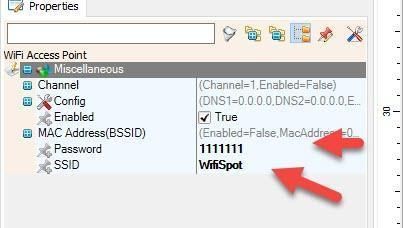
- In the properties window Under "SSID" put the name of your WiFi Network
- Under "Password" put the access password for your WiFi network
- Close the "Access points" window
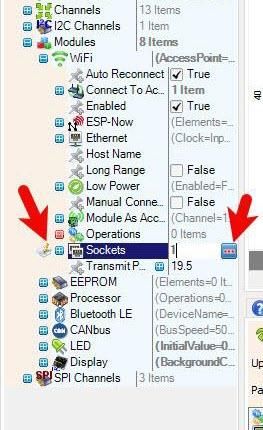
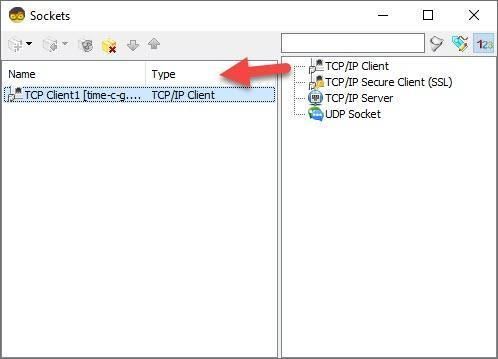
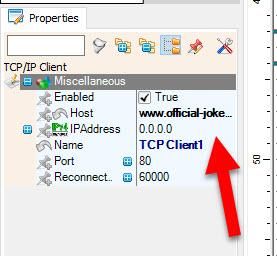
- On the left in editor select Modules>Wifi>Sockets, click on [...] button, so that "Sockets" window will open Drag the TCP/IP Client from right to the left side, then Under Properties window set port: 37 and host: www.official-joke-api.appspot.com
- Close the "Sockets" window
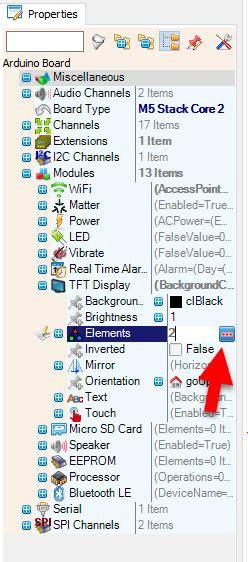
Select M5 Stack Core 2 board and in the properties window expand "Modules>TFT Display>Elements" Click on the Elements 3 Dots
- In the Elements window Drag "Fill Screen" to the left side
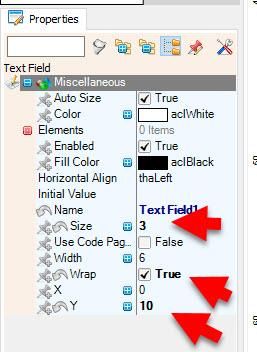
- In the Elements window Drag "Text Field" to the left and in the properties window set size to 3, Wrap to True and Y to 10.
- Close the Elements Window

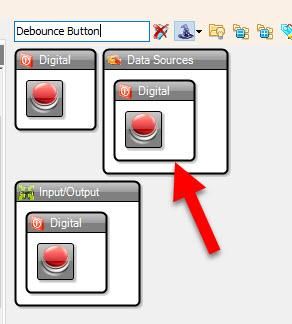
- Add 2X "Debounce Button" component
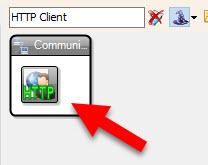
- Add "HTTP Client" component
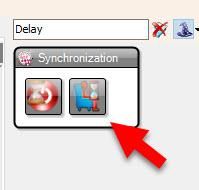
- Add "Delay" component
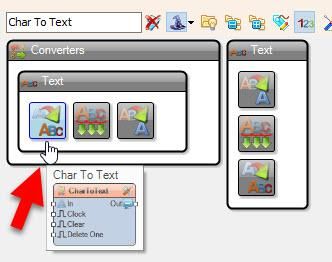
- Add "Char To Text" component
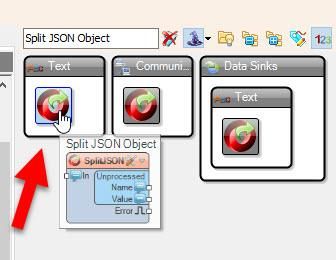
- Add "Split JSON Object" component
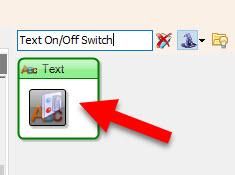
- Add "Text On/Off Switch" component
- Add "Text Multi-Source Merger" component


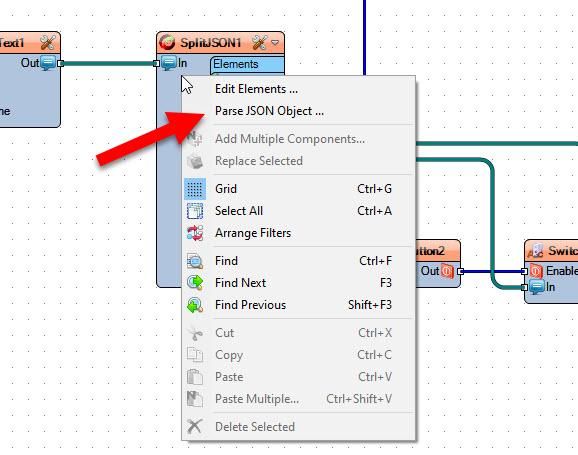
- With the mouse right click on the "SplitJSONArray1" and in the menu click on the "Parse JSON Array.."
In the "JSON Array" window paste this sample code(avalible on https://official-joke-api.appspot.com/random_joke )Or copy paste the following:
{"type":"general","setup":"How did Darth Vader know what Luke was getting for Christmas?","punchline":"He felt his presents.","id":116}
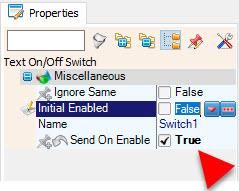
- Select "Switch1" and in the properties window set "Send On Enable" to True
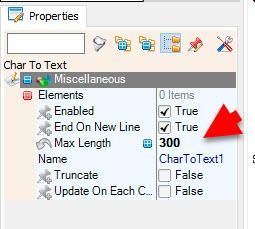
- Select "CharToText1" and in the properties window set "Max Length" to 300
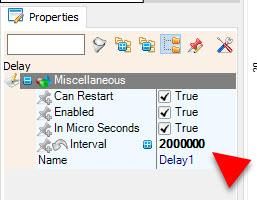
- Select "Delay1" and in the properties window set "Interval" to 2000000
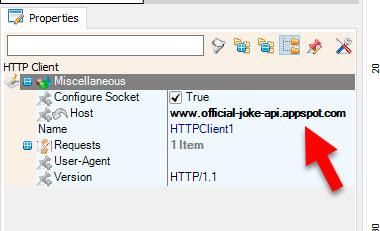
- Select "HTTPClient1" and in the properties window et "Host" to www.official-joke-api.appspot.com
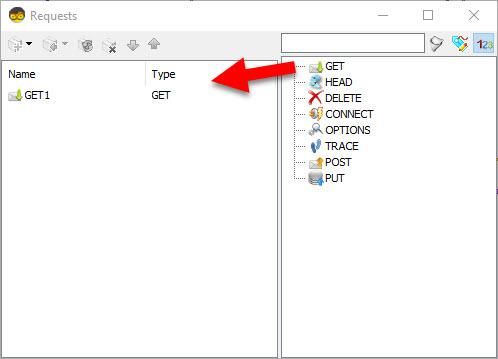
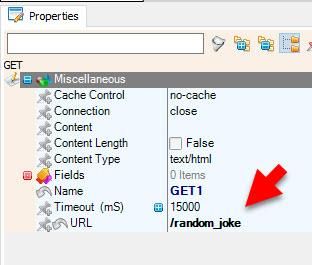
- Double click on the "HTTPClient1" and in the Requests window drag "Get" to the left side and in the properties window set "URL" to /random_joke
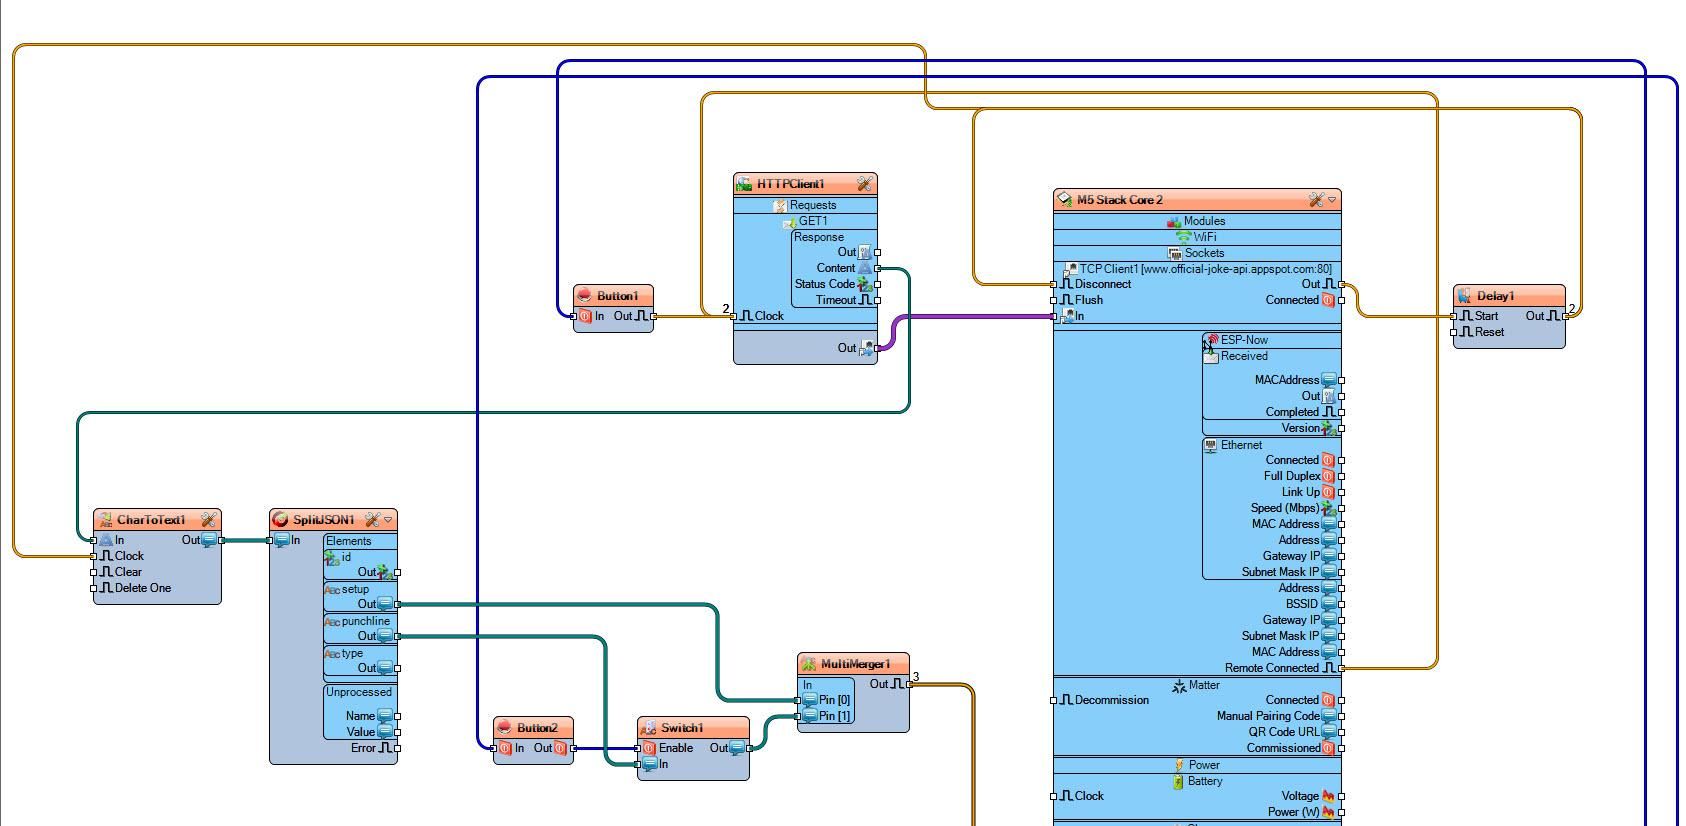
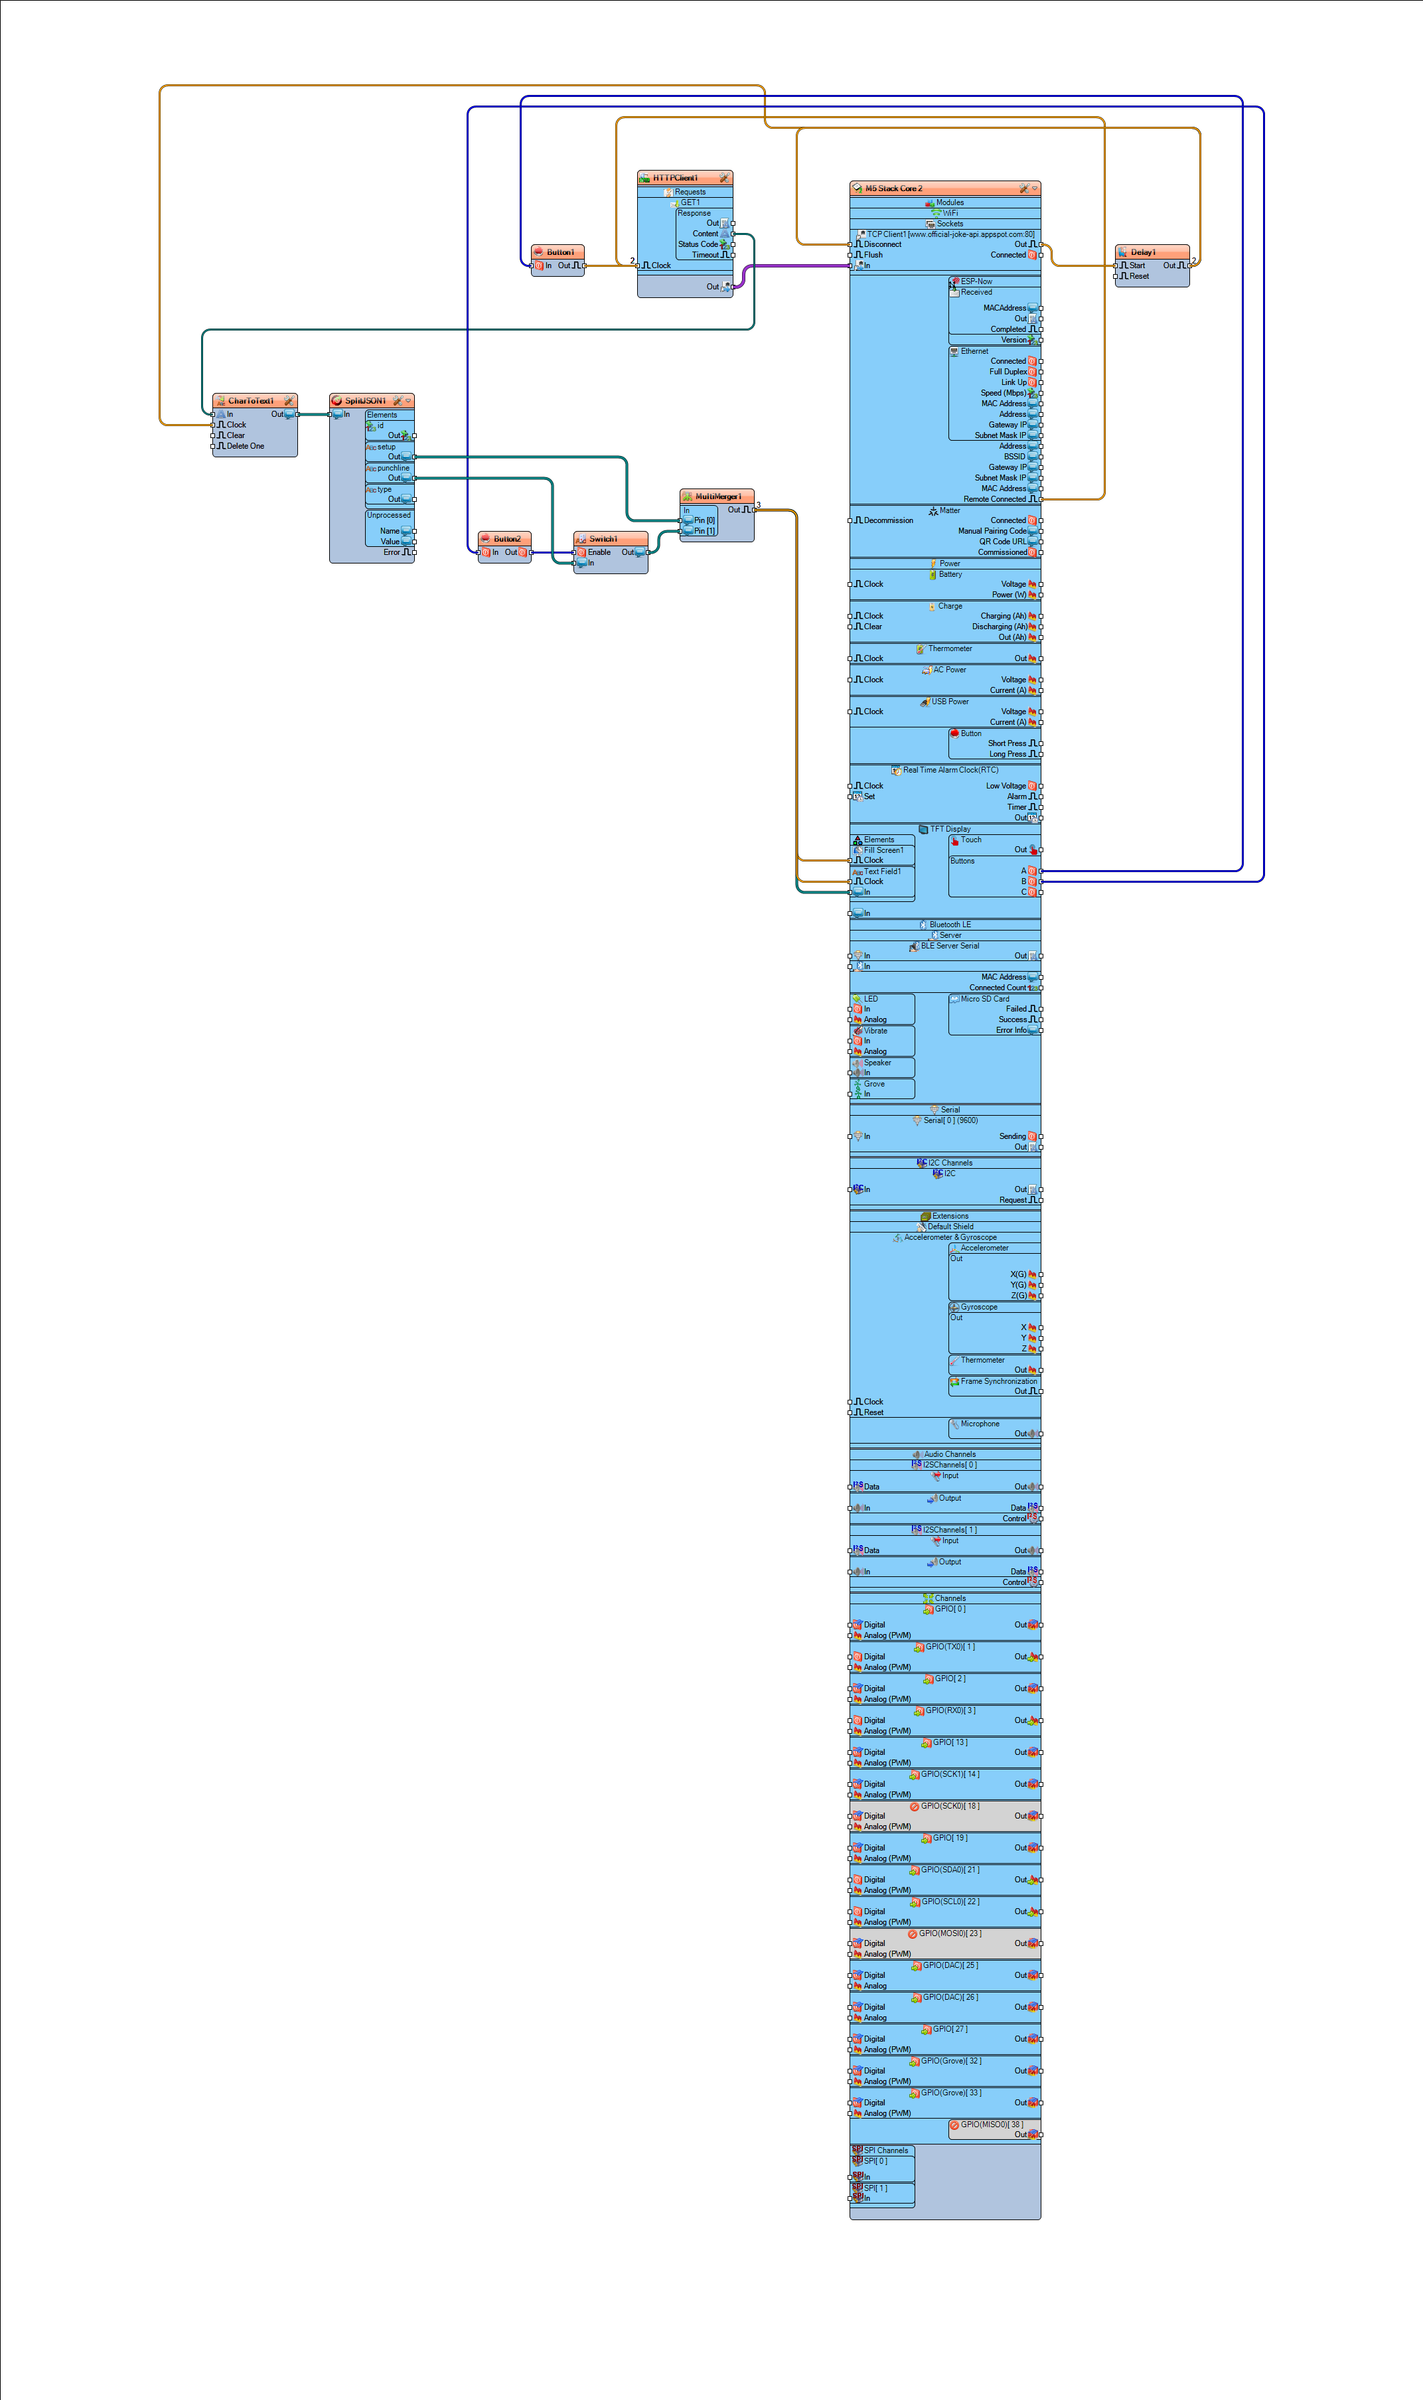
- Connect M5 Stack Core 2 > "TCP Client1" pin [Out] to "Delay1" pin [Start]
- Connect "Delay1" pin [Out] to M5 Stack Core 2 > "TCP Client1" pin [Disconnect]
- Connect "Delay1" pin [Out] to "CharToText1" pin [Clock]
- Connect M5 Stack Core 2 > pin [Remote Connected] to "HTTPClient1 > GET1" pin [Clock]
- Connect "Button1" pin [Out] to "HTTPClient1 > GET1" pin [Clock]
- Connect "M5 Stack Core 2 > TFT Display > Touch > Button A" pin [Out] to "Button1" pin [In]
- Connect "M5 Stack Core 2 > TFT Display > Touch > Button B" pin [Out] to "Button2" pin [In]
- Connect "HTTPClient1" pin [Out] to "M5 Stack Core 2 > WiFi > TCP Client1" pin [In]
- Connect "HTTPClient1 > GET1 > Response > Content" pin [Out] to "CharToText1" pin [In]
- Connect "CharToText1" pin [Out] to "SplitJSON1" pin [In]
- Connect "SplitJSON1 > setup" pin [Out] to "MultiMerger1" pin [0]
- Connect "SplitJSON1 > punchline" pin [Out] to "Switch1" pin [In]
- Connect "Button2" pin [Out] to "Switch1" pin [Enable]
- Connect "Switch1" pin [Out] to "MultiMerger1" pin [1]
Make sure to connect this in the same order:
- Connect "MultiMerger1" pin [Out] to "M5 Stack Core 2 > TFT Display > Fill Screen1" pin [Clock]
- Connect "MultiMerger1" pin [Out] to "M5 Stack Core 2 > TFT Display > Text Field1" pin [In]
- Connect "MultiMerger1" pin [Out] to "M5 Stack Core 2 > TFT Display > Text Field1" pin [Clock]
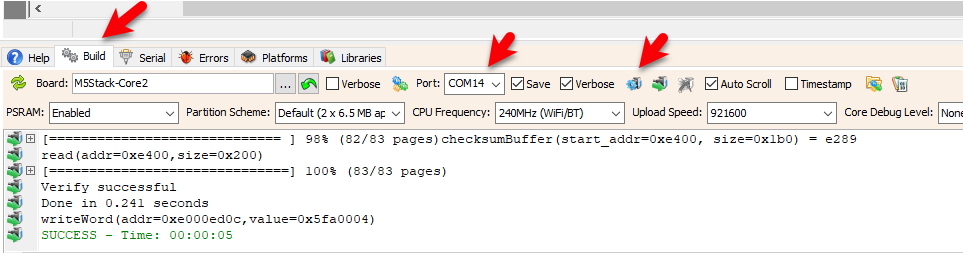
In Visuino, at the bottom click on the "Build" Tab, make sure the correct port is selected, then click on the "Compile/Build and Upload" button.
If you power the M5 Stack Core, press the first touch button, the display should start showing the Joke and if you press the middle touch button the display should show a Punchline.
Congratulations! You have completed your Internet Time project with Visuino. Also attached is the Visuino project, that I created for this Tutorial. You can download and open it in Visuino: https://www.visuino.eu


