

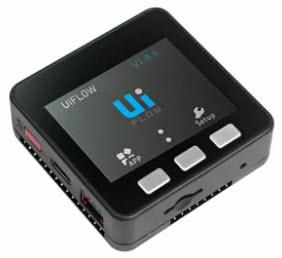
In this Visual Programming Visuino tutorial, we'll use the M5Stack Core2 to retrieve inspirational quotes from a free online API and display them on the screen. Although this example uses the M5Stack Core2, you can use any ESP32 or similar Wi-Fi-enabled board.
When the device starts, it automatically connects to your Wi-Fi network and requests a random quote from api.quotable.io. The quote is displayed immediately on the screen.
Every 20 seconds, the ESP32 automatically requests and displays a new random quote. You can easily change this interval in Visuino to any timing you prefer.
If you're using the M5Stack Core2, you can also press the button at any time to instantly fetch and display another random quote without waiting for the timer.
The quote data is received in JSON format and processed directly in Visuino. The visual programming environment extracts the quote text and author from the response, making it easy to display them on the screen.
Using Visuino's drag-and-drop interface, you can quickly configure the Wi-Fi connection, send HTTP requests, parse JSON responses, and create an internet-connected application without writing complex code.
This project demonstrates how to build a real-time IoT application that retrieves live data from a web API and presents it in an attractive way.
You can easily expand the project by saving favorite quotes, adding text-to-speech, displaying quotes on external displays, using different fonts and animations, or connecting to other online APIs.
For more information about the API used in this tutorial, visit:
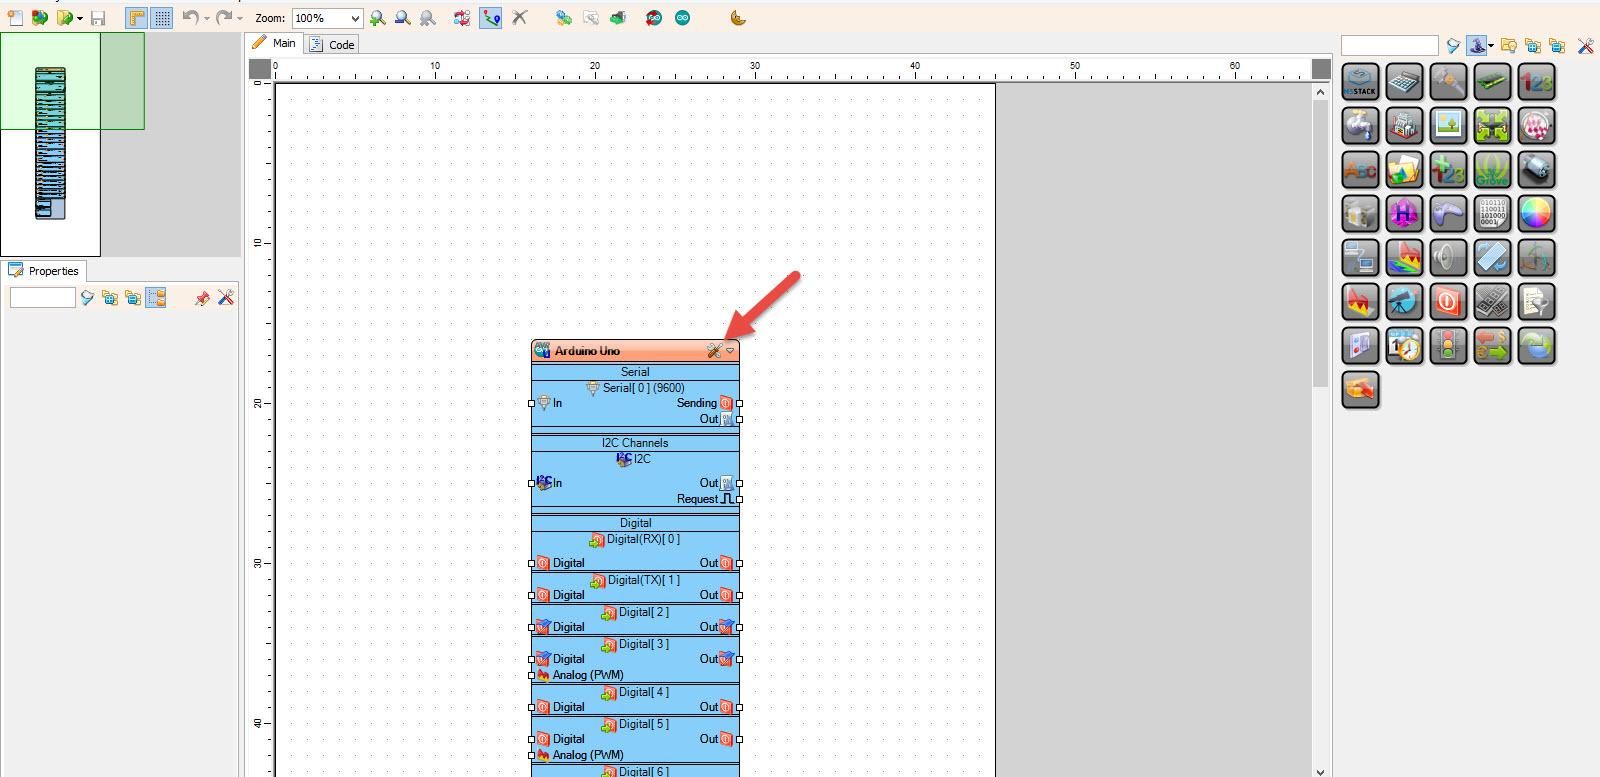
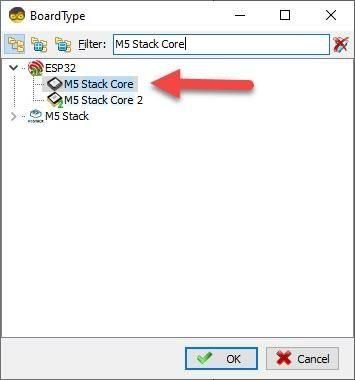
Start Visuino as shown in the first picture Click on the "Tools" button on the Arduino component (Picture 1) in Visuino When the dialog appears, select "M5 Stack Core" as shown on Picture 2
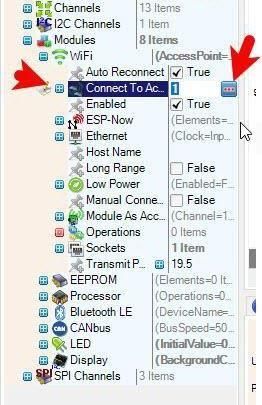
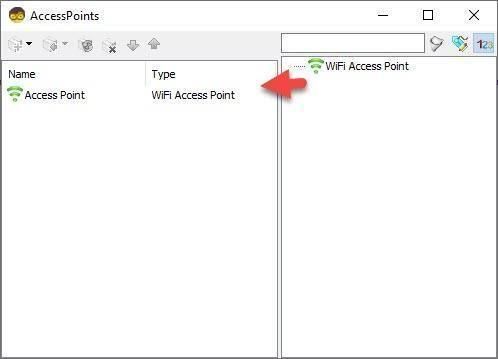
Select M5 Stack Core board and in the editor Modules>WiFi>Access Points, click on [...] button, so that "Access points " window will open.In this editor drag the WiFi access point to the left side.
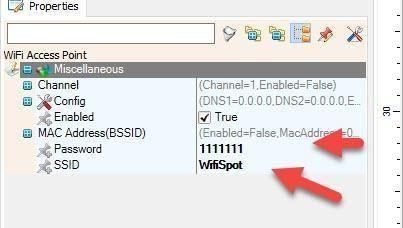
- In the properties window Under "SSID" put the name of your WiFi Network
- Under "Password" put the access password for your WiFi network
- Close the "Access points" window
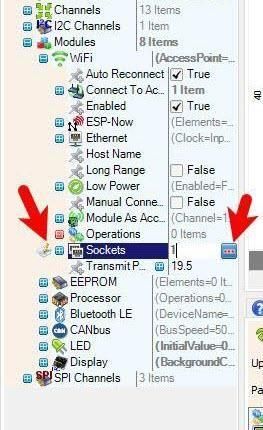
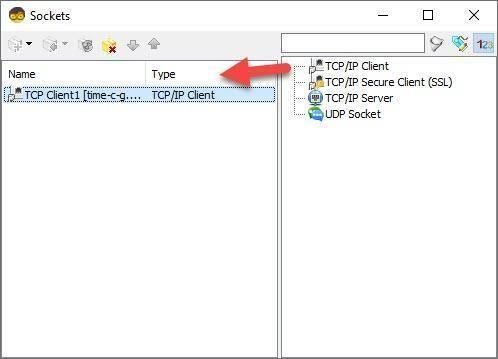
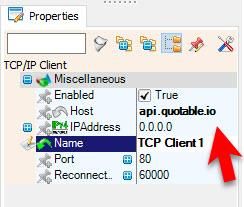
- On the left in editor select Modules>Wifi>Sockets, click on [...] button, so that "Sockets" window will open Drag the TCP/IP Client from right to the left side, then Under Properties window set port: 37 and host: api.quotable.io
- Close the "Sockets" window
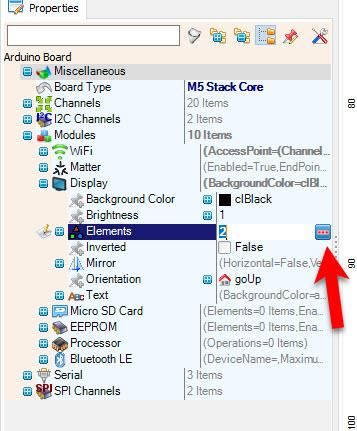
Select M5 Stack Core board and in the properties window expand "Modules>TFT Display>Elements" Click on the Elements 3 Dots
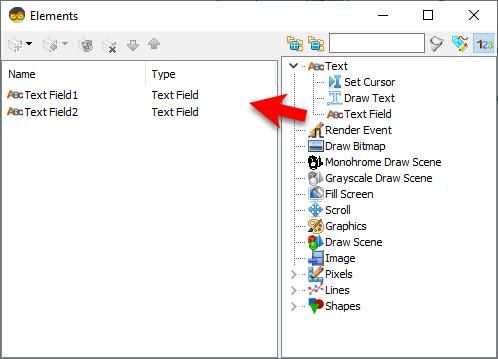
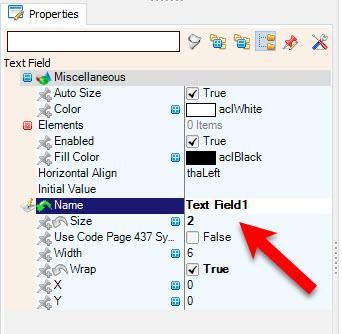
- In the Elements window Drag "Text Field" to the left and in the properties window set size to 2,, Wrap to True
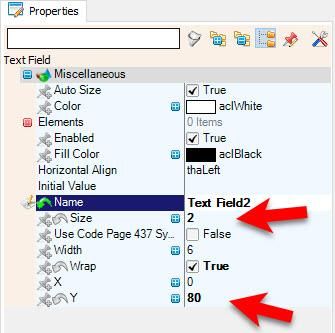
- In the Elements window Drag "Text Field" to the left and in the properties window set size to 2, Wrap to True and Y to 80.
- Close the Elements Window
- Add "Debounce Button" component
- Add "HTTP Client" component
- Add 2X "Delay" component
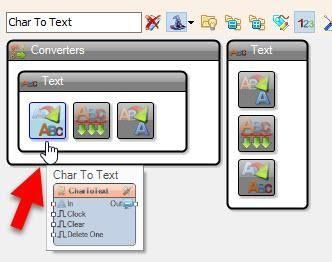
- Add "Char To Text" component
- Add "Start" component
- Add "Split JSON Object" component
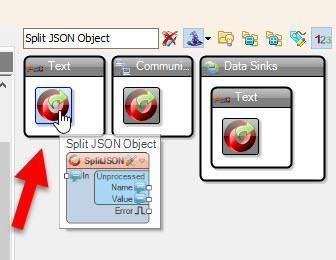
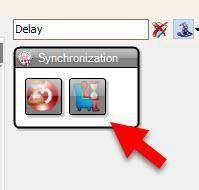
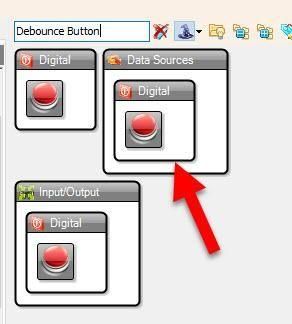
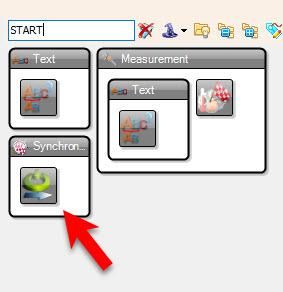
- With the mouse right click on the "SplitJSONArray1" and in the menu click on the "Parse JSON Array.."
In the "JSON Array" window paste this sample code(avalible on api.quotable.io/random ) Or copy paste the following:
{"_id":"es6wl_dKJo","content":"The human spirit must prevail over technology.","author":"Albert Einstein","tags":["Technology"],"authorSlug":"albert-einstein","length":46,"dateAdded":"2021-03-26","dateModified":"2023-04-14"}
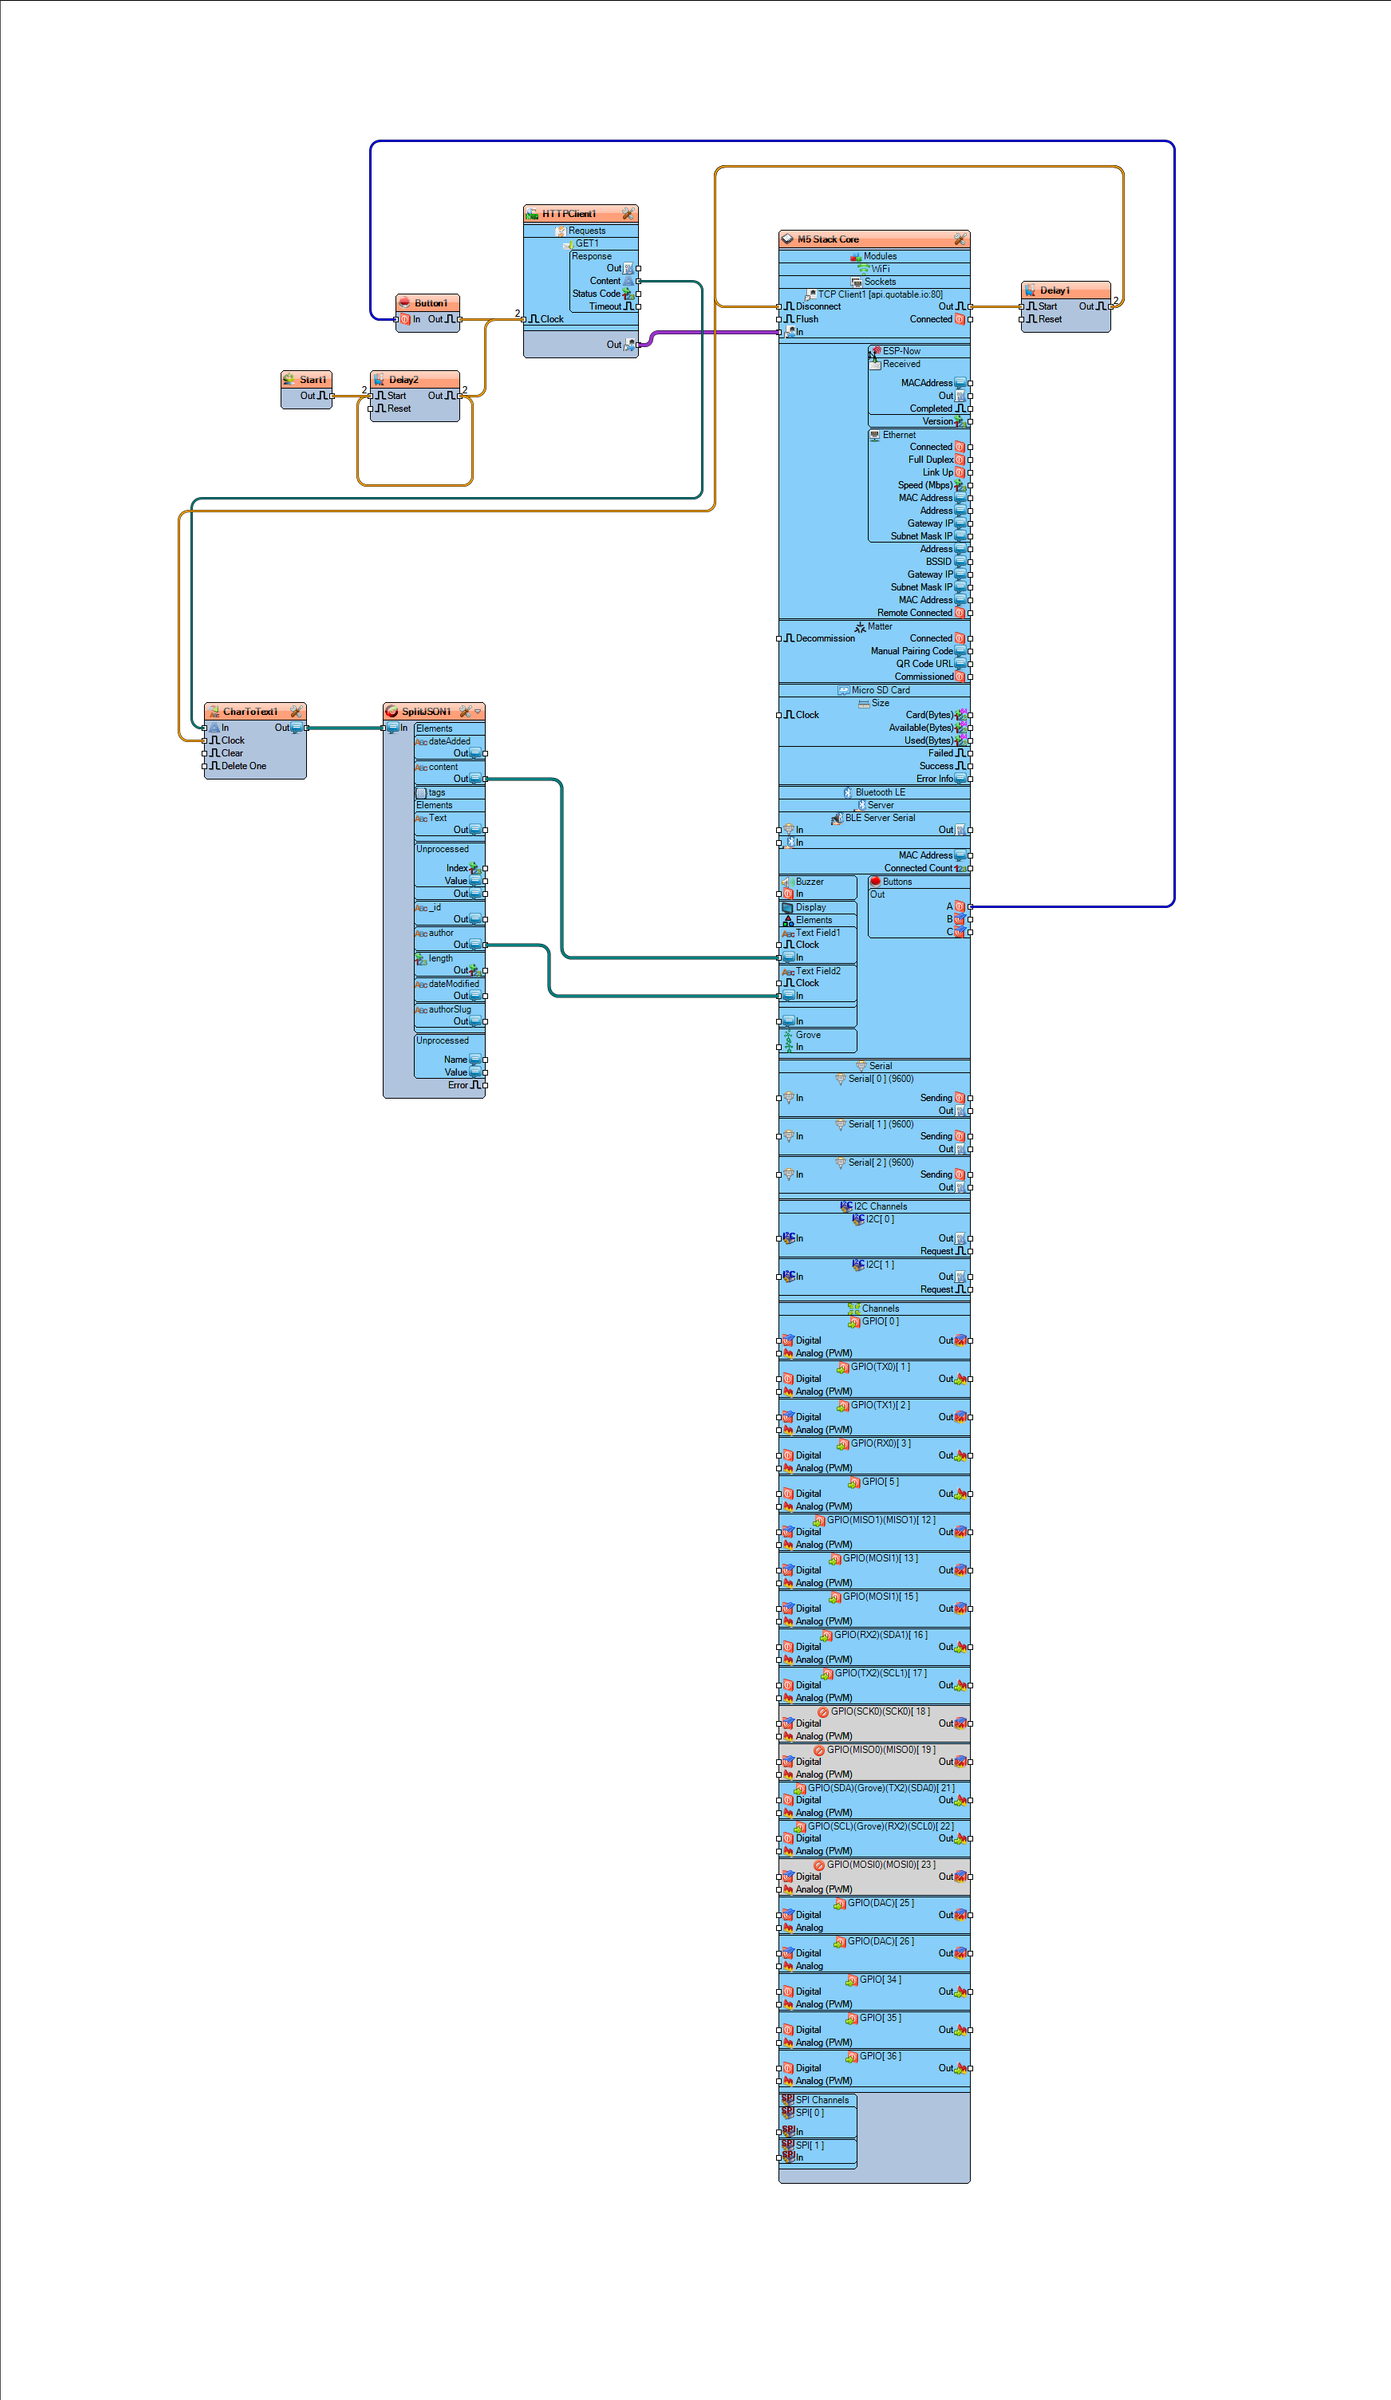
- Connect "M5Stack Core" >Buttons> [A] pin [Out] to "Button1" pin [In]
- Connect "Delay1" pin [Out] to "CharToText1" pin [Clock]
- Connect "Delay1" pin [Out] to "Arduino.Modules.WiFi.Sockets.TCP Client1 [api.quotable.io:80]" pin [Disconnect]
- Connect "Button1" pin [Out] to "HTTPClient1.Requests.GET1" pin [Clock]
- Connect "Start1" pin [Out] to "Delay2" pin [Start]
- Connect "Delay2" pin [Out] to "HTTPClient1.Requests.GET1" pin [Clock]
- Connect "Delay2" pin [Out] to "Delay2" pin [Start]
- Connect "HTTPClient1.Requests.GET1.Response" pin [Content] to "CharToText1" pin [In]
- Connect "HTTPClient1" pin [Out] to "Arduino.Modules.WiFi.Sockets.TCP Client1 [api.quotable.io:80]" pin [In]
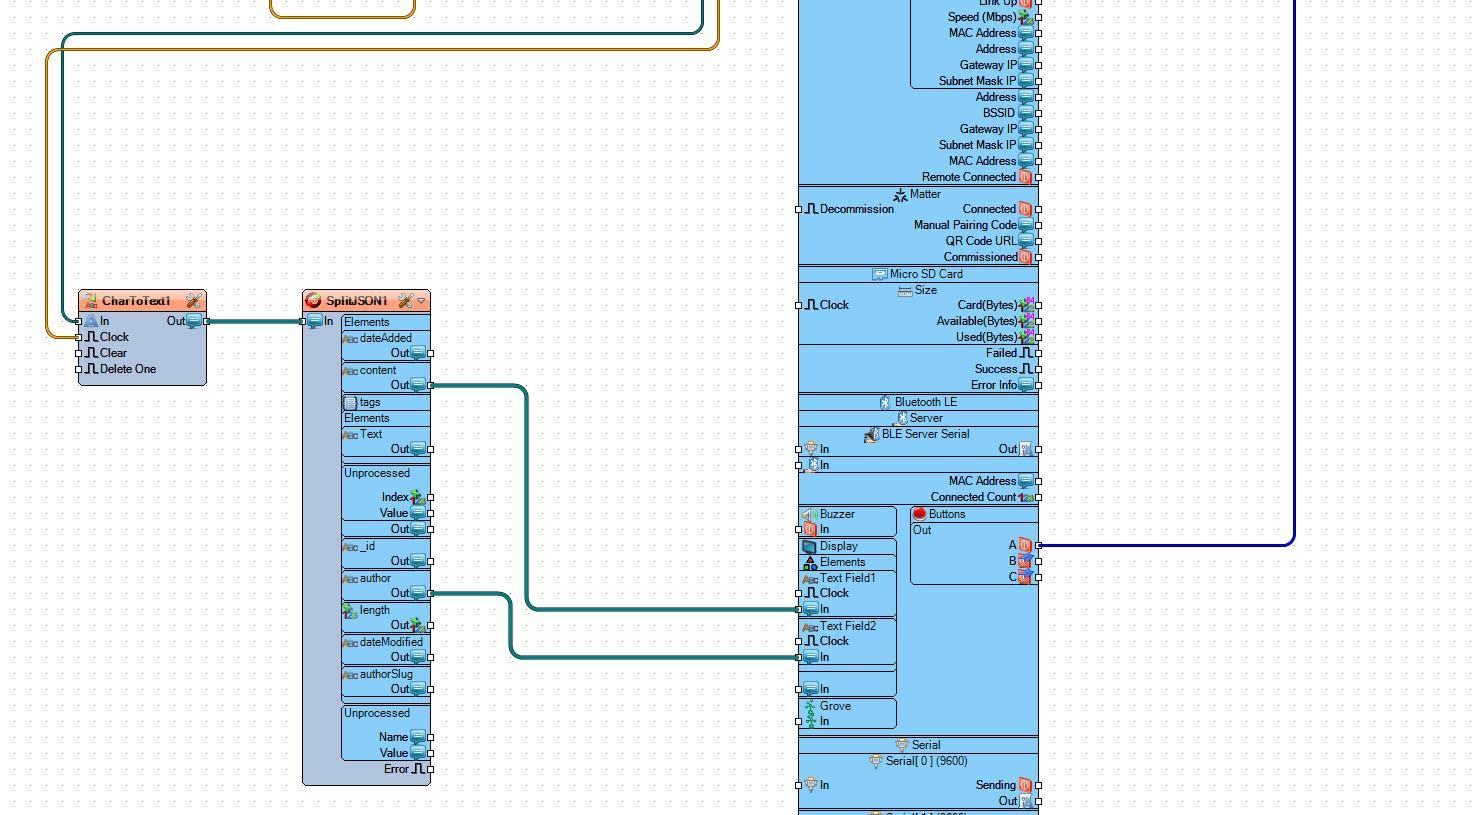
- Connect "CharToText1" pin [Out] to "SplitJSON1" pin [In]
- Connect "SplitJSON1.Elements.content" pin [Out] to "Arduino.Modules.Display.Elements.Text Field1" pin [In]
- Connect "SplitJSON1.Elements.author" pin [Out] to "Arduino.Modules.Display.Elements.Text Field2" pin [In]
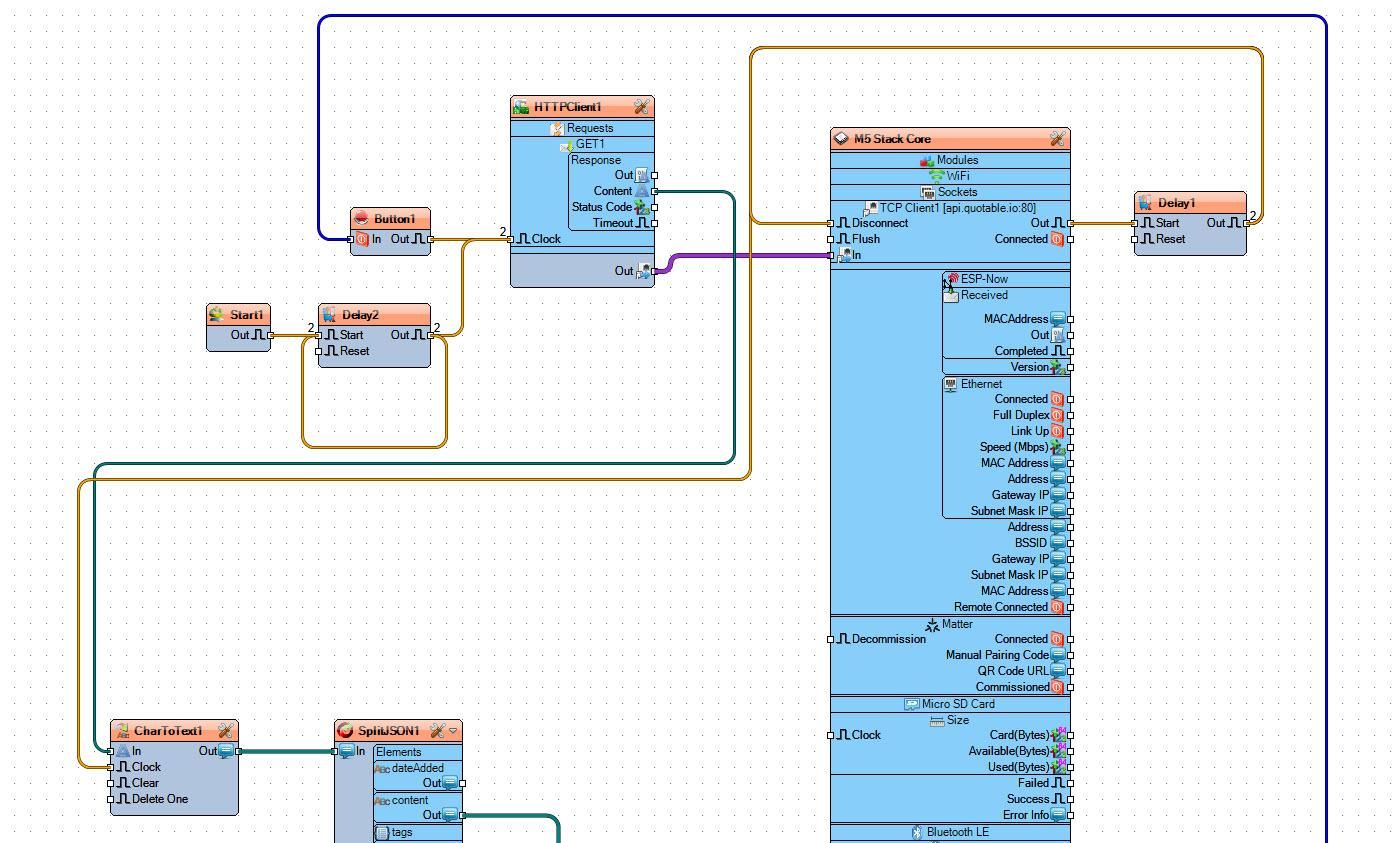
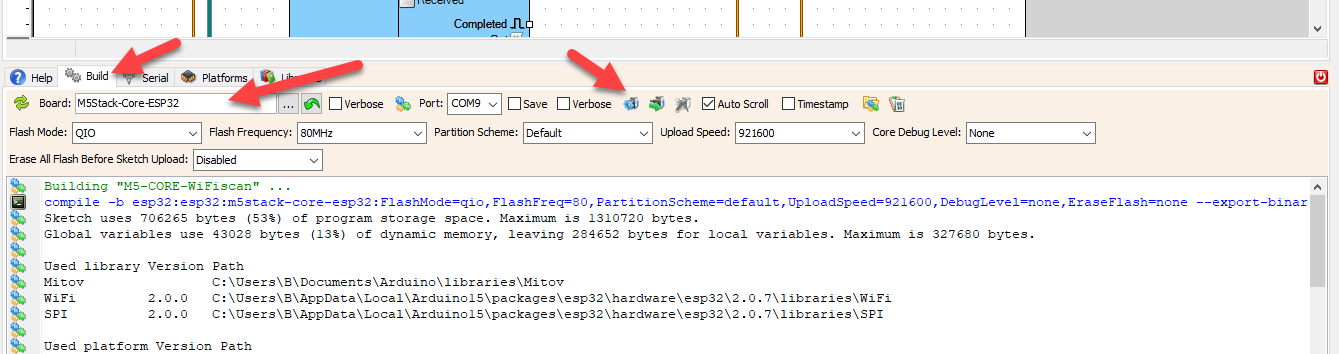
In Visuino, at the bottom click on the "Build" Tab, make sure the correct port is selected, then click on the "Compile/Build and Upload" button.
If you power the M5 Stack Core, the display should start showing the Quote and if you press the button the display should show a new quote, it will also show a new quote every 20s (you can change the interval in the delay component).
Congratulations! You have completed your Internet Time project with Visuino. Also attached is the Visuino project, that I created for this Tutorial. You can download and open it in Visuino: https://www.visuino.com
 M5STACK-Core-api-quotes.zip




