Worried about machine monitoring, build a low-cost mouse juggler with Xiao RP2040. Enjoy your Work From Home.
Introduction
The Mouse Jiggler is an ideal solution for those who need to take short breaks during their day, as it can keep the computer active while they take a quick break. Additionally, it can keep the computer active for long periods of time, and you don't need to worry about your computer going into sleep mode.
This Jiggler device is small and easy to use, and it can be connected to any USB port. But the thing is those devices are a little costly, and you can also see some DIY ideas to make a Jiggler.
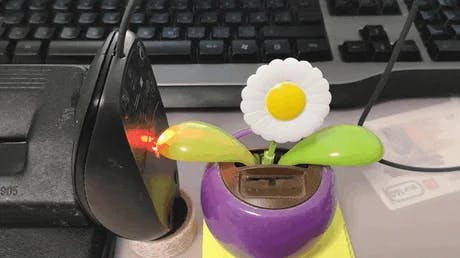
But who knows how long that will work. Keeping an active status is always a big team nowadays. So I decide to make my own Mouse Jiggler.
For this project, I plan to use Seeed's Xiao RP2040 with the USB Mouse HID program.
Get PCBs For Your Projects Manufactured
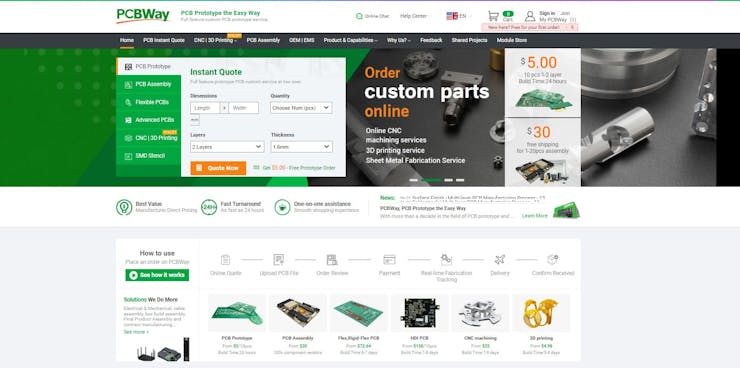
You must check out PCBWAY for ordering PCBs online for cheap!
You get 10 good-quality PCBs manufactured and shipped to your doorstep for cheap. You will also get a discount on shipping on your first order. Upload your Gerber files onto PCBWAY to get them manufactured with good quality and quick turnaround time. PCBWay now could provide a complete product solution, from design to enclosure production. Check out their online Gerber viewer function. With reward points, you can get free stuff from their gift shop.
Step:1 – RP2040 Setup
Download the pico-setup-windows installer and download it onto your machine.
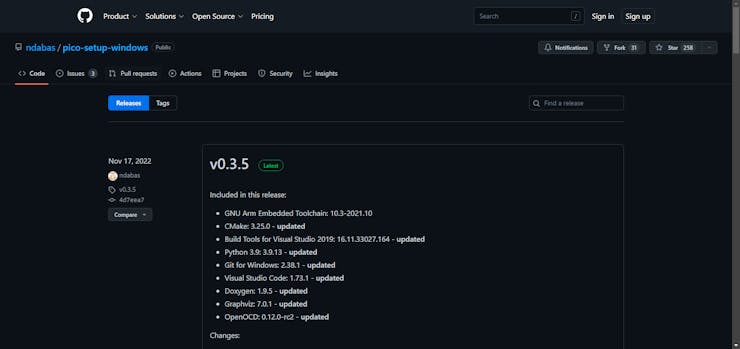
Scroll down and download the latest zip file.

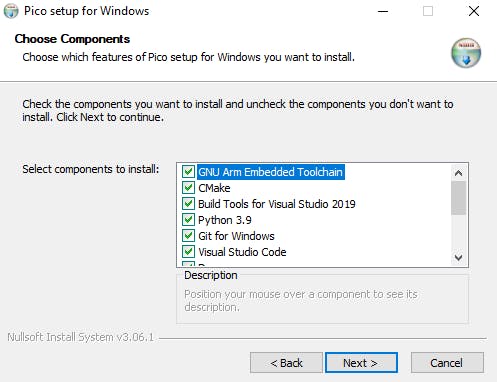
Launch the installer and select all the components to be installed.
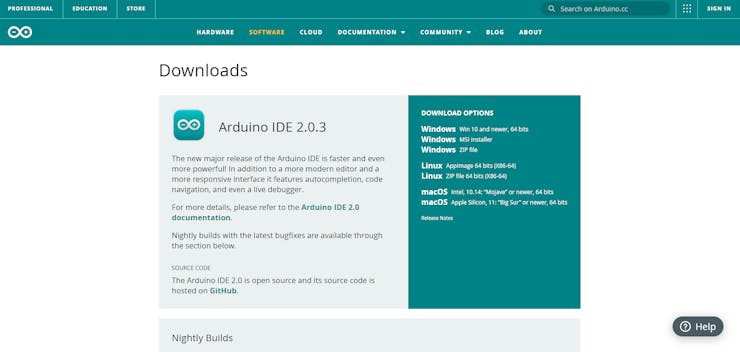
Download the Arduino IDE and install it onto your machine.
Open the Arduino application and select File >> Preferences.
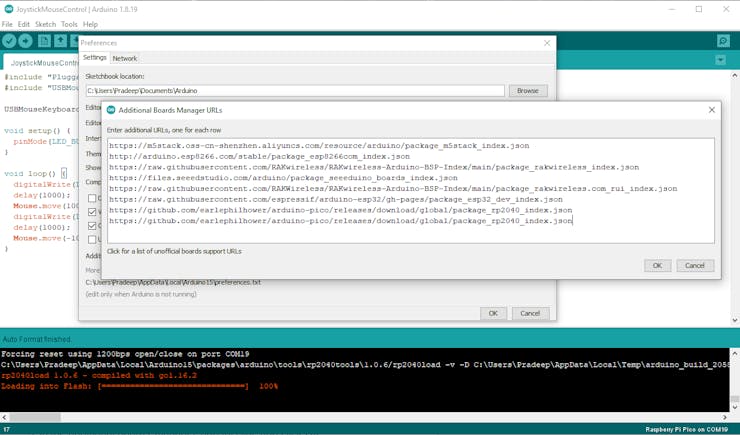
In the additional boards' manager, add this line and click OK:
https://github.com/earlephilhower/arduino-pico/releases/download/global/package_rp2040_index.json.
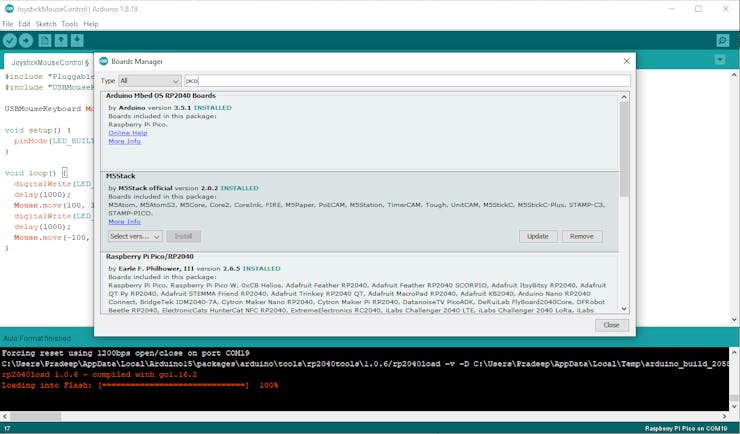
Navigate to Tools >> Board >> Boards Manager and type “pico” in the search box. Install the Arduino Mbed OS for the RP2040 board.
Then, select Tools > Board > Arduino Mbed OS for RP2040 board and choose Raspberry Pi Pico.
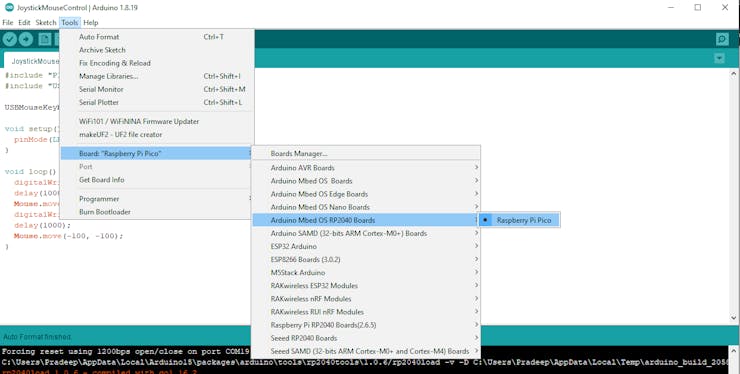
Connect the Xiao RP2040 and use Device Manager to identify its COM port. Finally, set the COM port for the Raspberry Pi Pico in Tools > Port.
Step:2 – Code Setup
Next, copy the below code and paste into the Arduino IDE and try to compile the code without any errors.
#include "PluggableUSBHID.h"
#include "USBMouseKeyboard.h"

USBMouseKeyboard Mouse;

void setup() {
  pinMode(LED_BUILTIN, OUTPUT);
}

void loop() {
  digitalWrite(LED_BUILTIN, HIGH);
  delay(500);
  Mouse.move(10, 10);
  digitalWrite(LED_BUILTIN, LOW);
  delay(500);
  Mouse.move(-10, -10);
}
Then upload the code to Xiao RP2040. If the boot is not enabled, try to press and hold the Boot button and plug the USB, and now you can see the new USB disk. (Like RPI-RP2)

Now upload the code and check the response.
That's all. Now you can enjoy your Work From Home without any disturbance.