Story:
Armbian is a Linux distribution designed for ARM development boards. Typically, one of the stable or development releases of Debian or Ubuntu serves as its foundation. Banana Pi, Cubieboard, Olimex, Orange Pi, Odroid, Pine64, and a number of other well-known ARM-based devices are among the many popular ones that it supports. Armbian includes a menu-driven configuration tool, stock Debian utilities, and the Bash shell.
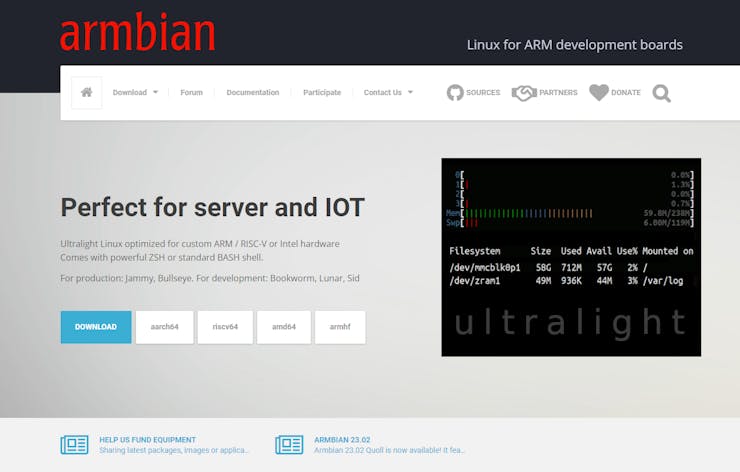
Apart from these SBC's LattePanda 3 Delta can also work with Armbian. In this tutorial will see how we can install the Armbian into LattePanda 3 Delta.

LattePanda 3 Delta contains onboard 60 GB of eMMC in which Windows 10 is natively installed. But in this demo, we are going to install the Armbian on an external drive.
Burn Armbian OS 🐧:
First, let's burn the Armbian OS into the drive. Let's download the Armbian OS. Go to the https://www.armbian.com/uefi-x86/. You will find the generic Intel / AMD OS.
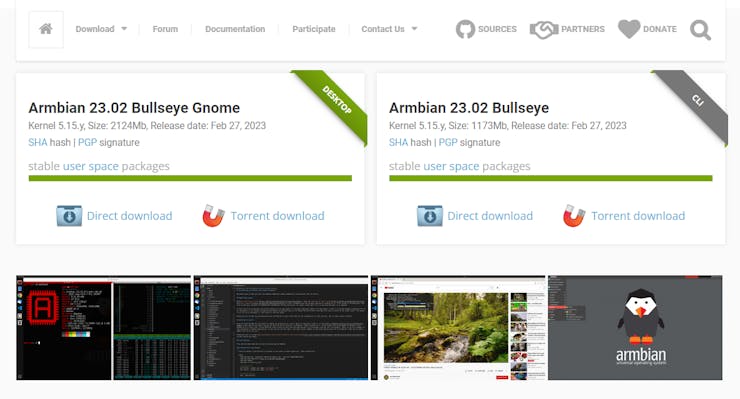
Next, download the Desktop version OS via Torrent or Direct link.
Use Rufus tool to burn the OS into an external disk.

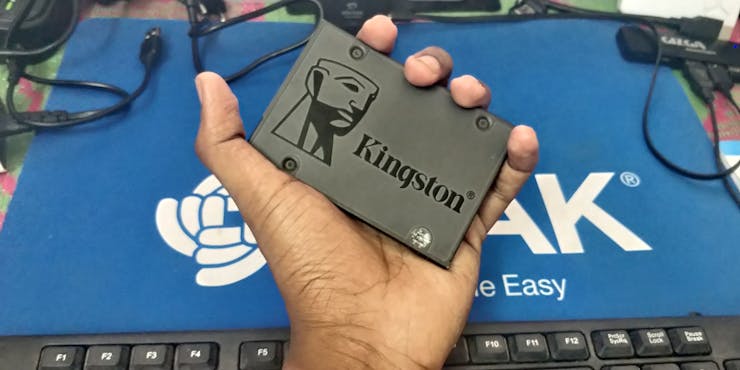
Download the Rufus and select your external disk in the tool. Here I'm using a Kingston 125 GB SSD.
Then select the OS and click the start button.
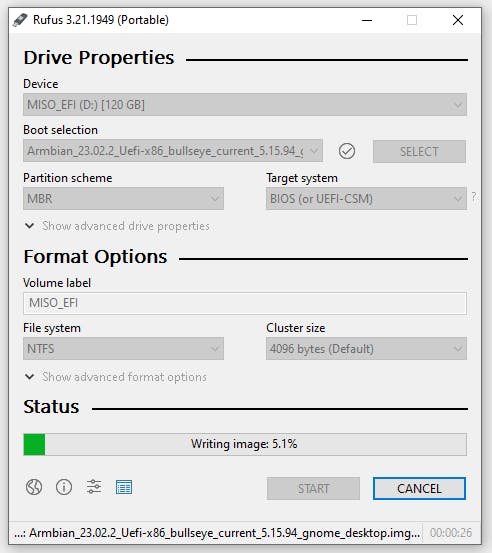
First, it will delete all the data and then write the OS to the disk. Wait until the burning finish.
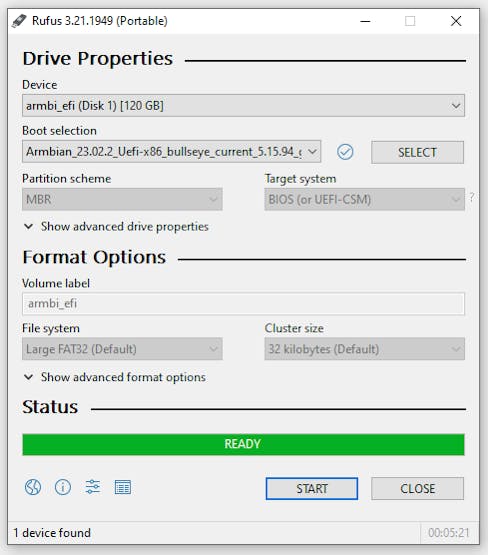
That's all now are ready to load the Armbian into LattePanda 3 Delta.
Boot Armbian 🐧 into LattePanda 3 Delta 🐼:
First, connect the OS disk to the LattePanda 3 Delta.
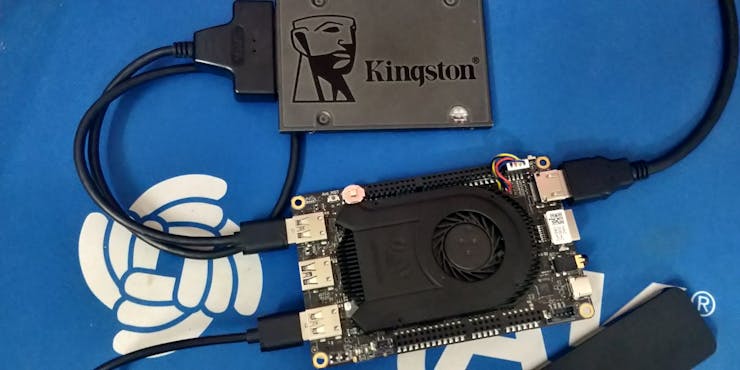
Then we have to disable the onboard eMMC in the LattePanda 3 Delta. Turn on the LattePanda 3 Delta and wait until the cute panda logo appears.
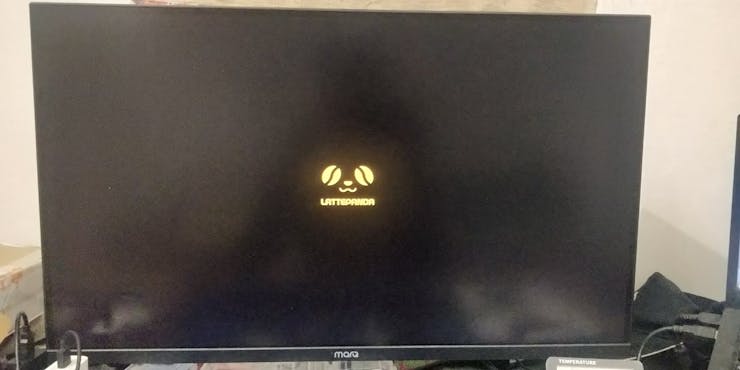
Once you see the logo click the Delete key to enter the Boot option.
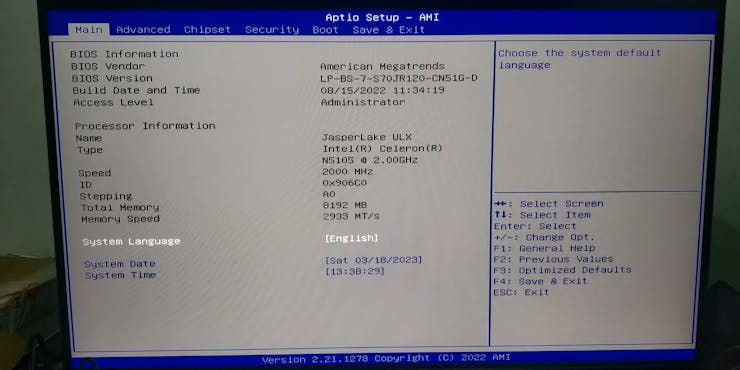
Then navigate to the chip test and select the chipset option and disable the eMMC Controller then click the escape key.
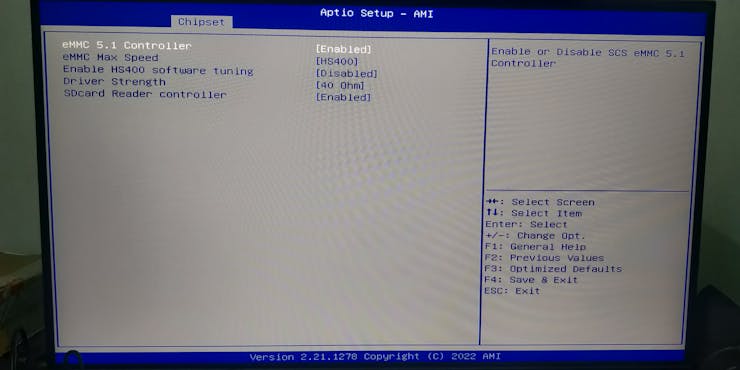
And go to the boot preference and select the USB disk as the preferred boot system.
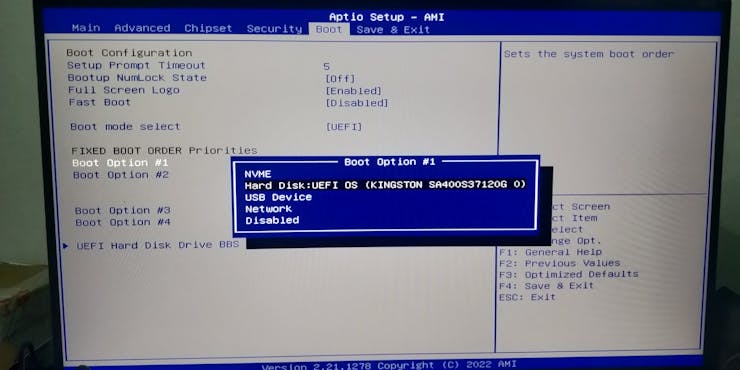
That's all then press F4 to save and reboot. Now you will see the LattePanda with Debian 11 OS.

First, you have to enter some root and user credentials, time zone, and some basic user settings.
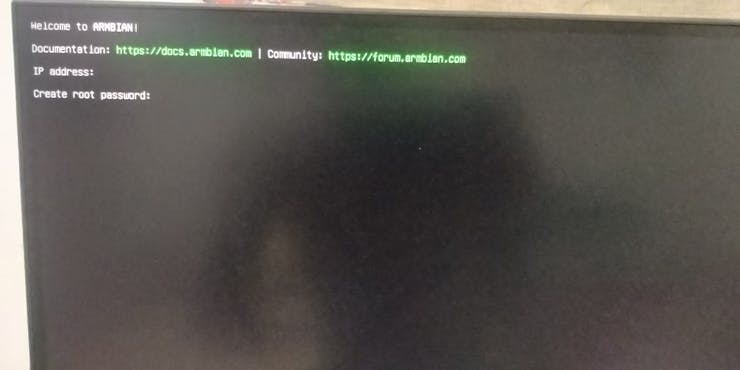
Then it will automatically show connectivity options. Here I have used the WiFi.

Finally, it will launch the desktop screen. Login using your credentials.
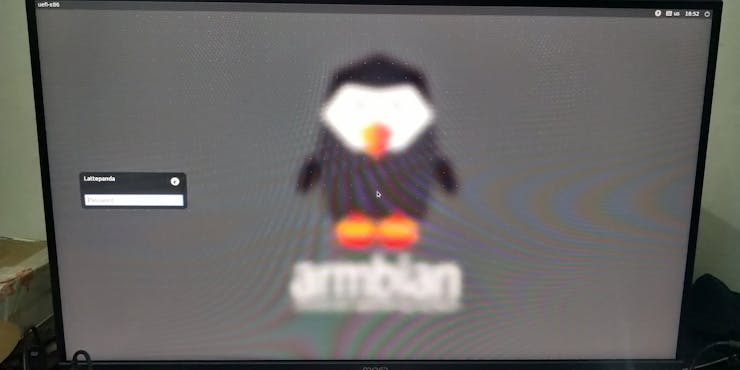
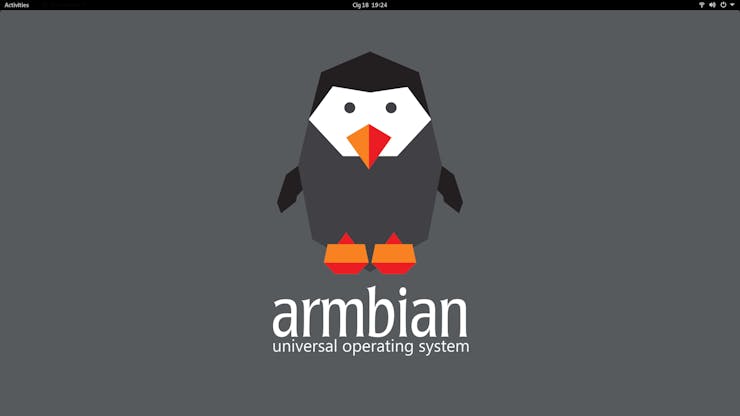
Here is the armbian home screen.
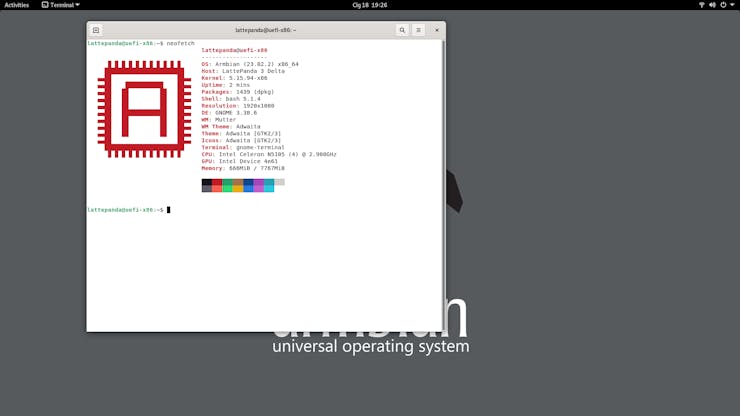
To get system information use the following command "neofetch".
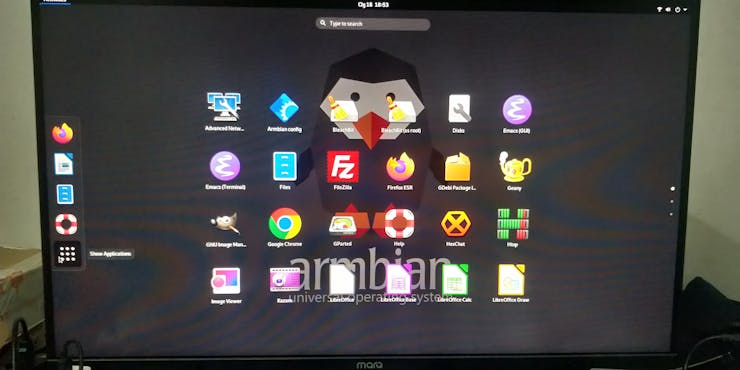
Here are some prebuild packages.
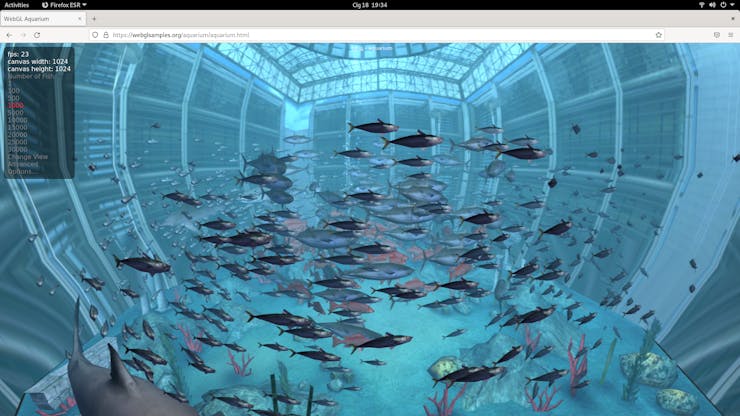
And I have tried to test the max FPS with the online tool.
Summary 👋:
That's all about this tutorial now you can use powerful LattePanda with the armbian OS.


