

This article will show you the LattePanda 3 Deltas' initial impressions and practical application.
What is Lattepanda?
LattePanda is a pocket-size SBC that is built on an Intel SOC, and WLattePanda is a portable SBC with a Windows OS and an Intel SOC. The beauty is that it is a Windows-based single-board computer. While there are many Linux distro-based SBCs available, native Windows compatibility is quite uncommon. Even my LattePanda is currently requesting the Windows 11 update 😅.

First, let's see all the LattePanda models.
Here is the overall comparison between all the modules.
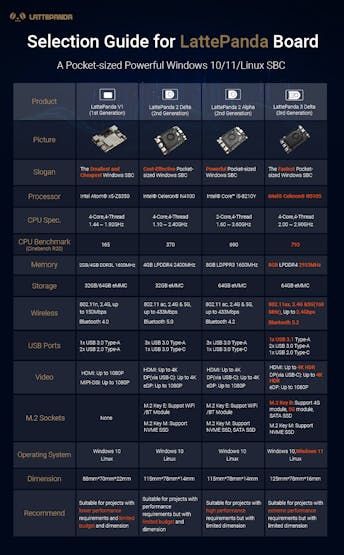
Compare to all other boards, LattePanda 3 Delta is the latest and most high-performance board. Here is the complete overview of the LP 3 Delta.
Features:
1. Intel 11th generation mobile quad-core processor.
2. 8 GB RAM and 64 GB eMMC.
3. Wi-Fi 6 and Gigabit Ethernet.
4. 1 x USB3.2 gen2, 2x USB 3.2 gen1, and 1x USB Type C.
5. Display port over USB-C, and eDP6. Arduino Coprocessor ATmega32U4.7. Support Win 10 and Win 11 & Linux OS
Simply, it's a Windows pc but in a small form factor 🚀.
I think now you got some idea 💡 about what is LattePanda 3 Delta. Now let's see what is inside the package.
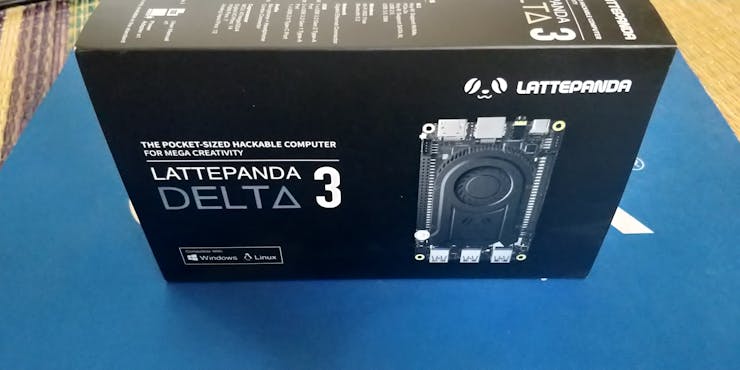
Unboxing the LattePanda 3 Delta:
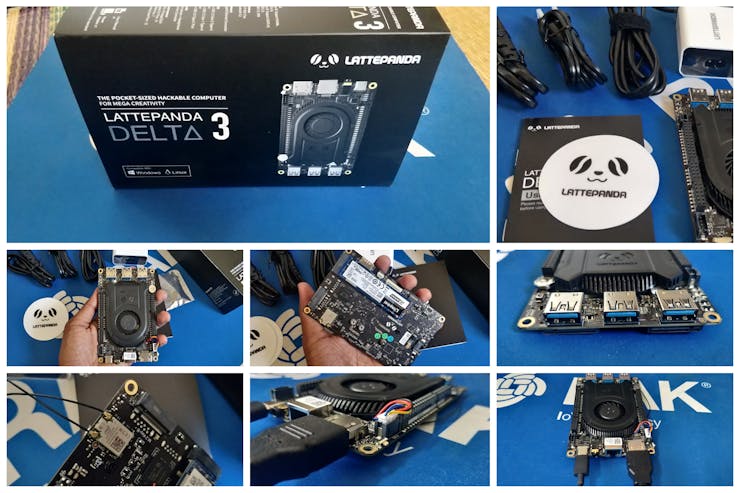
Here is the commercial package of the LattePanda 3 Delta
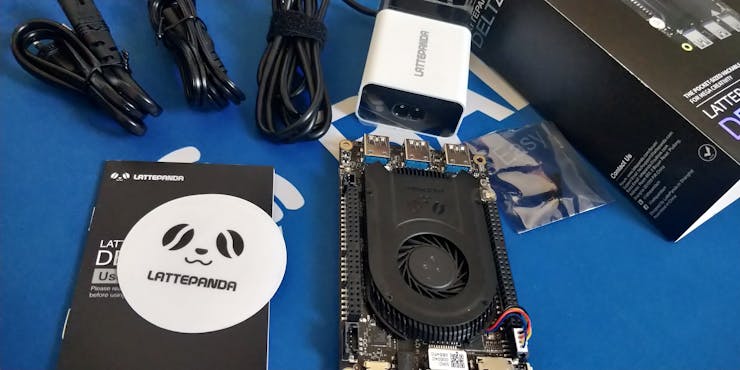
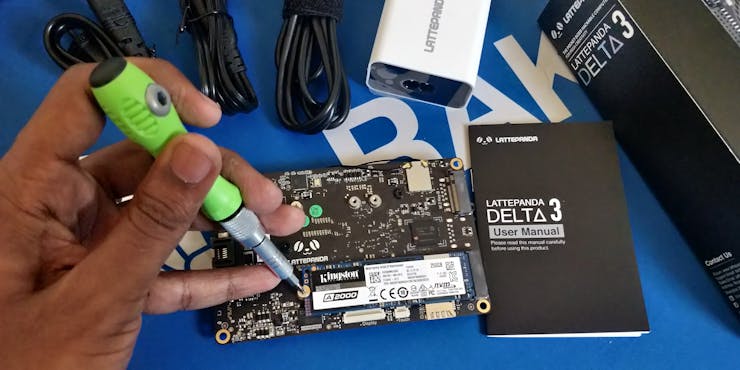
There are several items included in the box: a LattePanda 3 Delta board, a C-type power converter with various socket options, a Wi-Fi and Bluetooth antenna, standoffs, and adorable LattePanda stickers.
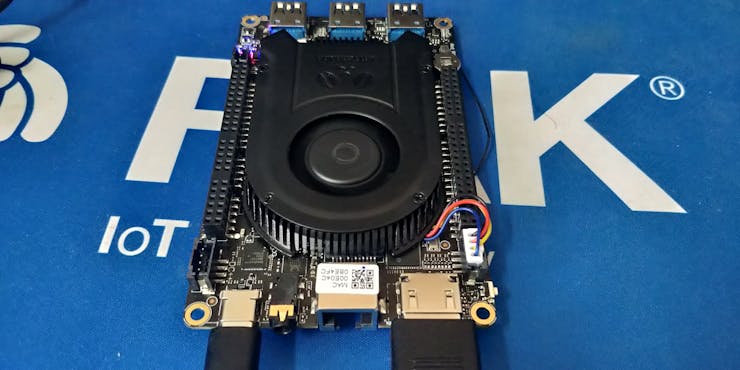
Physical Overview:

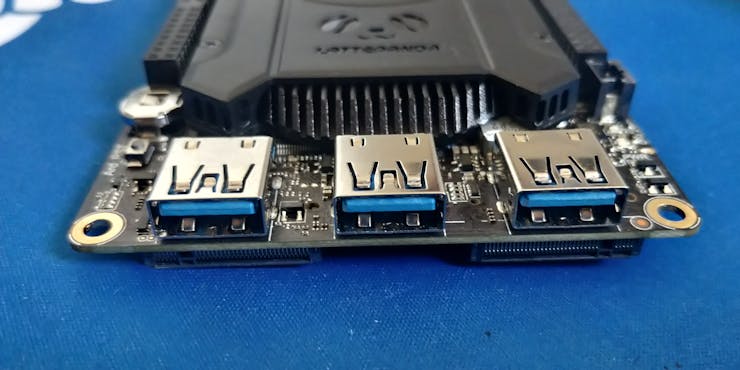
IO Ports Overview:
It has one USB c port for power and display connection, one 3.3 mm audio jack, an Ethernet adaptor, and an HDMI interface for IO connections.

Moreover, it has 3 USB 3.0 connections for connecting to external Devices.
Adding a Nvme:
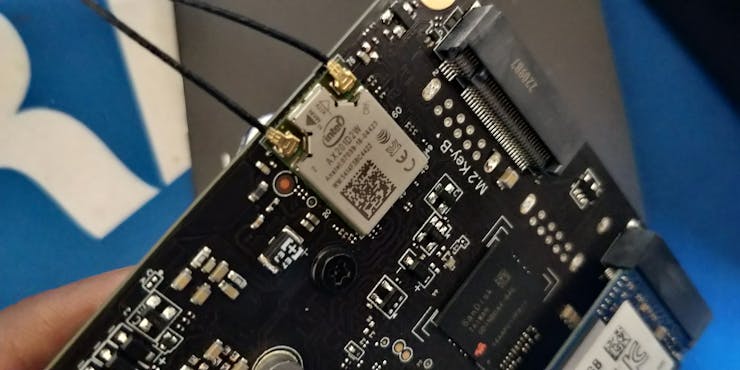
The M.2 E key on the LattePanda 3 Delta allows external Nvme storage. I have installed a 250Gb of Nvme in it.
Powering up the LattePanda 3
The two antennae must first be connected to the PCB. As the two antennas are identical, there is no particular order in which to attach them to the board.
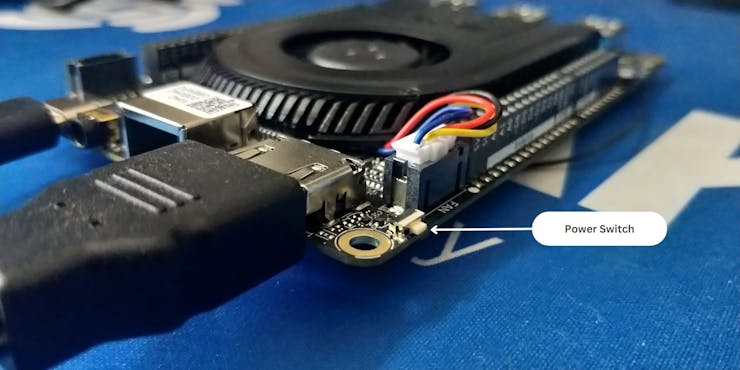
The power supply should then be connected to the board's USB-C power pin. Then link the HDMI display.
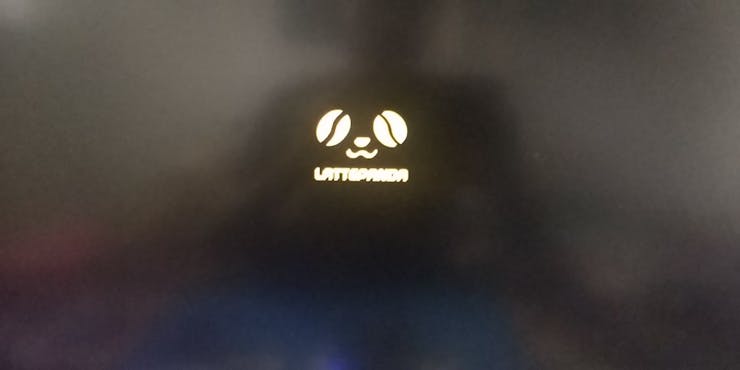
Next, hold down the power button for 2–3 seconds. The blue and red led are visible to begin blinking.
You will see the cute panda 🐼 boot-up logo.
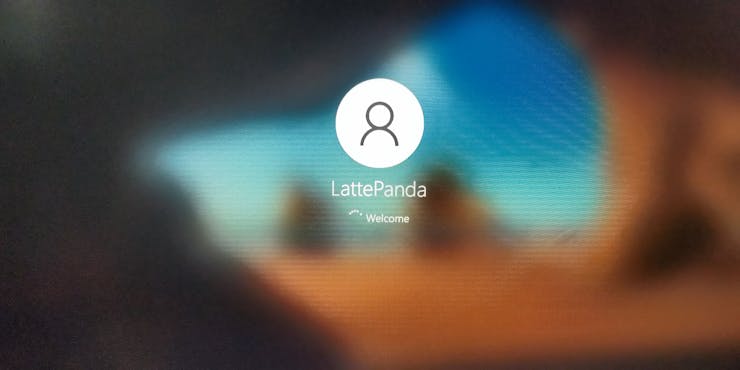
The Windows 10 user login will then appear. In the eMMC storage on the board, Windows 10 has already been installed by the team. LattePanda will automatically log on to Windows 10 as you can see.
Let's check out the system's capabilities next.
_k5kkHjE1P5.png?auto=compress%2Cformat&w=740&h=555&fit=max)
You can see that the Arduino IDE and a few libraries are already installed.
_4fXWPNbcae.png?auto=compress%2Cformat&w=740&h=555&fit=max)
I'm aware of your confusion: "It's to program the Arduino boards, correct? No, no, no. We have an embedded Arduino Leonardo chip (ATmega32U4) in LattePanda.
_dZwC84rfBf.png?auto=compress%2Cformat&w=740&h=555&fit=max)
We can therefore program that using LattePanda. Like programming, a programmer utilizes the
same program.
_FR9igkzPn5.png?auto=compress%2Cformat&w=740&h=555&fit=max)
Wrap-Up:
In conclusion, the single-board computer LattePanda 3 Delta has an Intel SOC. Furthermore, since it is a Windows Computer, you can code, play games, stream live, and more. The next tutorial will demonstrate how to use the built-in Arduino and how to manage the external sensors.


