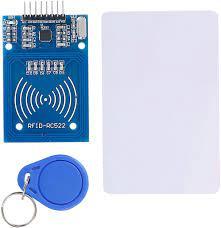
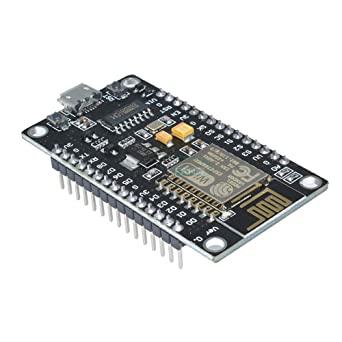
In this project we are going to read RFID tags using NodeMcu ESP8266 & Visuino and display tag ID on the OLED Display.
Watch the Video!
NodeMCU ESP8266 (or any other board)
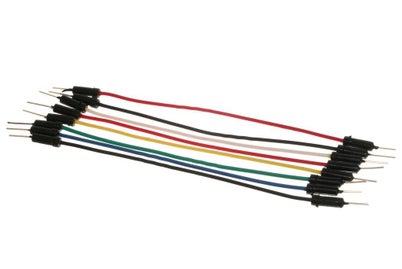
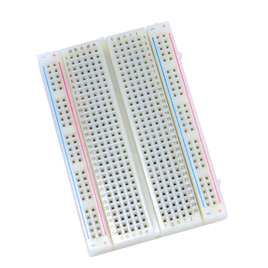
OLED DisplayMFRC522 RFID Reader moduleBreadboardJumper wiresVisuino program: Download VisuinoVisuino RFID component: Download RFIT Tag Read
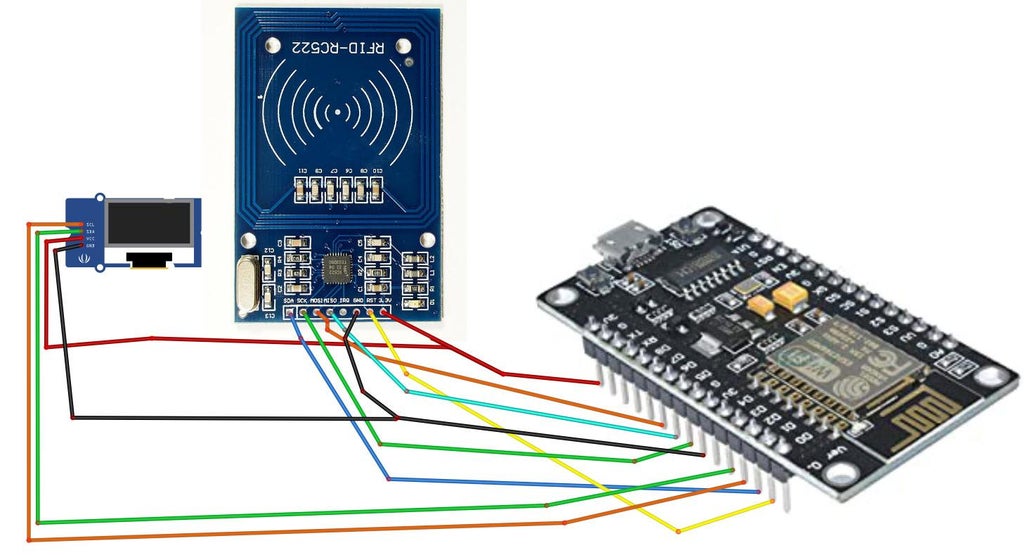
Connect NODEMCU ESP8266 Pin [3V3] to RFID pin [3.3V]Connect NODEMCU ESP8266 Pin [3V3] to OLED pin [Vcc]
Connect NODEMCU ESP8266 Pin [GND] to RFID pin [GND]Connect NODEMCU ESP8266 Pin [GND] to OLED pin [GND]
Connect NODEMCU ESP8266 Pin [D1] to RFID pin [RST]Connect NODEMCU ESP8266 Pin [D2] to RFID pin [SDA]Connect NODEMCU ESP8266 Pin [D3] to OLED pin [SCL]Connect NODEMCU ESP8266 Pin [D4] to OLED pin [SDA]
Connect NODEMCU ESP8266 Pin [D5] to RFID pin [SCK]Connect NODEMCU ESP8266 Pin [D6] to RFID pin [MISO]Connect NODEMCU ESP8266 Pin [D7] to RFID pin [MOSI]
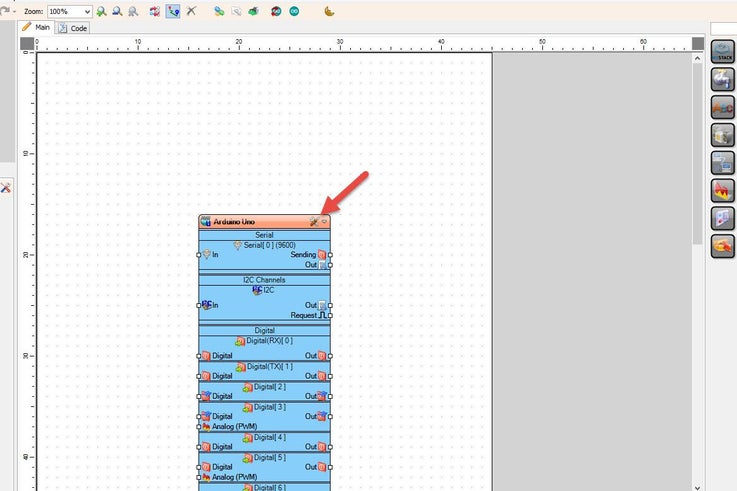
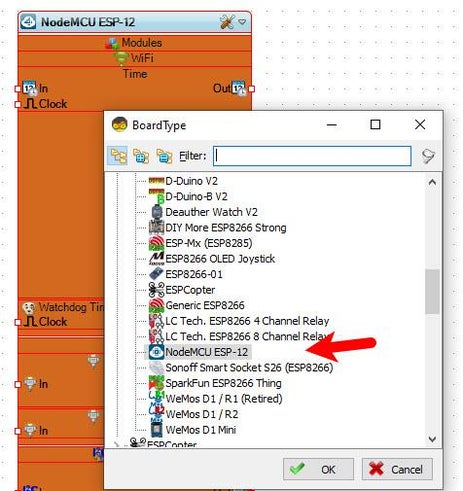
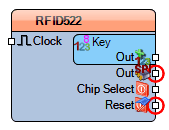
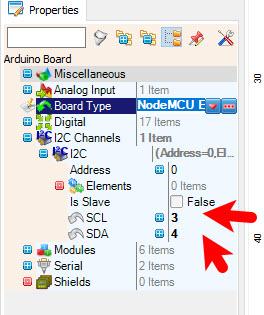
First Add "RFID TAG READ (SPI)" component to Visuino, you can download it here and on the page is also a step by step tutorial on how to add it to VisuinoIn Visuino Select "NodeMCU ESP-12" board and in the properties window set I2C pin [SCL] to 3 and set I2C pin [SDA] to 4
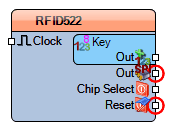
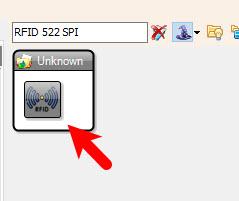
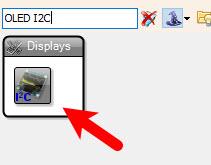
Add "RFID 522 SPI" componentAdd "OLED I2C" component
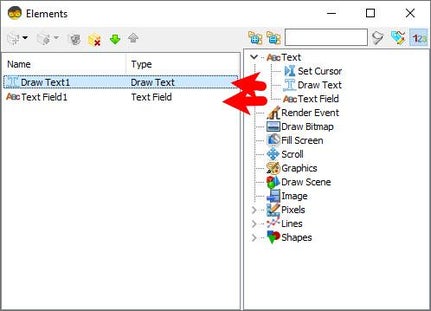
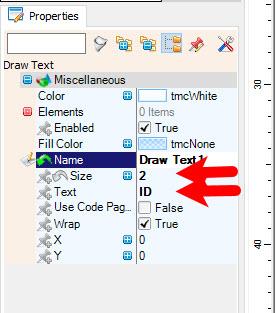
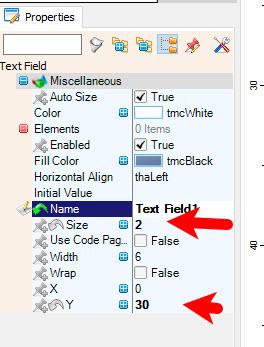
Double click on the "DisplayOLED1" and in the "Elements" window drag "Draw text" to the left side and in the properties window set "Size" to 2 and "Text" to IDDrag "Text Field" to the left side and in the properties window set "Size" to 2 and "Y" to 30Close the "Elements" window


Connect "RFID5221" pin [SPI] to "NodeMCU ESP-12" pin [SPI]Connect "RFID5221" pin [Chip Select] to "NodeMCU ESP-12" digital pin [2]Connect "RFID5221" pin [Reset] to "NodeMCU ESP-12" digital pin [1]Connect "RFID5221" Key pin [Out] to "DisplayOLED1" > "TextField1 " pin [In]Connect "DisplayOLED1" Out pin [I2C] to "NodeMCU ESP-12" I2C pin [In]
If you power the NodeMcu ESP8266 board and place the RFID Card on the RFID module the OLED Display will show the Tag ID.
Congratulations! You have completed your project with Visuino. Also attached is the Visuino project, that I created for this Instructable, you can download it and open it in Visuino: https://www.visuino.eu


