Creating a DIY 8x8 Neo Pixel panel using an Arduino UNO and PCBWay’s services is a fun and rewarding project. This guide will walk you through the entire process, from designing the PCB to programming the Arduino. Let’s light up your creativity!
Materials Needed:
WS2812B LEDs (64 units)Arduino UNOPCBWay Service5V Power SupplyConnecting WiresSoldering KitBreadboard (optional)
Step 1: Designing the PCB
PCB Design Software: Use software like KiCad or Eagle to design your PCB. Create an 8x8 grid layout for the WS2812B LEDs.Schematic: Connect each LED in series, ensuring the data from one LED connects to the data from the next. Power and ground lines should be connected in parallel.Gerber Files: Once your design is complete, generate the files required for PCB manufacturing.
Get PCBs for Your Projects Manufactured
You must check out PCBWAY for ordering PCBs online for cheap!
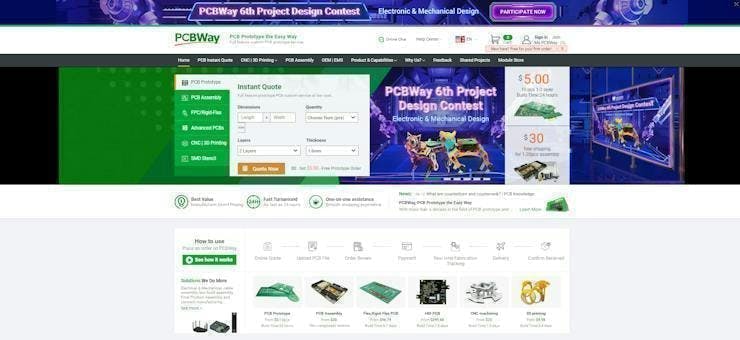
You get 10 good-quality PCBs manufactured and shipped to your doorstep for cheap. You will also get a discount on shipping on your first order. Upload your Gerber files onto PCBWAY to get them manufactured with good quality and quick turnaround time. PCBWay now could provide a complete product solution, from design to enclosure production. Check out their online Gerber viewer function. With reward points, you can get free stuff from their gift shop. Also, check out this useful blog on PCBWay Plugin for KiCad from here. Using this plugin, you can directly order PCBs in just one click after completing your design in KiCad.
Step 2: Ordering the PCB
PCBWay Service: Go to the PCBWay website and upload your Gerber files.


Step 3: Assembling the PCB
Soldering: Once you receive your PCBs, solder the WS2812B LEDs onto the board. Ensure each LED is correctly oriented.

Step 4: Programming the Arduino
Libraries: Install the Adafruit NeoPixel library in the Arduino IDE.

Upload: Connect your Arduino UNO to your computer and upload the code. Watch the magic happen! 🌈

Step 5: Testing and Troubleshooting
Power Supply: Ensure your power supply can provide enough current for all the LEDs. Each WS2812B LED can draw up to 60mA at full brightness.Connections: Double-check all connections, especially the data line.Code Adjustments: Modify the code to create different patterns and effects. Experiment with colors and animations to make your panel truly unique!
Conclusion

Following these steps, you can create a vibrant 8x8 Neo Pixel panel controlled by an Arduino UNO. This project not only enhances your soldering and programming skills but also provides a beautiful display for various applications. Imagine the possibilities: from creating stunning light shows to integrating them into your IoT projects
Feel free to experiment with different patterns and colors to make your project unique! If you have any questions or run into issues, don’t hesitate to ask. Happy building!


