
This project demonstrates how to build a voice-controlled car using an ESP32 microcontroller and a smartphone app. The car responds to voice commands sent via Bluetooth and is programmed using the Arduino IDE. This is a great project for those interested in IoT and robotics.

Components and Supplies
![]()
4WD Car Chassis Kit - BUY NOW
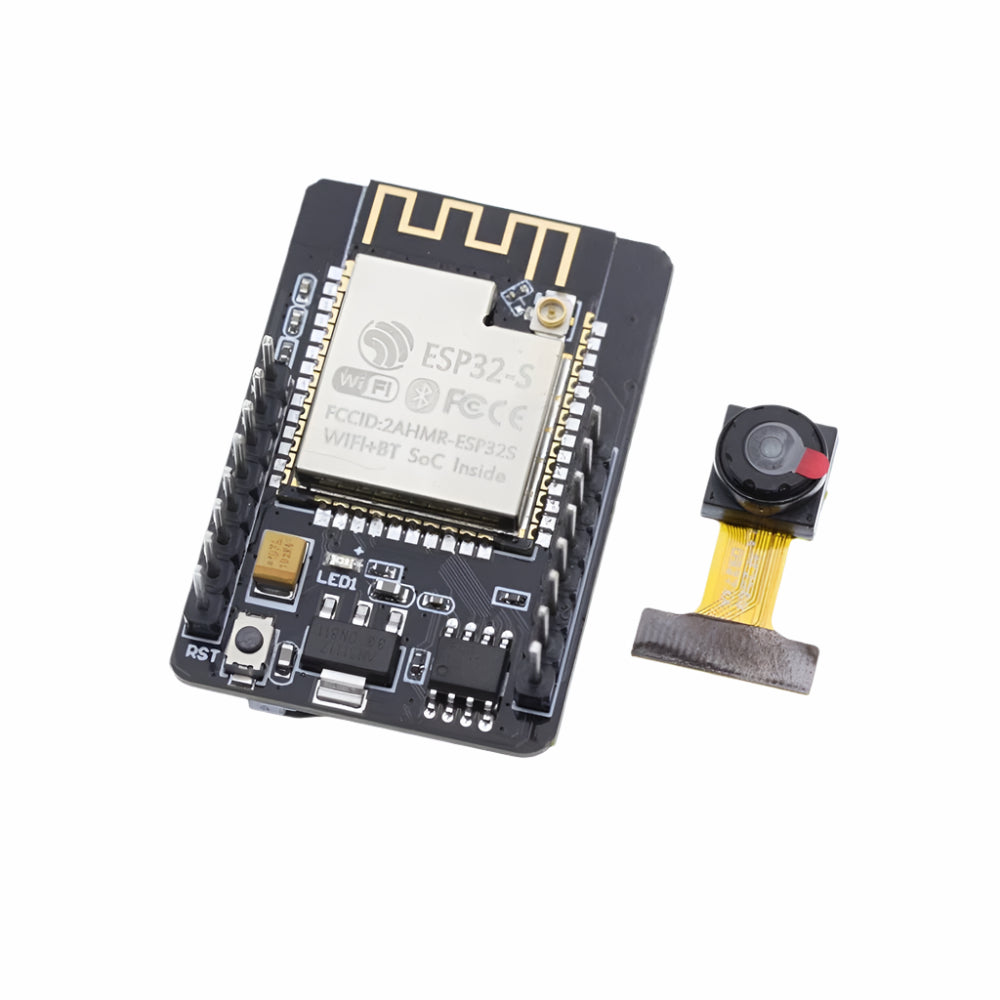
ESP32 Module - BUY NOW
L298N Motor Driver Module - BUY NOW
Jumper-Wires - BUY NOW
![]()
7-12 V DC Battery (in our case lipo 2s battery)
Step 1: Circuit Connections
ESP32 to Motor Driver (L298N):
Motor A (Front Left & Rear Left Wheels) → L298N OUT1 & OUT2
Motor B (Front Right & Rear Right Wheels) → L298N OUT3 & OUT4
L298N IN1 & IN2 → GPIO Pins 16 & 17 (ESP32)
L298N IN3 & IN4 → GPIO Pins 18 & 19 (ESP32)
L298N VCC → 7-12V DC Battery
L298N GND → Common GND with ESP32
L298N 5V Output → 5V (ESP32)
Step 2: Upload the Code
Use the Arduino IDE to program the ESP32. Ensure you install the ESP32 board support package and the "BlynkESP32" library before uploading the code. The key components of the code include:
Defining motor control pins
Setting PWM frequency and channels
Handling Bluetooth commands from the Blynk app
Implementing functions like controlWithVoice() for voice recognition and rotateMotor() for movement control
Step 3: Setting Up the Blynk App
Download and install the Blynk app on Android/iOS.
Create a new project and select ESP32 as the board.
Add a Bluetooth Widget and connect it to the ESP32 (advertised as "My Voice Car").
Use the app’s voice control feature to send commands like:
"Forward"
"Backward"
"Left"
"Right"
"Stop"
"Speed [number]"
"Dance" (executes a pre-programmed movement sequence)
Step 4: Testing and Calibration
Ensure the car connects to Bluetooth before testing.
Adjust the motor speed and direction in the code if needed.
Verify the battery voltage for smooth operation.
#define IN1 16
#define IN2 17
#define IN3 18
#define IN4 19
#define ENA 5
#define ENB 6
#include <BlynkSimpleEsp32_BT.h>

char auth[] = "YourAuthToken";

void setup() {
    pinMode(IN1, OUTPUT);
    pinMode(IN2, OUTPUT);
    pinMode(IN3, OUTPUT);
    pinMode(IN4, OUTPUT);
    pinMode(ENA, OUTPUT);
    pinMode(ENB, OUTPUT);
    Blynk.begin(auth);
}

void loop() {
    Blynk.run();
}

BLYNK_WRITE(V1) {
    String command = param.asStr();
    if (command == "forward") {
        moveForward();
    } else if (command == "backward") {
        moveBackward();
    } else if (command == "left") {
        turnLeft();
    } else if (command == "right") {
        turnRight();
    } else if (command == "stop") {
        stopMotors();
    }
}

void moveForward() {
    digitalWrite(IN1, HIGH);
    digitalWrite(IN2, LOW);
    digitalWrite(IN3, HIGH);
    digitalWrite(IN4, LOW);
}

void moveBackward() {
    digitalWrite(IN1, LOW);
    digitalWrite(IN2, HIGH);
    digitalWrite(IN3, LOW);
    digitalWrite(IN4, HIGH);
}

void turnLeft() {
    digitalWrite(IN1, LOW);
    digitalWrite(IN2, HIGH);
    digitalWrite(IN3, HIGH);
    digitalWrite(IN4, LOW);
}

void turnRight() {
    digitalWrite(IN1, HIGH);
    digitalWrite(IN2, LOW);
    digitalWrite(IN3, LOW);
    digitalWrite(IN4, HIGH);
}

void stopMotors() {
    digitalWrite(IN1, LOW);
    digitalWrite(IN2, LOW);
    digitalWrite(IN3, LOW);
    digitalWrite(IN4, LOW);
}


