
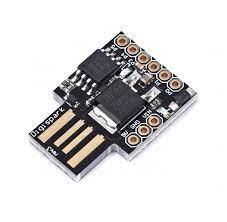
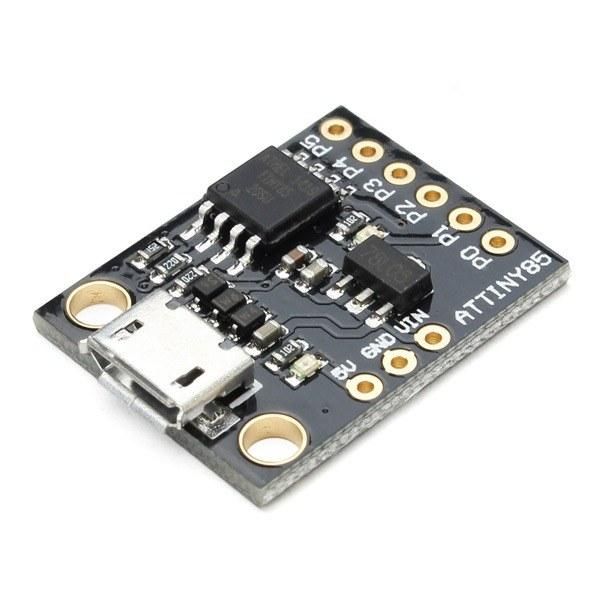
Learn how to program a Digispark ATtiny85 board to blink the built-in LED using Visuino.

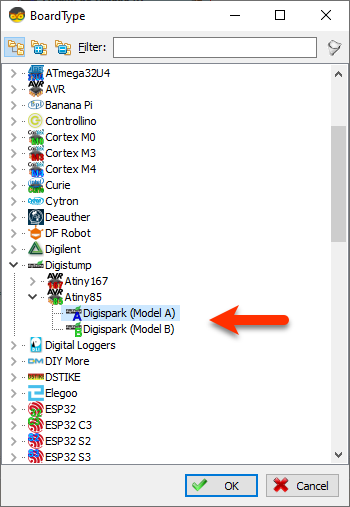
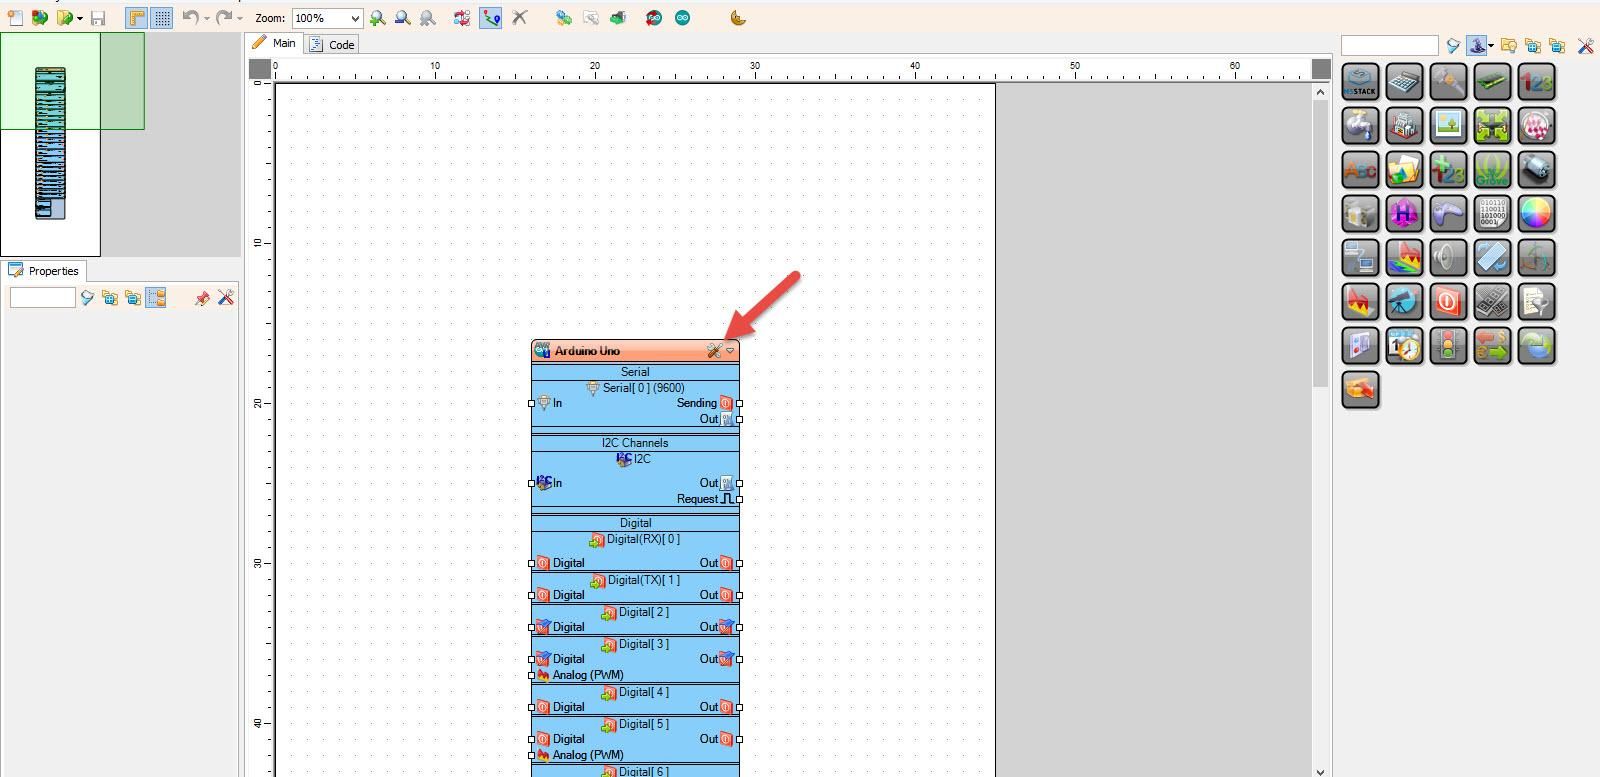
Start Visuino as shown in the first picture Click on the "Tools" button on the Arduino component (Picture 1) in Visuino When the dialog appears, select "Digispark (Model A)" or "Digispark (Model B)" as shown on Picture 2
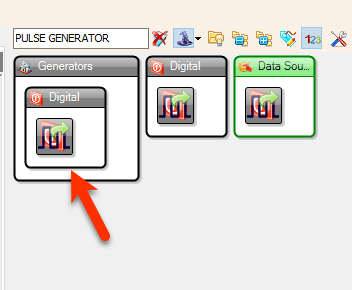
- Add "Pulse Generator" component
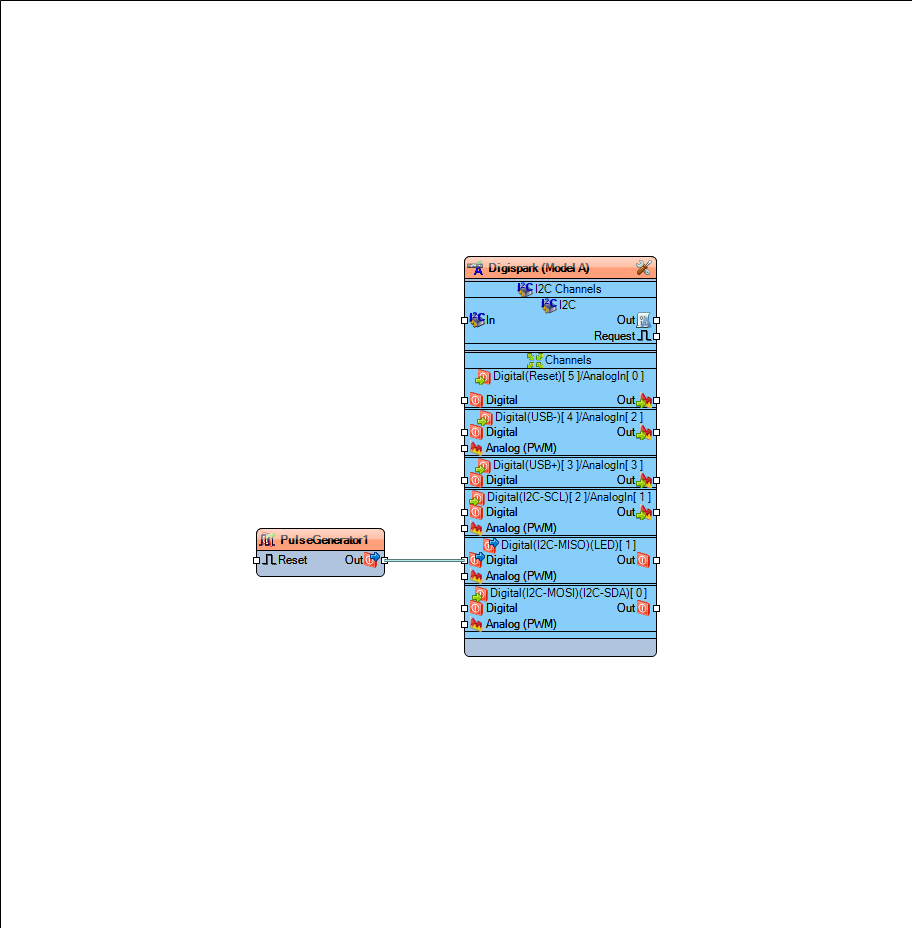
- Connect "PulseGenerator1" pin [Out] to Digispark board > LED >Digital pin [In]
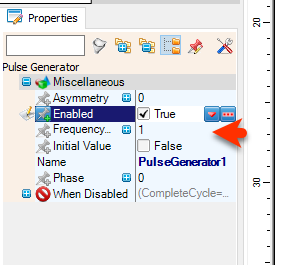
Optionally: You can set the speed of the LED blinking by selecting the "PulseGenerator1" component and in the property set the "Frequency" to a higher or lower number.

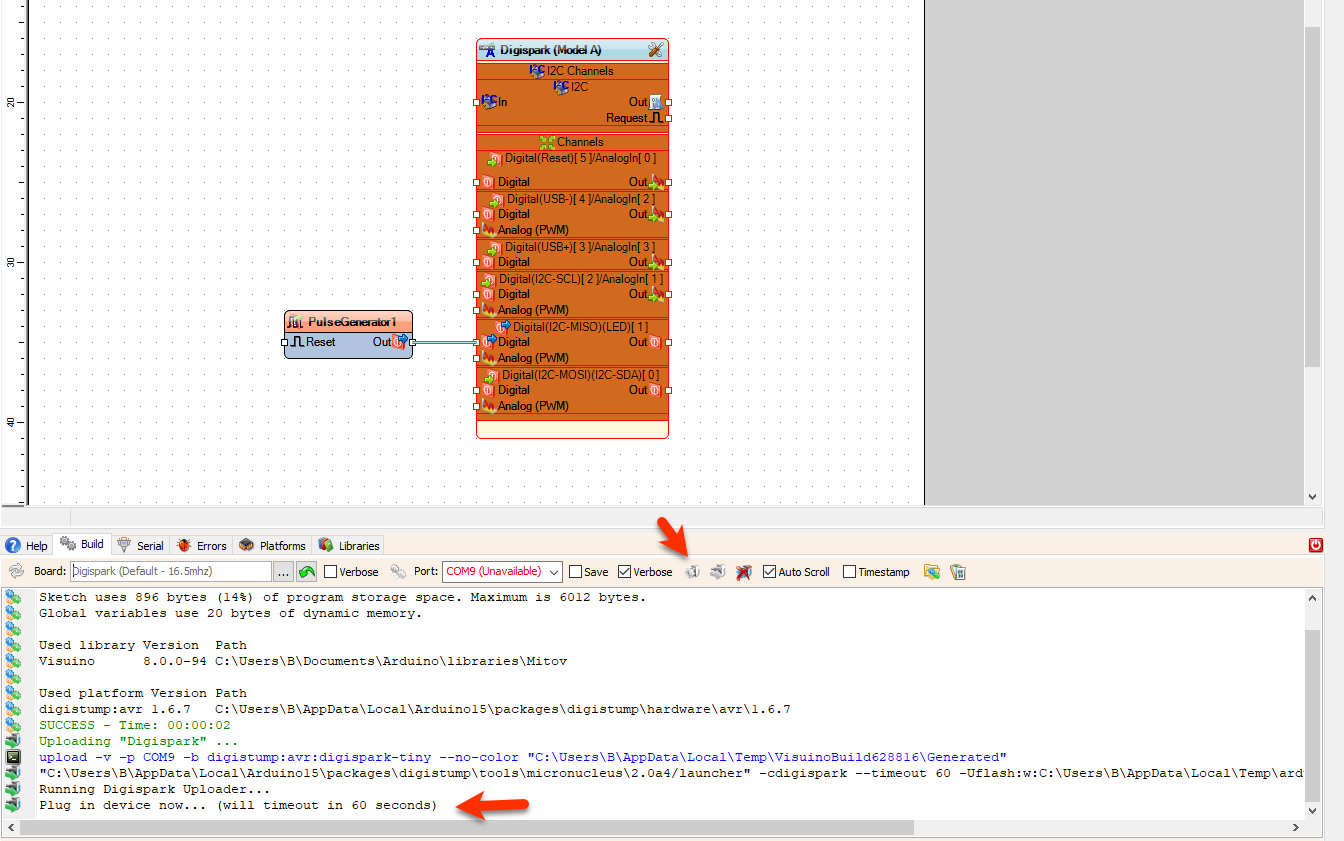
- In Visuino, at the bottom click on the "Build" Tab, make sure the correct port is selected, then click on the "Compile/Build and Upload" button.
- Connect the board to the USB only after you click the ""Compile/Build and Upload" button" and when you see in the window a message:
"Plug in device now... (will timeout in 60 seconds)"
"Please plug in the device ..."
- You don't need to select any port or anything else, Visuino will do all the work and Upload the project.
After uploading the project to the Digispark board the internal LED will blink.
Congratulations! You have completed your LED project with Visuino. Also attached is the Visuino project, that I created for this Tutorial. You can download and open it in Visuino: https://www.visuino.com
For more simple Ideas that you can add to this project check out this tutorials:
Visuino How to Use Pulse Width Modulation (PWM) to Change Brightness


