
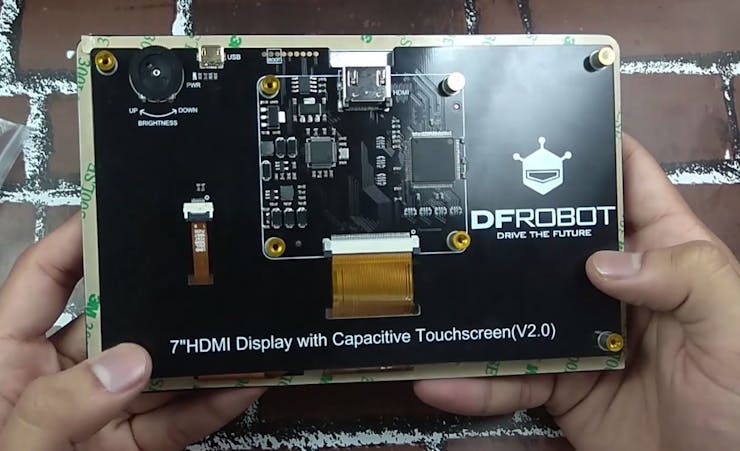
A 7-inch external touch screen for your Windows laptop/PC, this screen can be also used with the Raspberry Pi.

Things used in this project
Hardware components
Story
Hey whats up Guys! Akarsh here from CETech.
So I found this touchscreen display on the DFRobot website which is orignally designed for the Raspberry Pi but finds its application in many places.
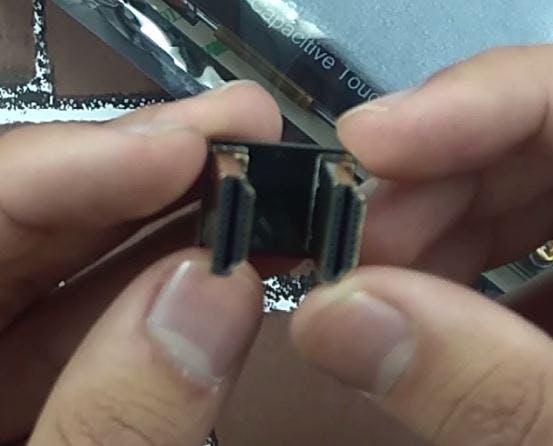
The display has a full size HDMI connector for display and a micro USB connector for touch.
Lets start with the fun now
Step 1: Parts
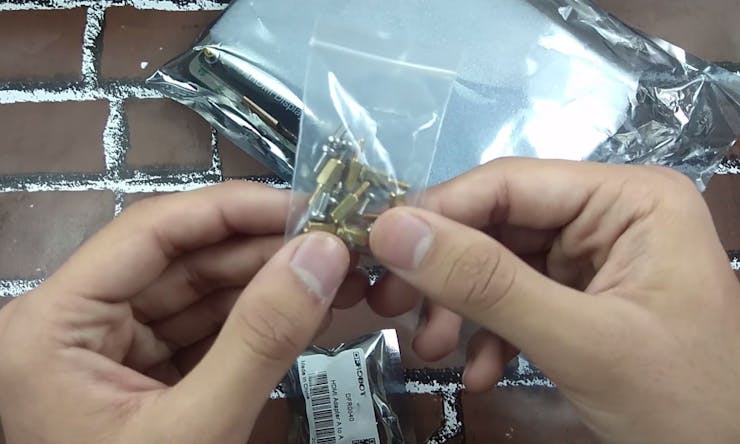
So here we need the touchscreen display from DFRobot.
The display comes with standoffs, screws and a HDMI connector as well to connect to a Raspberry Pi with the display easily.
I would also recommend to get your PCB manufactured. You can order your PCBs from PCBWAY as they offer 10 PCBs for just $5. Check out their online Gerber viewer function. With reward points you can get free stuff from their gift shop.
Step 2: Test the display with a Raspberry Pi
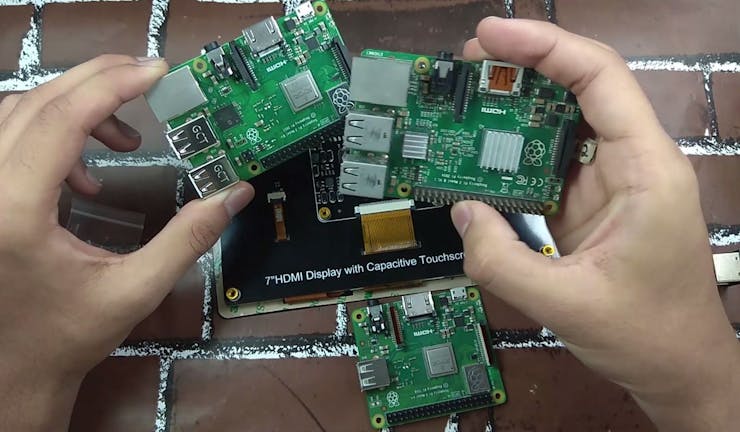
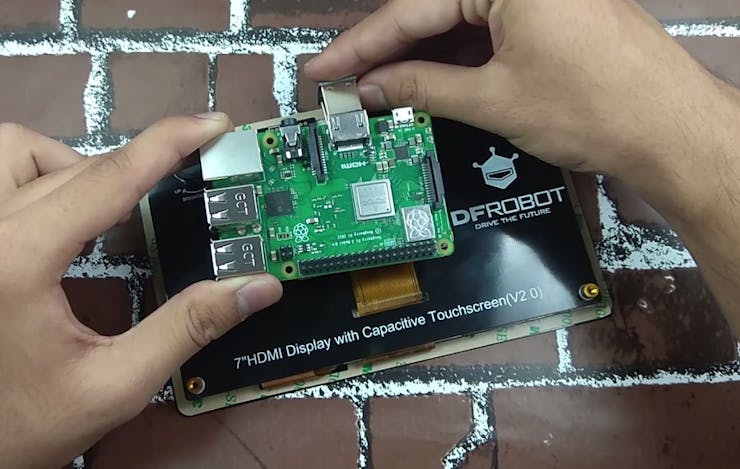
So there are 4 mounting holes for the Raspberry Pi on the back of the display.
Just place the Pi on those holes using screws and standoffs provided with the display.
Once you've securely fixed the Pi to the Display, now using the HDMI connector provided with the display connect the HDMI port of the display to the Raspberry Pi.
This should be enough for using just the display. To use the touch you need to connect a USB cable from the Pi to the micro USB port on the Display.
Step 3: Understanding the Display

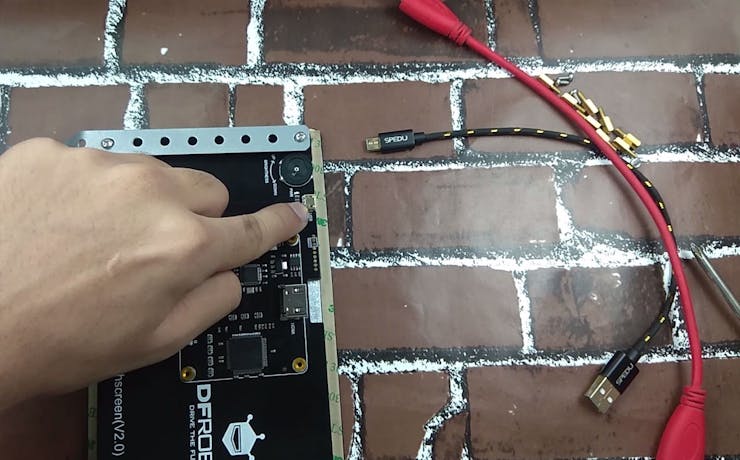
HDMI Port: The display doesn't need any separate power input to function. Power gets supplied from the HDMI port itself. So just plugin the HDMI cable and boom youll see the display up and running.
Micro USB Port: This port is not for power. It is for touch interface. You need to connect this to the USB port of a device you want to control using touch.
Brightness Control: There is a physical dial on the top left using which you can control the brightness of the display, same control using software is not possible.
Step 4: Setting up the display for a Windows laptop
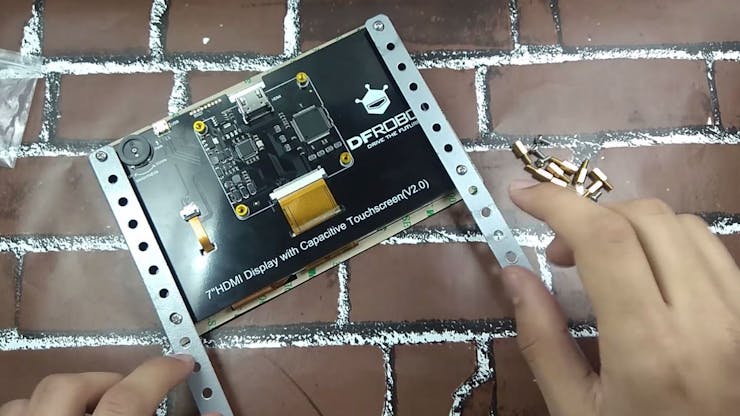
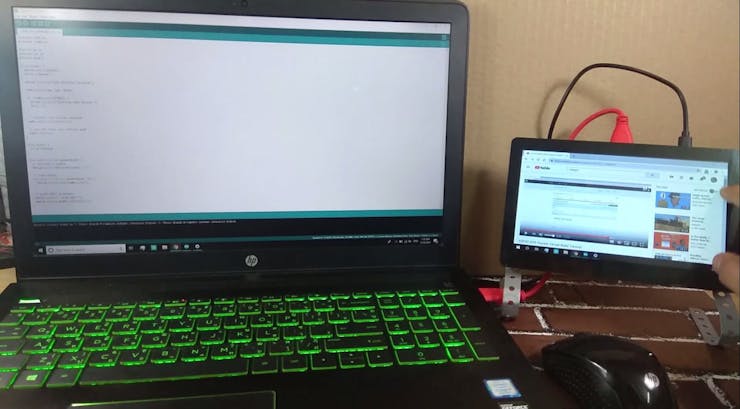
I used metallic strips to make a stand for the display.
I used the 4 holes at the corners to fix the strips to the display, then I bent the strips to form a balanced stand for the display, you can be creative in this step and mount the display according to your application.
Now connect the display to your laptop using the HDMI cable and the micro USB cable.
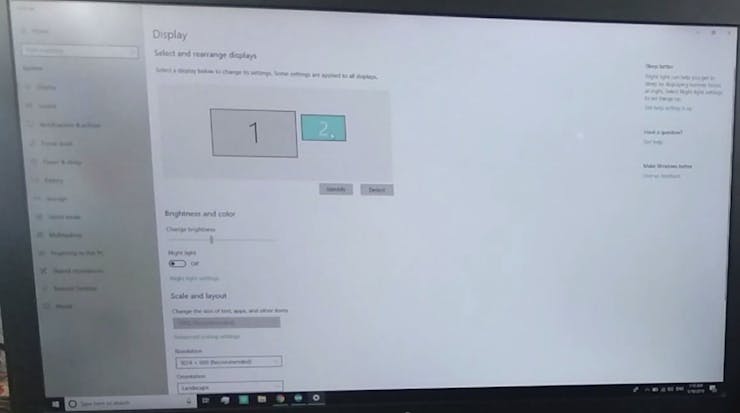
Once that is done Windows should automatically detect both the devices and install the drivers for the same as well.
If there are problems in the display, then you can search for "display settings" and open the settings as follows and setup the display, after which it should work just fine.
Step 5: My setup
I watch YouTube videos on the touch display while coding on my main monitor of the laptop.
The article was first published in hackster, May 17, 2019
cr: https://www.hackster.io/akarsh98/external-hdmi-touchscreen-for-windows-raspberry-pi-150ba7
author: Akarsh Agarwal


