This project makes your home more fun for all ages, especially on days when it's raining, too hot, or too cold. In addition, if you've ever dreamed of becoming a secret agent, this would be perfect for you! If you are a real agent, sorry, but it might not be thrilling enough for you. It’s very safe. However it might be good for one of your trainings.?
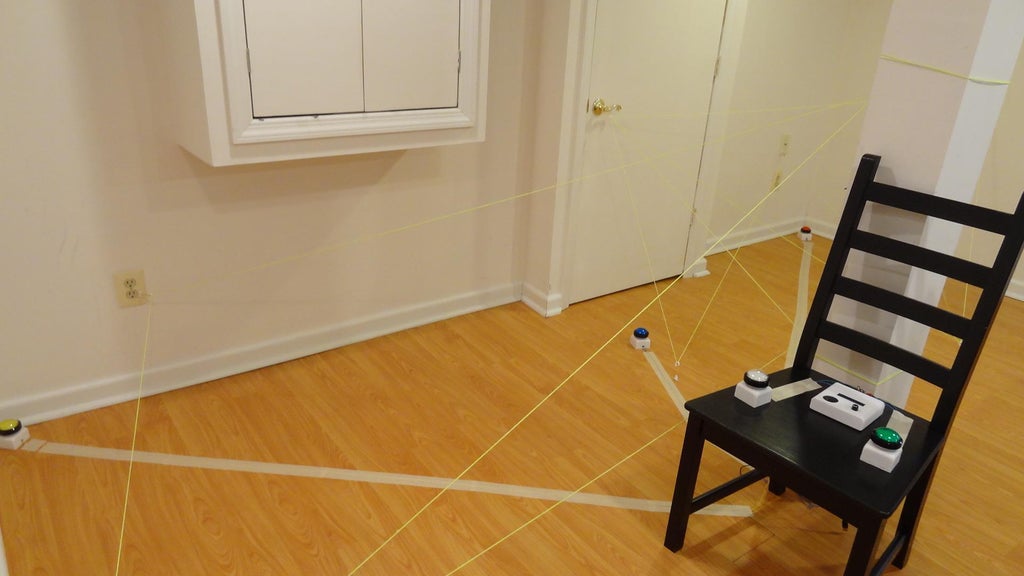
In this project, I created a laser trap game (substitute with yarn) in my house. The goal of a mission for each player is to push all three buttons while avoiding contact with the yarns. If the yarns are touched, the sensor attached to the yarn will detect the contact and the alarm sounds. When the sensor detects it three times, it's game over.
I originally designed it as a final quest of a mystery game for my kid's birthday party. With some modifications, it became a stand-alone game. Here's how to make the Yarn Trap Game.
Tools
- 3D printer: Flashforge Adventurer 4
- Soldering iron
- Hot glue gun
- Double-sided tape
- Masking tape or curing tape
- Scissors
Software
- Visual Studio Code with PlatformIO IDE
- Autodesk Fusion
Step 1: How to Detect Contact With the Yarn
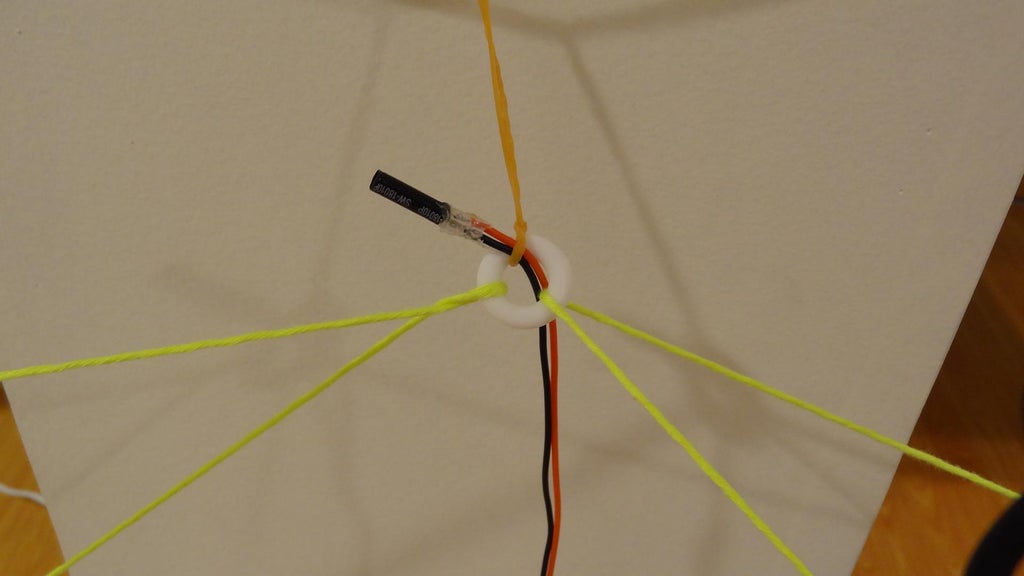

I used vibration sensor switches to detect contact with the yarn. This vibration sensor is a switch that is normally open and closes when vibration is applied. I tried three different sensitivity sensors (fast, medium, and slow) sold by Adafruit Industries. A fast vibration sensor is the best for this project.
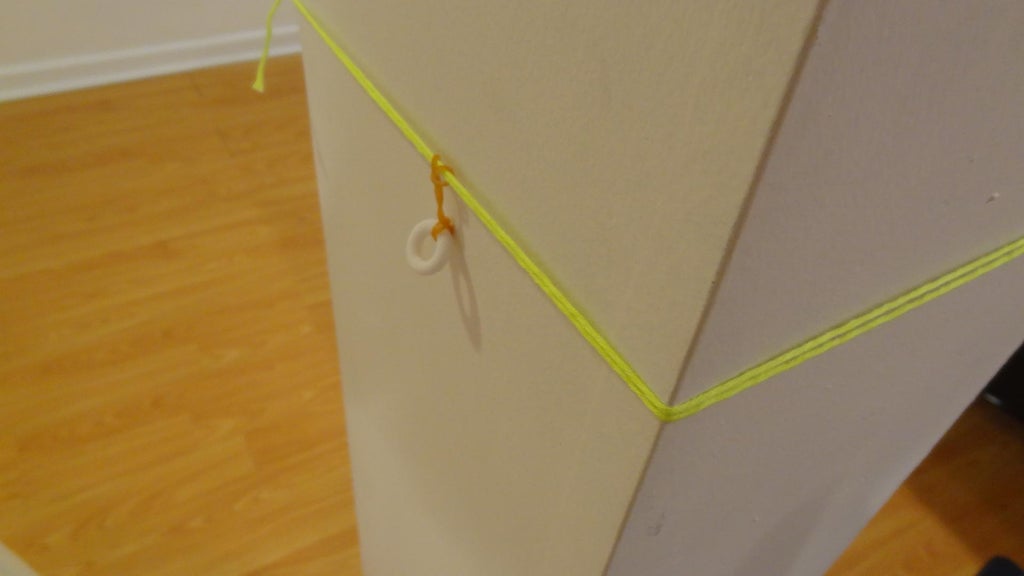
The sensor is attached to a ring-shaped hook threaded with the yarn. The ring is fixed to the anchor by a rubber band. The rubber band allows the sensor to vibrate better. Also, when the player gets caught on the yarn, the rubber band stretches, so it doesn't hurt.
Step 2: 3D Printing
All parts were designed with Autodesk Fusion. The control box and the button case do not require any screws to close their lids.
Download the files and print them. You will need to print five sets of button cases and as many fasteners (anchors and hooks) as you need.
Step 3: Wiring
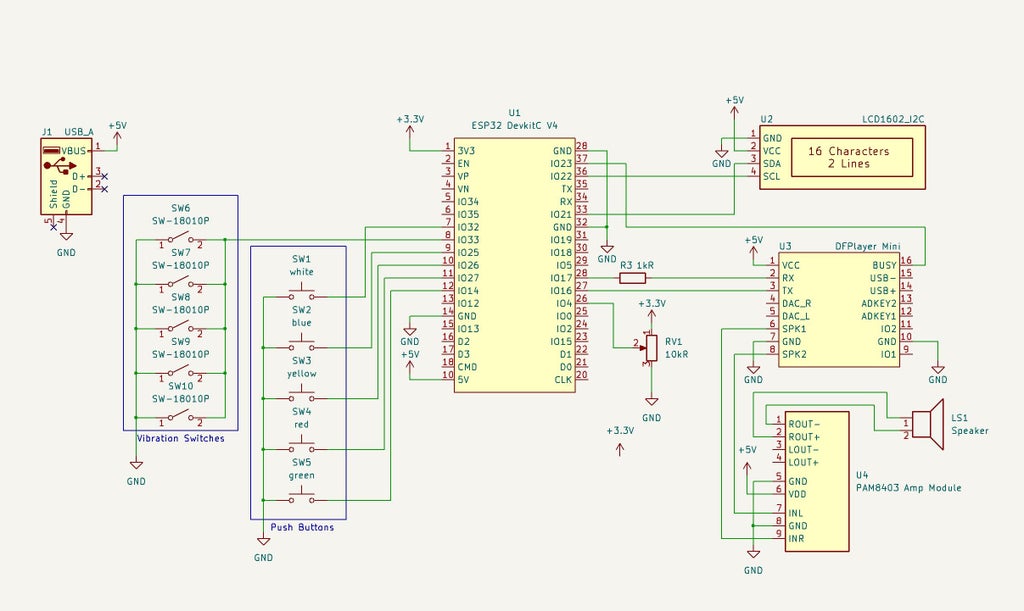
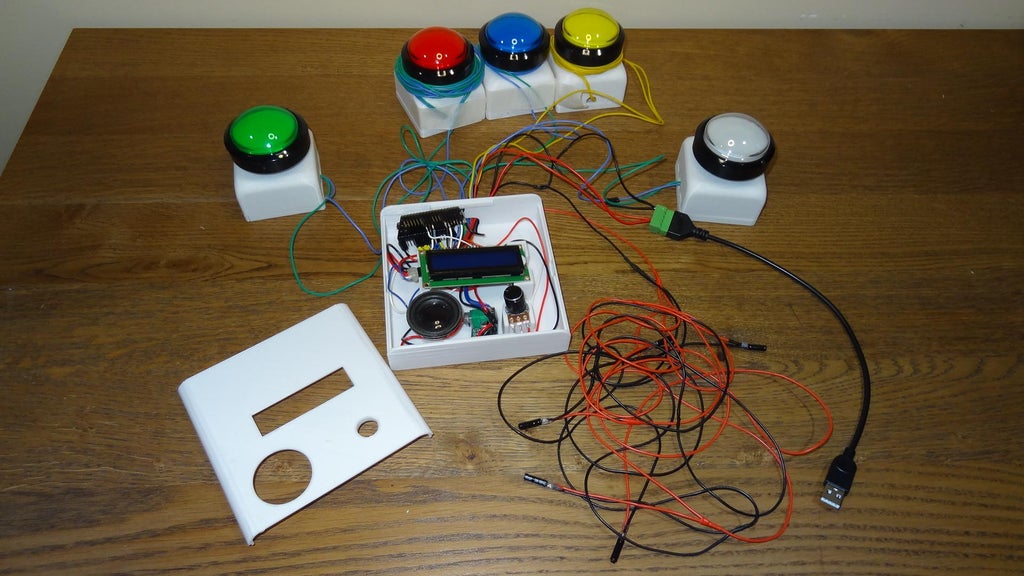
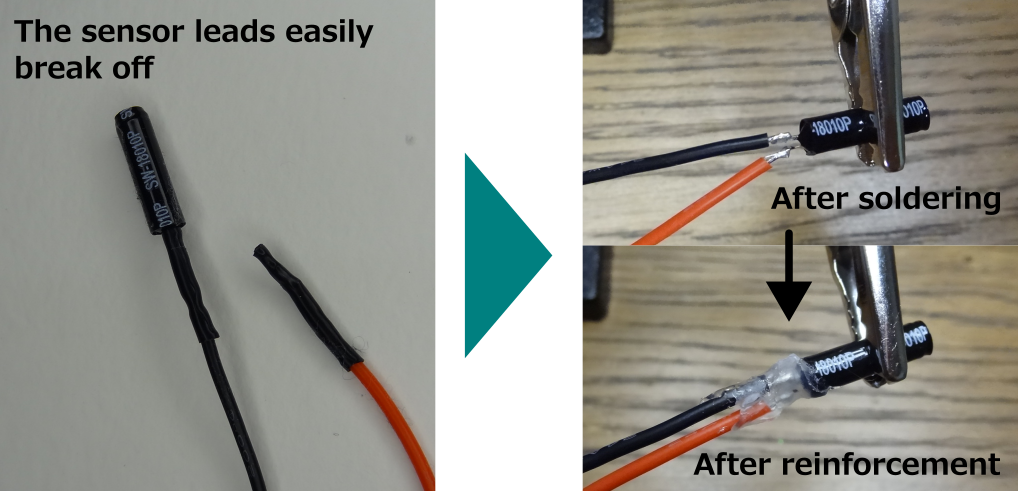
Solder and wire all the electronic components according to the schematic diagram. Please note the following:
- In the schematic diagram, five vibration sensors are depicted. But the actual number of sensors will vary depending on the design of your course. - Adjust the wire lengths for the buttons and the vibration sensors to suit the layout of your course. - The vibration sensors’ leads easily break off at the base. To prevent this, I recommend reinforcing them with hot glue. - For easy of assembly, consider using connectors that allow for simple insertion into the control box.Step 4: Casing

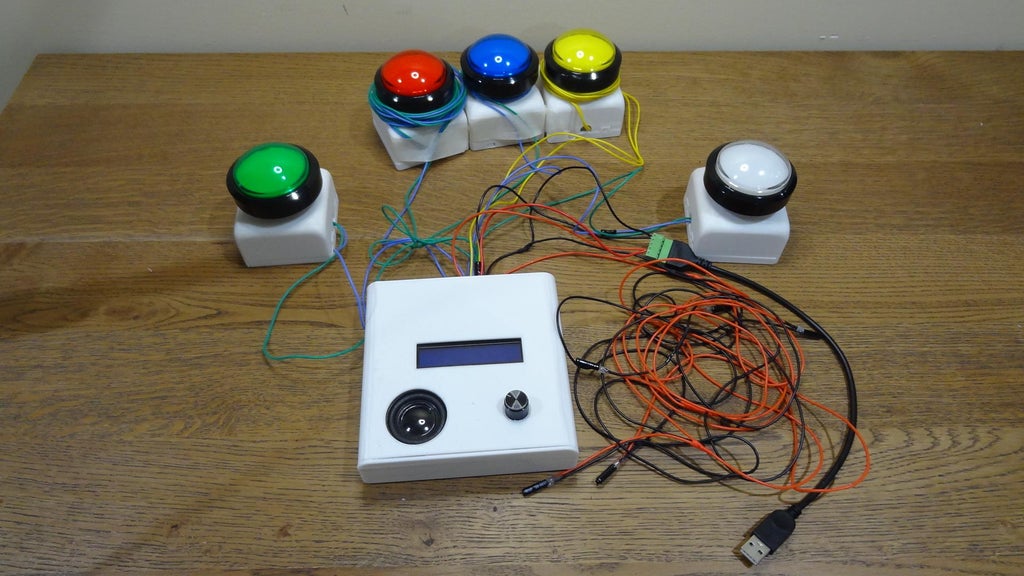
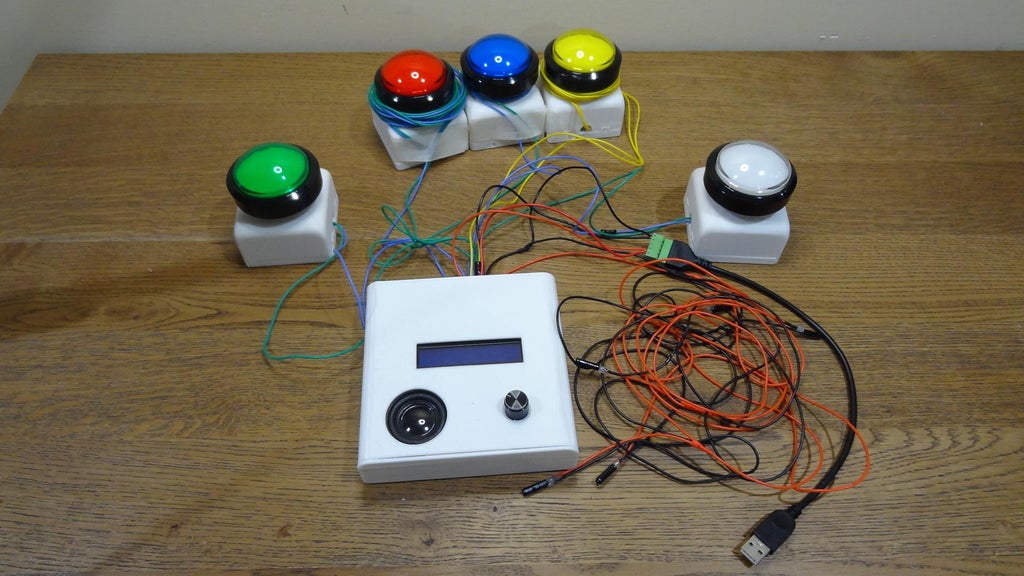
Place the button and the components of the controller into their respective cases and close them.
Step 5: Coding
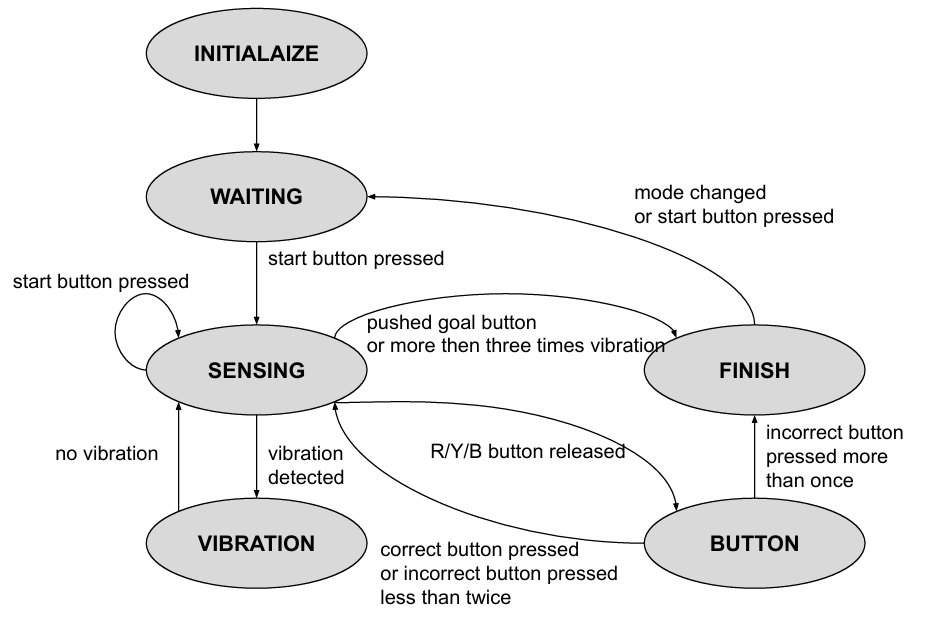
The code is written based on the attached state machine diagram.
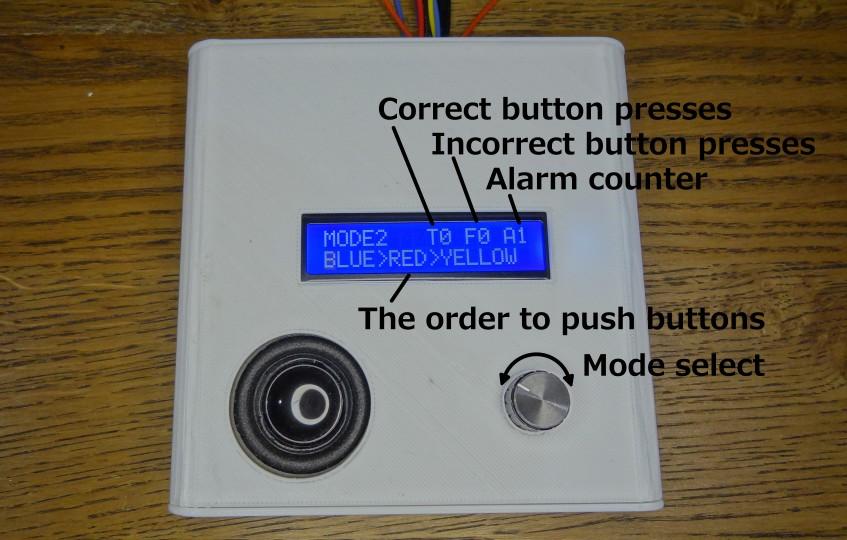
There are eight modes, which can be selected by the potentiometer on the control box. The order to push buttons changes in modes 1 to 6. The 7th mode (random) has the random order. The 8th mode (secret mode) also has random order but the order isn't shown on the display.
The white button serves as the start button. The green one serves as the goal button. The others serve as mission buttons.
Please download the program from here (https://github.com/sayatooon/YarnTrapGame).
I developed it with PlatformIO. If you use Arduino IDE, please import the two libraries (DFRobotDFPlayerMini and LiquidCrystal_I2C) and copy the contents of main.ccp into a new .ino file (ensuring to comment out or delete the first line: #include
//#include <Arduino.h> //comment out this line for Arduino IDEStep 6: Preparing Sound Effects
In the program, eight sound effects are used. Name the files from 0001.mp3 to 0008.mp3, create a folder named 'mp3' on the micro SD card, and store the files within it. Then, insert the micro SD card into the DFPlayer.
Each file number is associated in the code as follows:
// sound
#define START_SOUND 1
#define BUTTON_TRUE_SOUND 2
#define BUTTON_FALSE_SOUND 3
#define VIBRATIONS_SOUND 4
#define GAMECLEAR1_SOUND 5
#define GAMECLEAR2_SOUND 6
#define GAMEOVER1_SOUND 7
#define GAMEOVER2_SOUND 8
I downloaded the sound effects from Sound Effect Lab and TK'S FREE SOUND FX. Please prepare your favorite sound effects. When using such sites, be sure to download them in accordance with their terms of use from the respective sites.
Step 7: Making Your Own Course
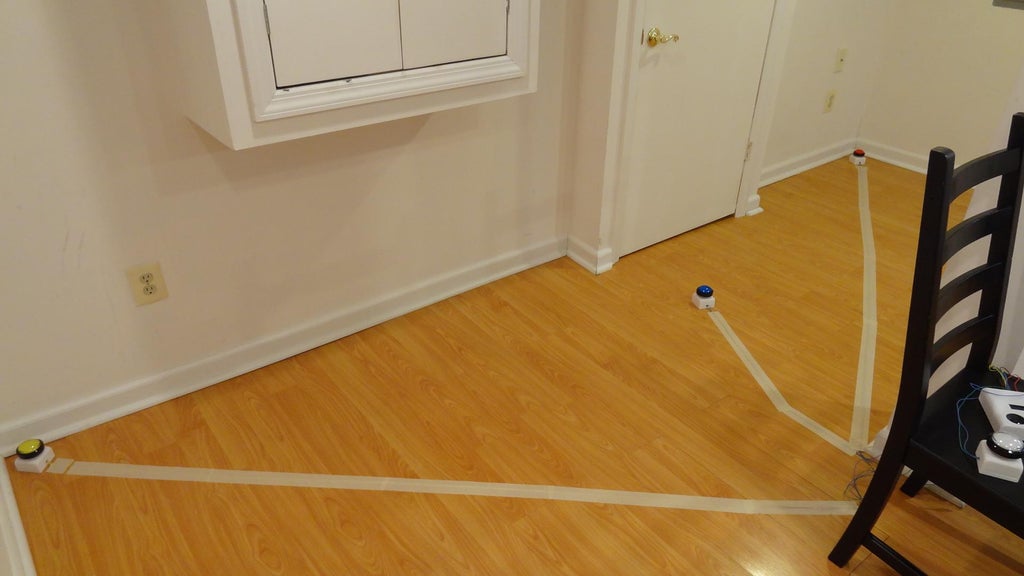
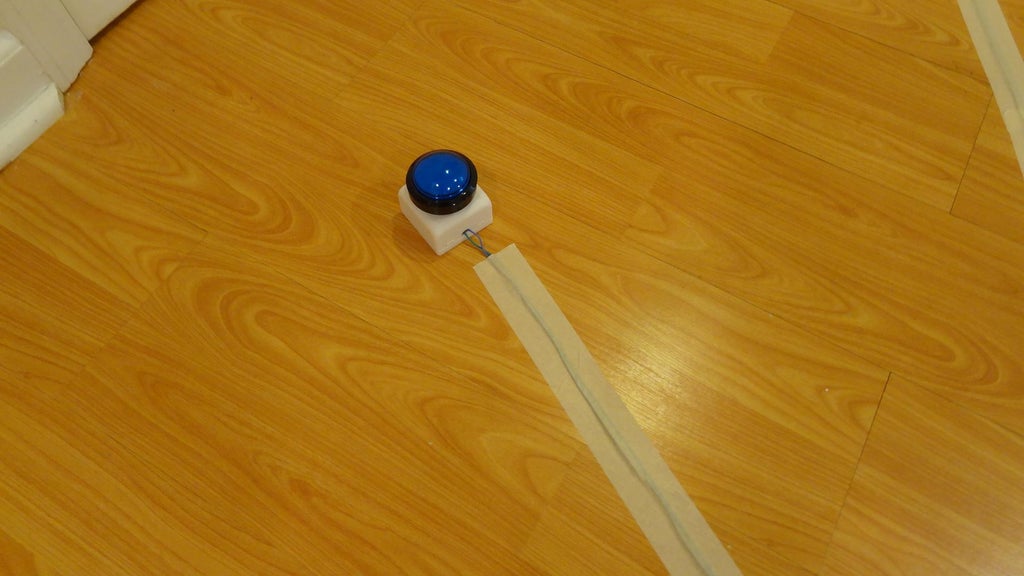
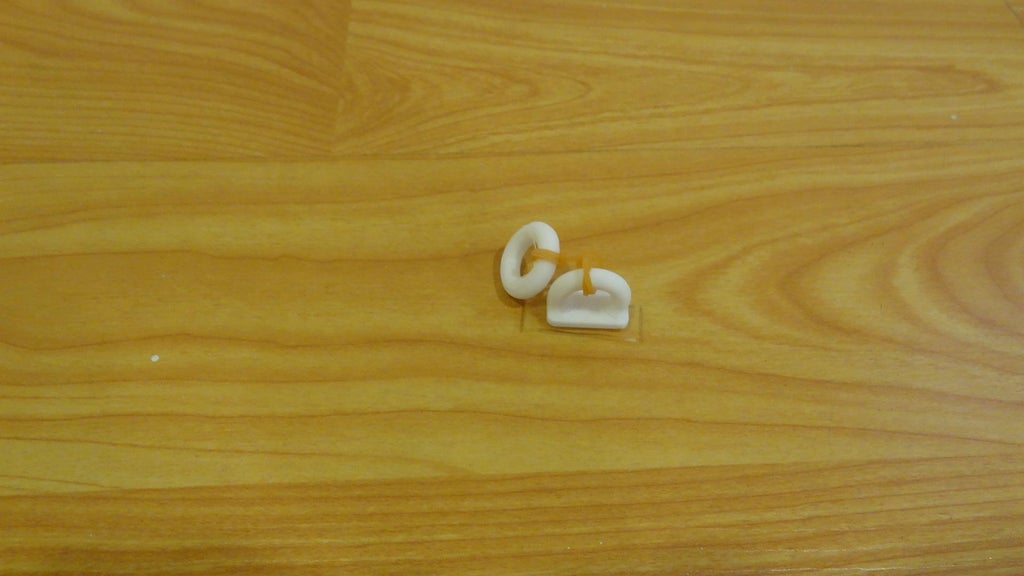
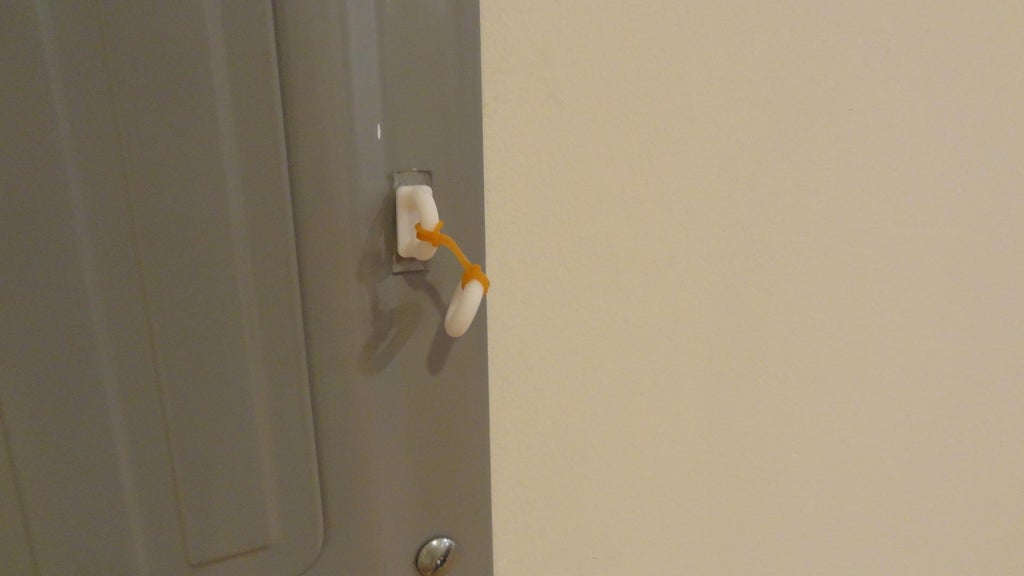
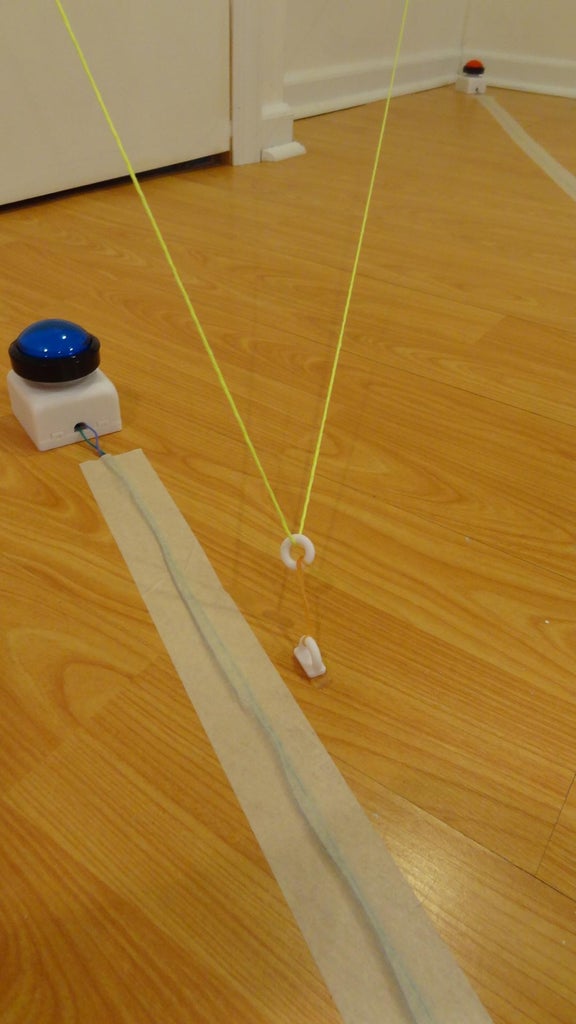
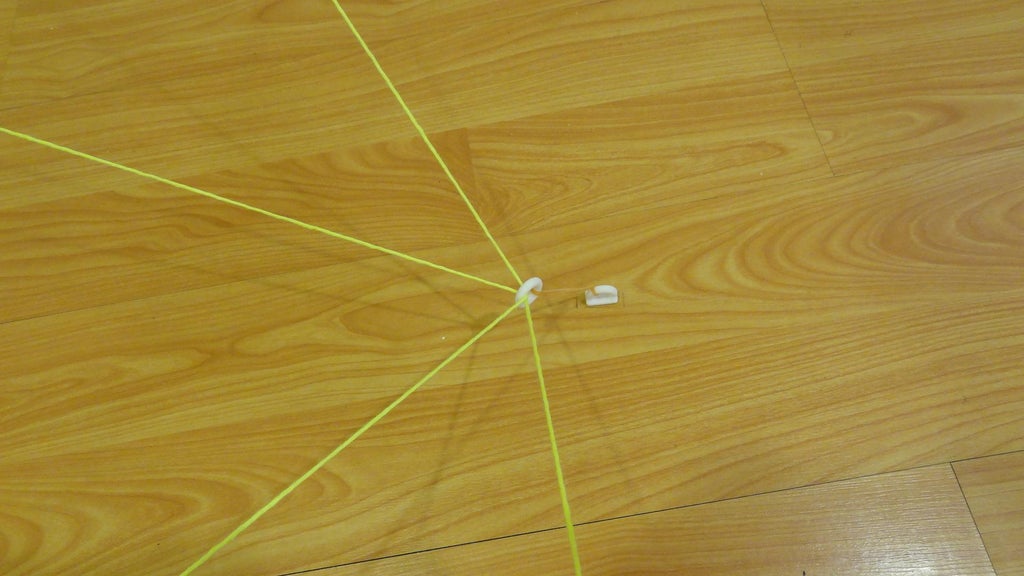
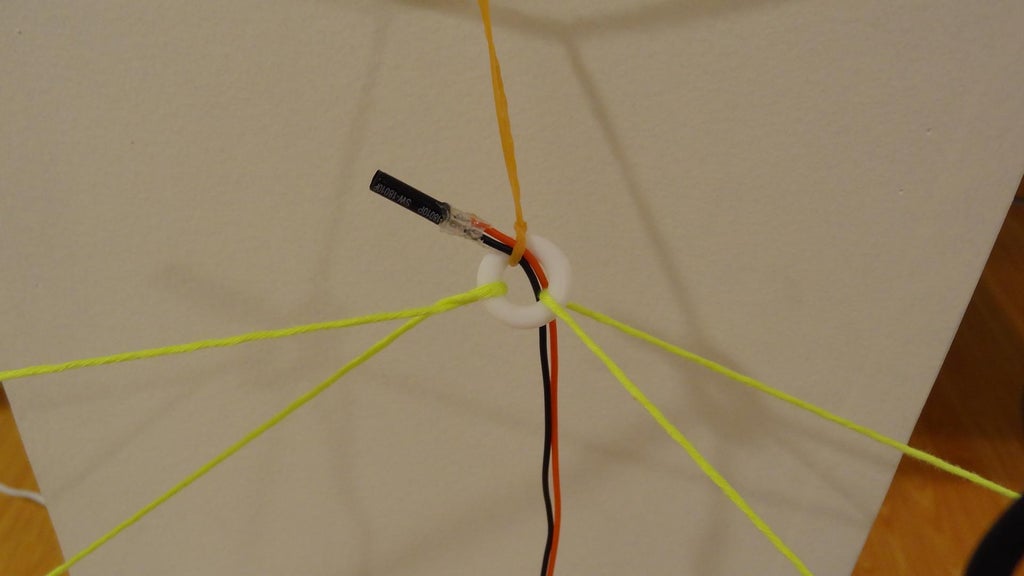
1、Install three mission buttons. For safety, cover the cables with masking tape or curing tape.
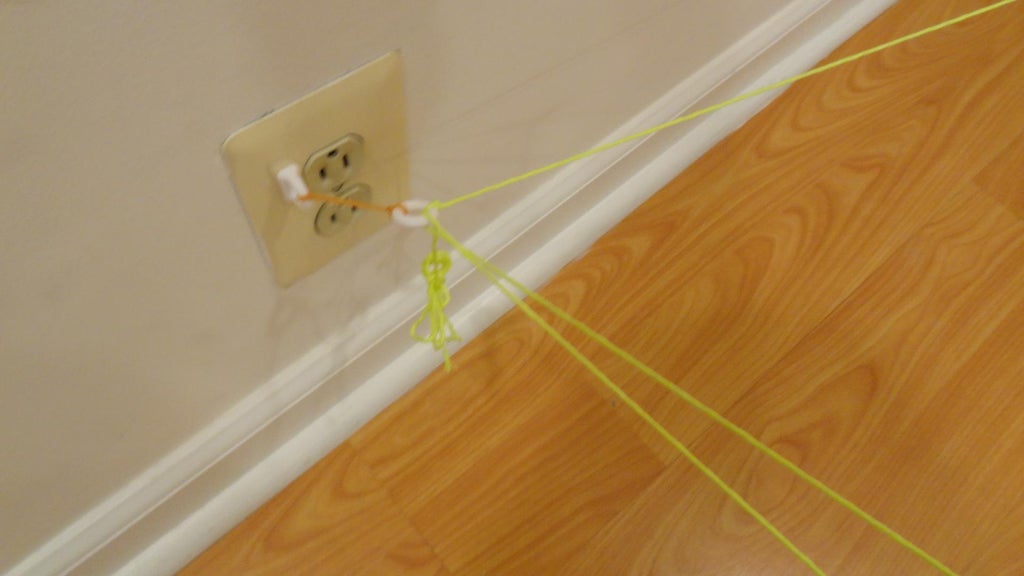
2、Set several anchors with double-sided tape. Attach a hook to each anchor, using a rubber band
3、Thread the yarn through the hooks to create your course.
4、Attach some sensors to the hooks.
Tips:
- Do not divide the yarn mid-course in order to detect contact with the yarn between the anchors without sensors. - Make sure the yarn is not loose, as this reduces the contact sensitivity. - Attach a sensor to an anchor where the yarns are concentrated. This can reduce the number of sensors needed.Step 8: Enjoy Your Mission!
For extra challenges, use colorful balloons as obstacles. Have super fun creating your own
original layout and rule!!
This article was first published on Instructables on Jun 4th, 2024
cr: https://www.instructables.com/DIY-Yarn-Trap-Game/
Author: SayaNIGHT


