Control LED Via Phone App – Arduino ESP32 Home Automation Using Matter Protocol

In this easy Visuino tutorial, you’ll learn how to use the Matter protocol to control an LED on your Arduino Nano ESP32 directly from your smartphone — creating a simple and powerful smart home automation setup.
With Visuino’s visual programming, you can quickly connect your Arduino Nano ESP32 to a Matter network and control your LED with just a tap on your phone.
This tutorial will show you how to:
Connect an Arduino Nano ESP32 to a Matter network for smart home automationControl an LED from your smartphone using the RainMaker appUse Visuino to set up IoT devices easily without codingUnderstand pairing codes, on/off control, and status feedbackBuild real, practical smart home projects in minutes💡 Works with Google and other Matter-supported smart home systems!
Download the Visuino project file at the bottom and
🎥 Watch the full video to see it in action!
Step 1: What You Will Need


Arduino Nano ESP32 (or any other ESP32 board)ESP RainMaker App DownloadVisuino program: Download Visuino
Step 2: Start Visuino, and Select the Arduino Nano ESP32 Board Type


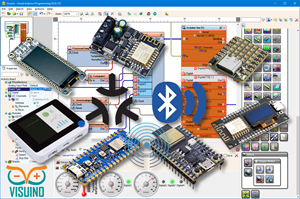
Start Visuino as shown in the first picture Click on the "Tools" button on the Arduino component (Picture 1) in Visuino When the dialog appears, select "Arduino Nano ESP32" as shown on Picture 2
Step 3: In Visuino Set WiFi

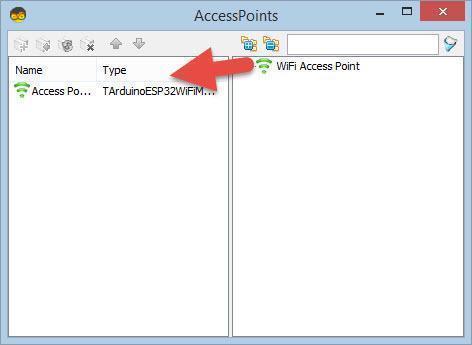
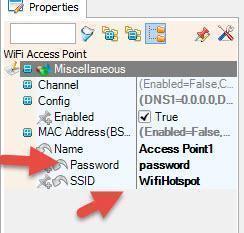
Select Arduino Nano ESP32 board and in the properties window expand "Modules>WiFi>Connect To Access PointsClick on the Connect To Access Points 3 DotsIn the AccessPoints window drag "WiFi Access Point" to the left sideIn the properties window set SSID (name of your WiFi hotspot or router)In the properties window set Password (password of your WiFi hotspot or router)Close AccessPoints window
Step 4: In Visuino Set Matter

Now lets set the Matter
Select Arduino Nano ESP32 board and in the properties window expand
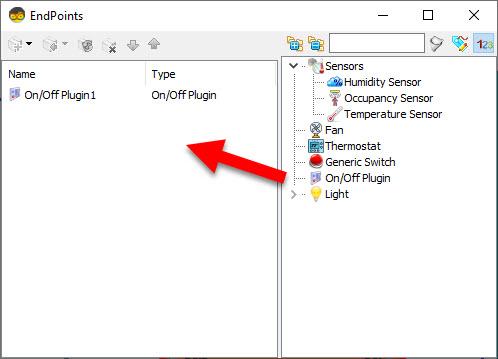
"Modules>Matter Click on the "End Points" 3 Dots button In the "End Points" window drag "On/Off Plugin" to the left side Close the "End Points" window
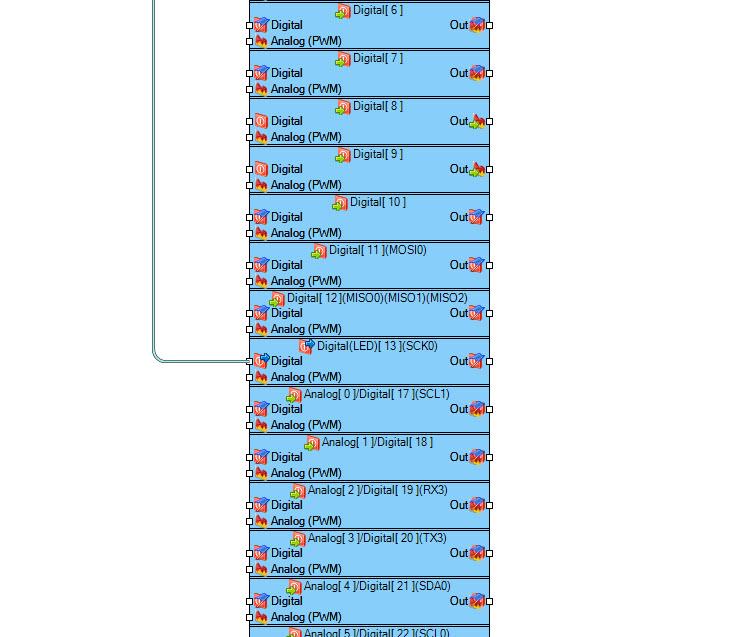
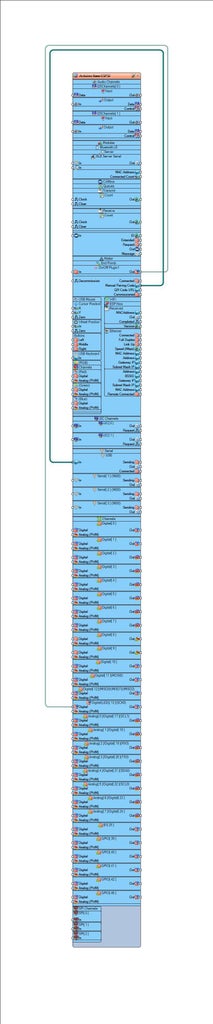
Step 5: In Visuino Add & Connect Components

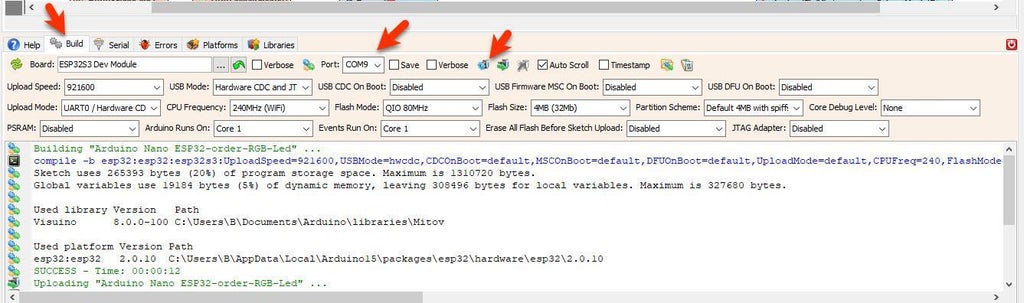
Step 6: Generate, Compile, and Upload the Project
Step 7: Getting the Code
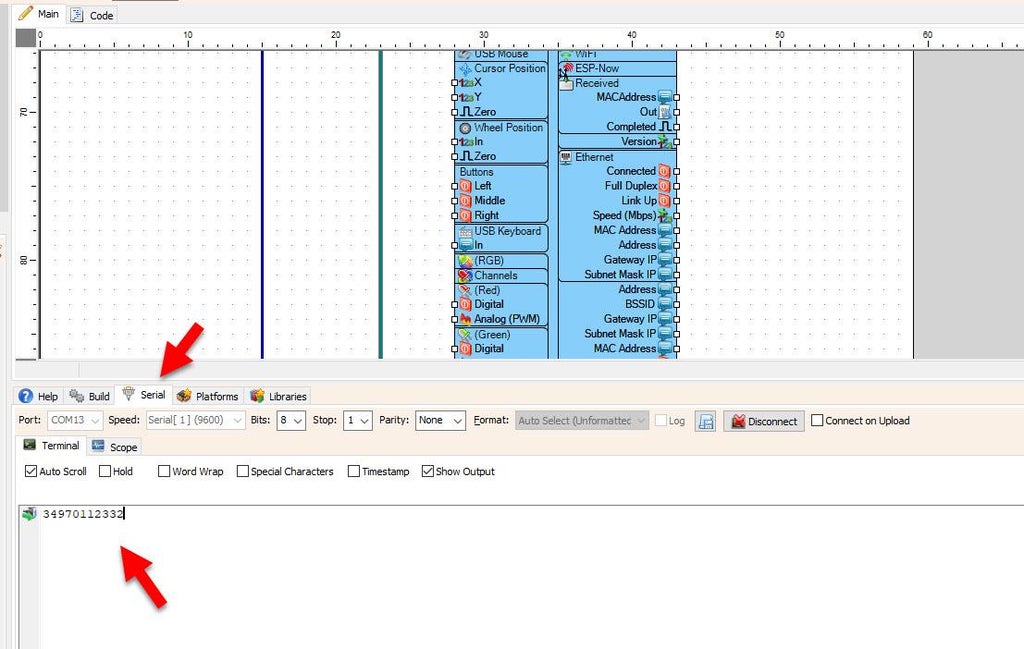
After Uploading the project to the board, switch to the serial tab select the correct port and click Connect button you should see the Matter pairing code displayed.
Step 8: ESP RainMaker App


Install the App and Add Your Device
On your smartphone, go to the Google Play Store or Apple App Store and search for “ESP RainMaker.”
Download and install the app, then open it and create an account (or log in if you already have one).
With your Arduino Nano ESP32 flashed with the Visuino Matter project and connected via the serial monitor, you’ll see a pairing code displayed.
Make sure your phone is connected to the same Wi-Fi network as your Arduino board.
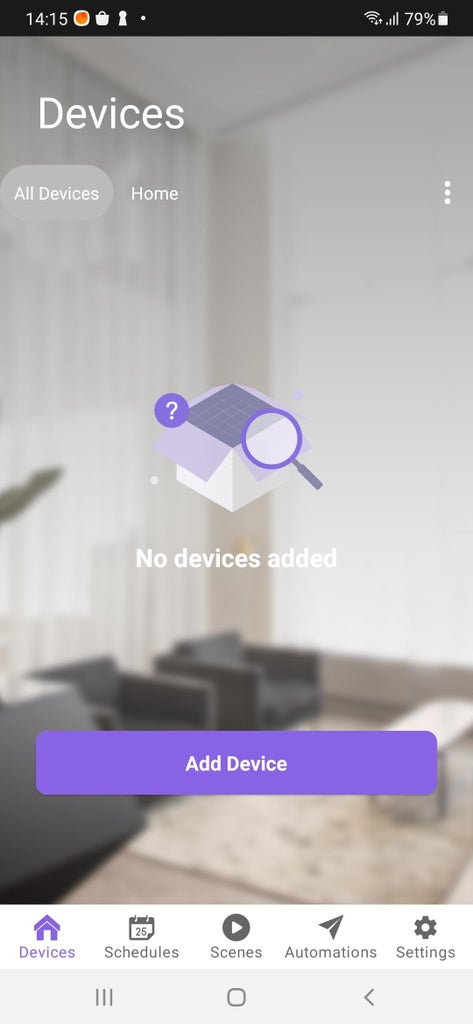
Open the RainMaker app, go to the home screen, and tap “Add Device” (or the + icon) to start adding your device.
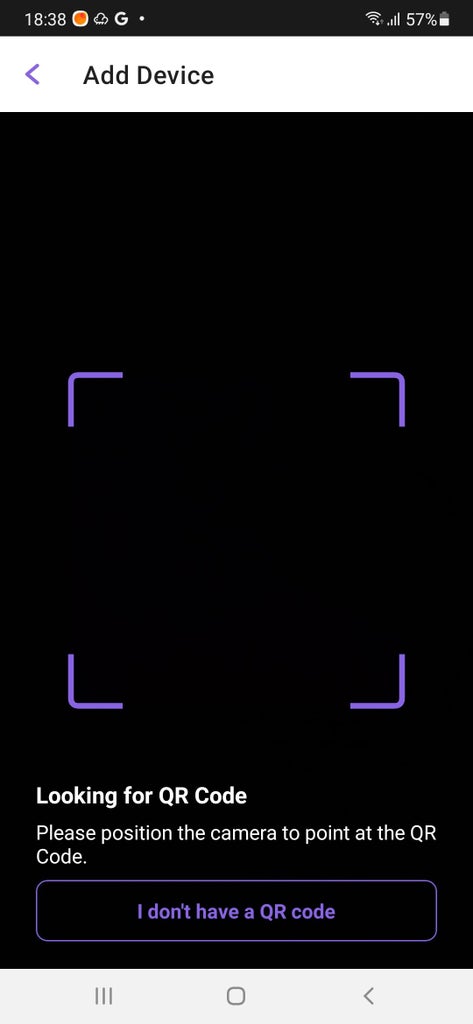
Select “I don’t have a QR code.”
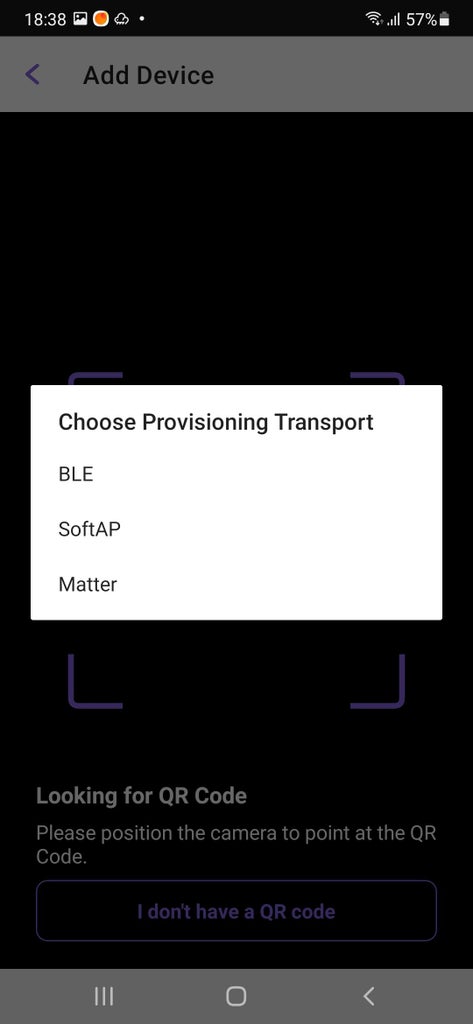
Then choose Provisioning Transport → Matter.
Select your group, and then choose “Set up without QR code.”
Enter the Matter pairing code from the serial window,
tap “I’m ready,” and wait for the app to connect to the Arduino board.
When it’s successfully connected, you’ll see your new device appear in the app —
ready to control the LED!
💡 Tip: Make sure your phone is on the same Wi-Fi network as the ESP32. If the app can’t find your device, try reconnecting Wi-Fi or restarting the RainMaker app.
You can also in Visuino set "Erase All Flash Before Sketch Upload" to Enabled when you upload the project.
More about ESP RainMaker App
Step 9: Play
After uploading the project to the Arduino Nano ESP32 board and setting the ESP RainMaker App you should be able to control the LED on the Arduino Nano ESP32 board from the App.
Congratulations! You have completed your LED project with Visuino.
Also attached is the Visuino project, that I created for this Tutorial. You can download and open it in Visuino: https://www.visuino.com


