

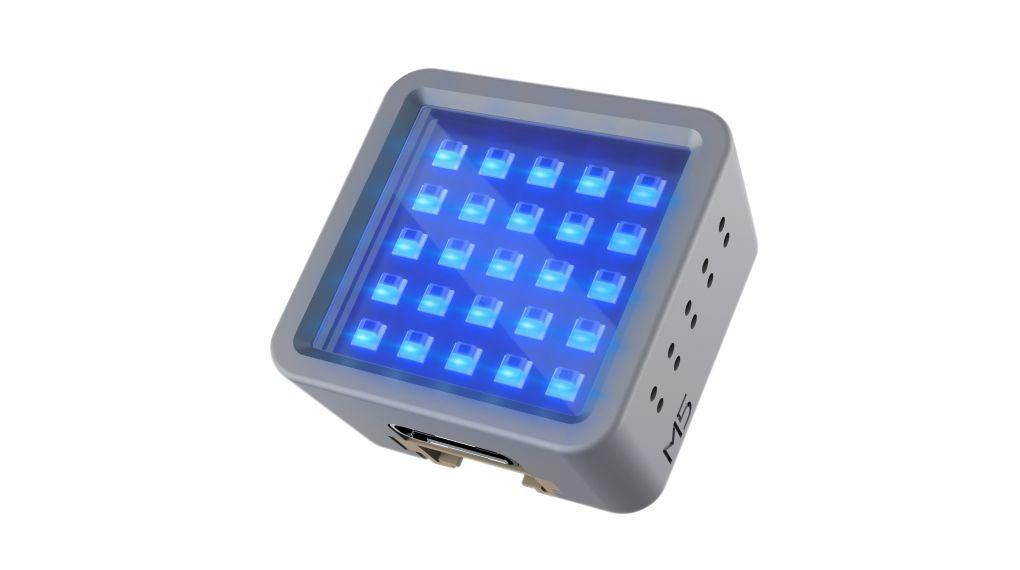
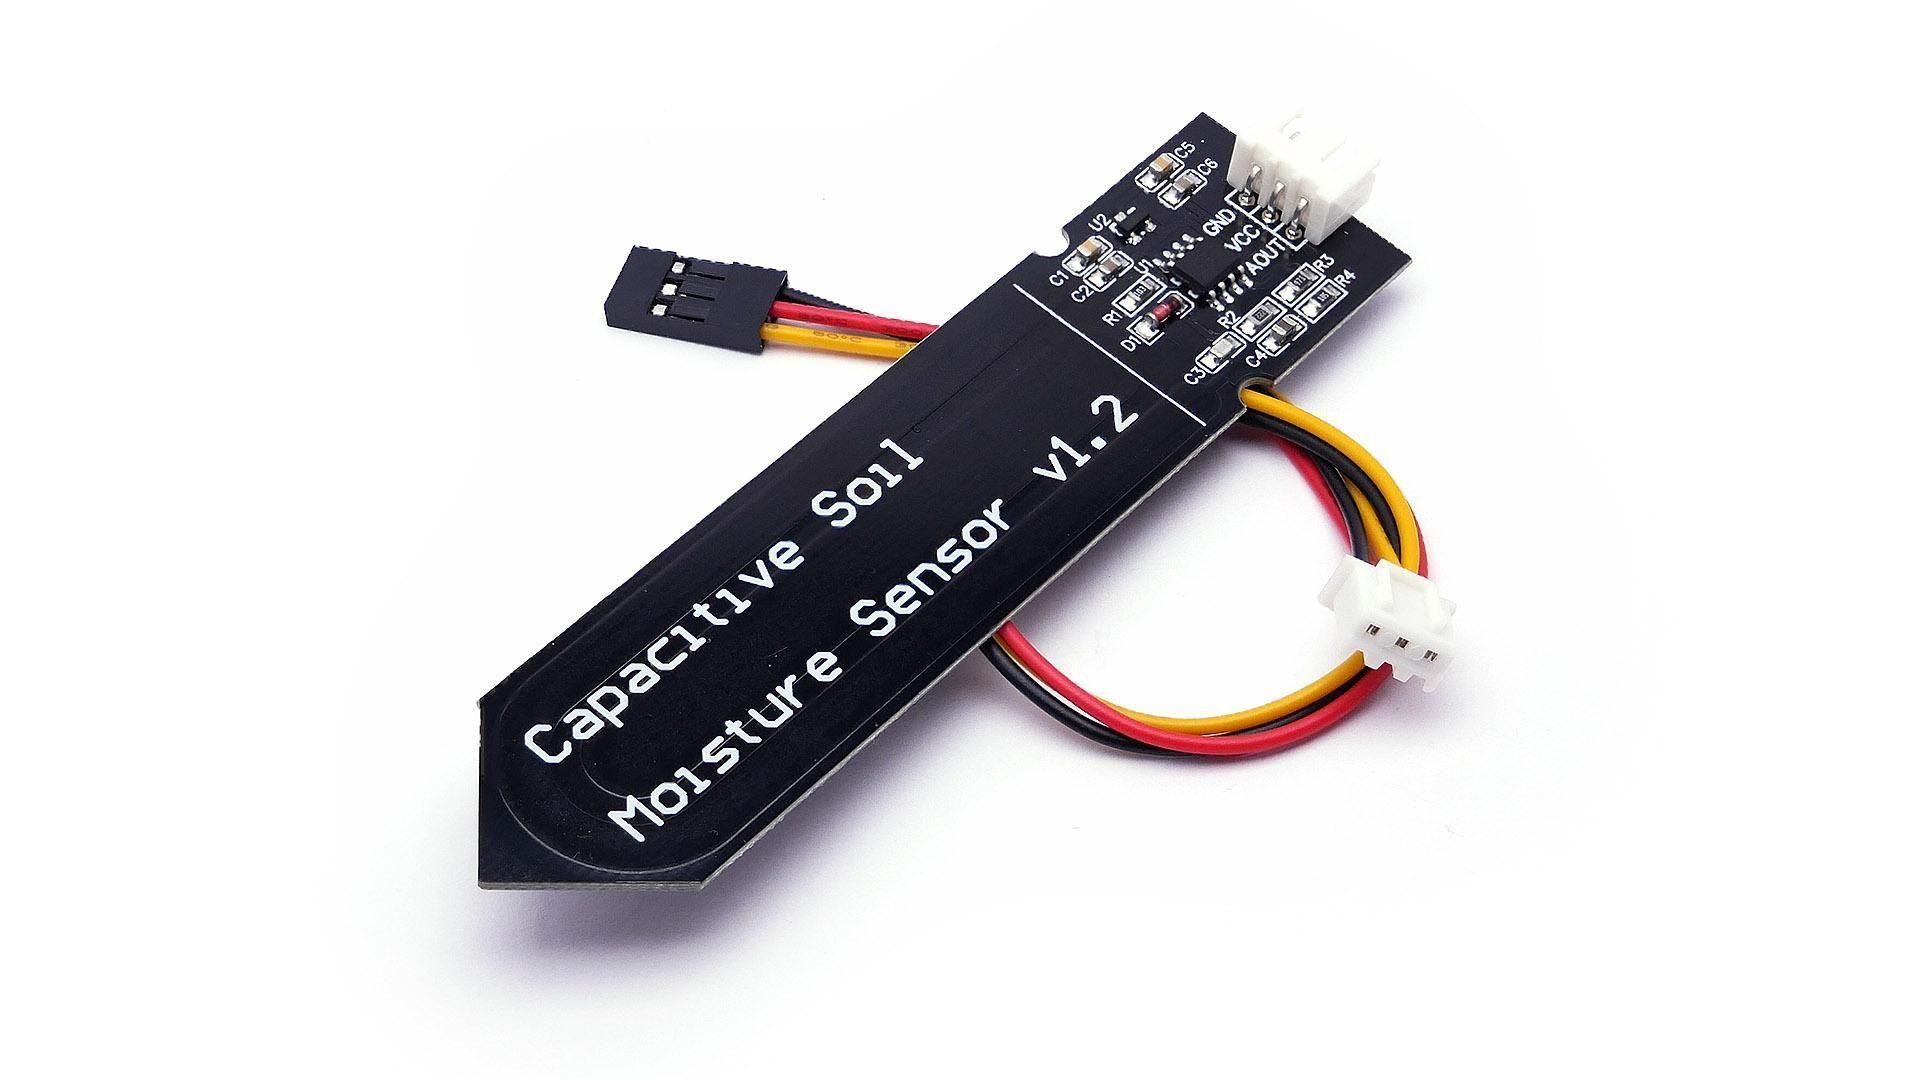
In this tutorial, we will build a simple soil moisture indicator using an M5Stack ATOM Matrix, a capacitive soil moisture sensor, and Visuino.
The project provides an easy visual indication of the soil condition:
🟢 Soil moisture is sufficient → the ATOM Matrix lights up green
🔴 Soil is too dry → the ATOM Matrix lights up red
The tutorial shows how to connect the capacitive soil moisture sensor to the M5Stack ATOM Matrix and how to configure the logic in Visuino to continuously monitor the analog sensor value. Based on the measured moisture level, the built-in RGB LED matrix automatically changes color, making it easy to see when your plant needs watering.
Unlike resistive moisture sensors, the capacitive sensor is more resistant to corrosion, providing greater reliability and longer service life for continuous monitoring.
This project can be used as the basis for smart plant watering systems, greenhouse monitoring, indoor gardening, educational electronics projects, or as part of a larger IoT plant monitoring solution.
In this tutorial, you will learn how to:
- Connect a capacitive soil moisture sensor to the M5Stack ATOM Matrix
- Read analog soil moisture values in Visuino
- Compare the measured value against a moisture threshold
- Display a green or red status on the built-in RGB LED matrix
- Build a simple visual soil moisture indicator
📥 Download the Visuino project file at the bottom.
🎥 Watch the Video!
Note: The moisture threshold can be adjusted in Visuino to match your particular sensor, soil type, and watering requirements.
- ATOM Matrix ESP32 More info
- Capacitive Analog Soil Moisture Sensor
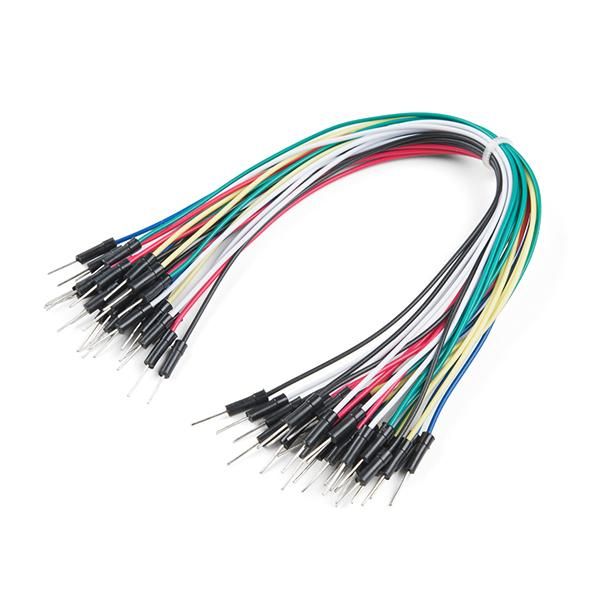
- Jumper wires
- Visuino program: Download Visuino
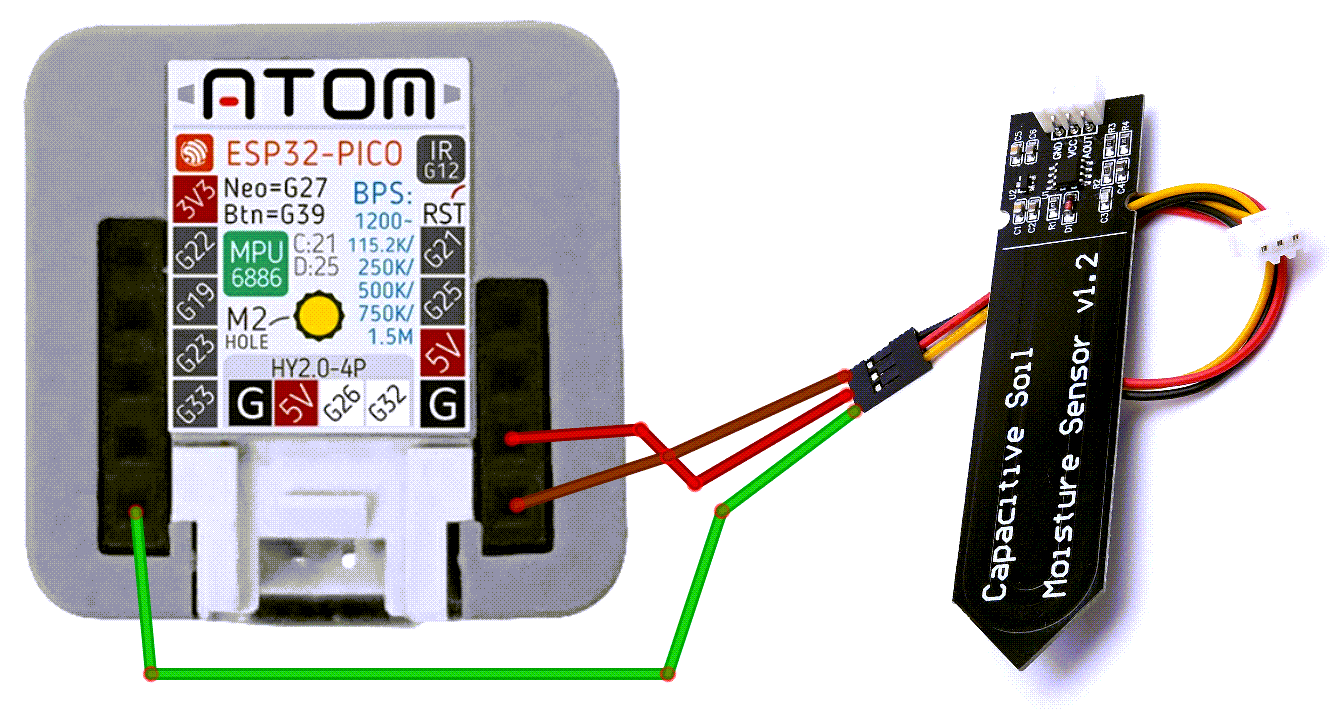
- Connect Capacitive Soil sensor pin GND to Atom Matrix pin GND
- Connect Capacitive Soil sensor pin VCC to Atom Matrix pin 5V
- Connect Capacitive Soil sensor analog pin AOUT to Atom Matrix pin GPIO [33]
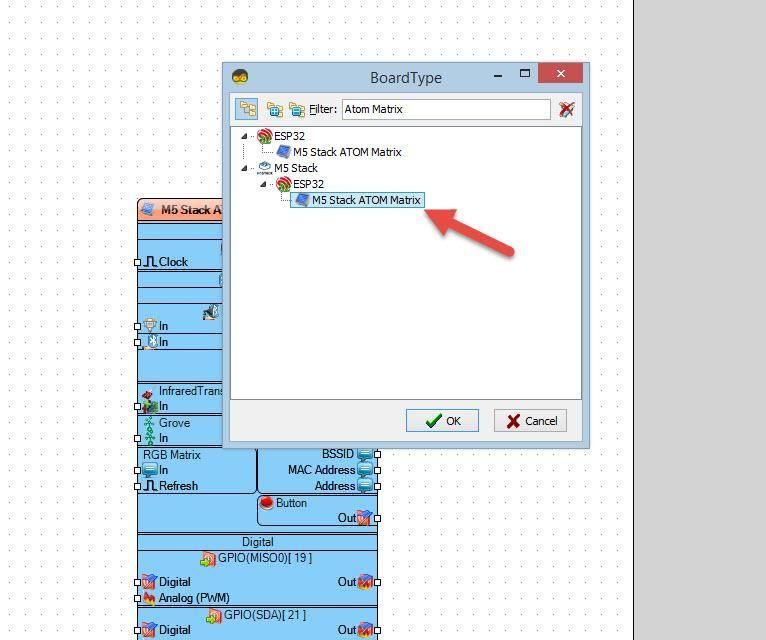
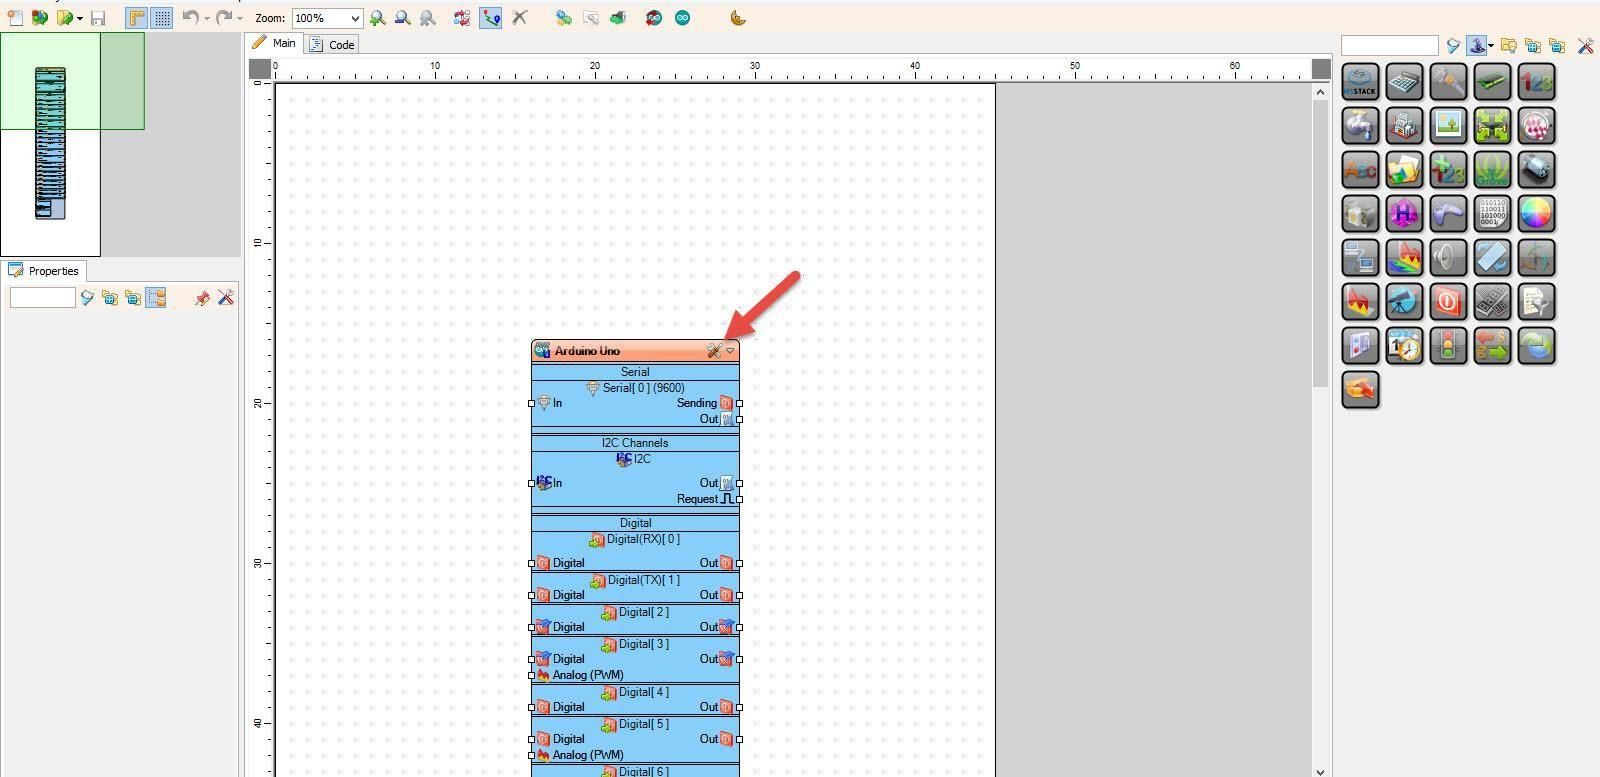
Start Visuino as shown in the first picture Click on the "Tools" button on the Arduino component (Picture 1) in Visuino When the dialog appears, select "Atom Matrix" as shown on Picture 2
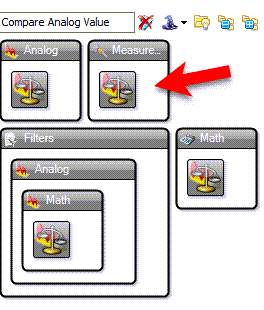
- Add "Compare Analog Value" component
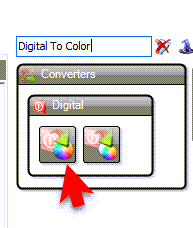
- Add "Digital To Color" component
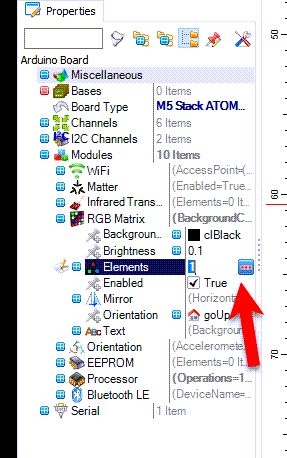
- Select "M5 Stack ATOM Matrix" board and in the properties window expand "Modules">"RGB Matrix">"Elements" and click on the 3 dots button
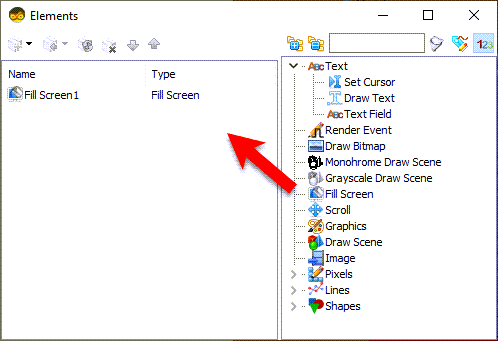
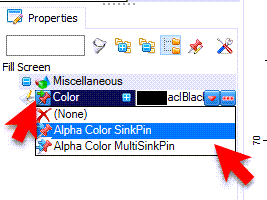
- In the "Elements" window drag "Fill Screen" to the left side and in the properties window select "Color" and click on the Pin Icon and select "Alpha Color SinkPin"
- Close the "Elements" window
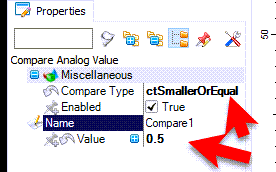
- Select "Compare1" and in the properties window set "Compare Type" to ctSmallerOrEqual and "Value" to 0.5
Note: You should experiment with the correct value to achieve the best sensitivity, the best way is to connect GPIO 33 to serial pin and see the correct values in Serial monitor (When soil is dry or wet).
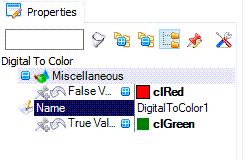
- Select "DigitalToColor1" and in properties window set "False Value" to clRed and "True Value" to clGreen
- Connect Atom Matrix GPIO [33] pin [Out] to "Compare1" pin [In]
- Connect "Compare1" pin [Out] to "DigitalToColor1" pin [In]
- Connect "DigitalToColor1" pin [Out] to Atom Matrix > "Fill Screen1" pin [Color]
- Connect "DigitalToColor1" pin [Out] to Atom Matrix > "Fill Screen1" pin [Clock]
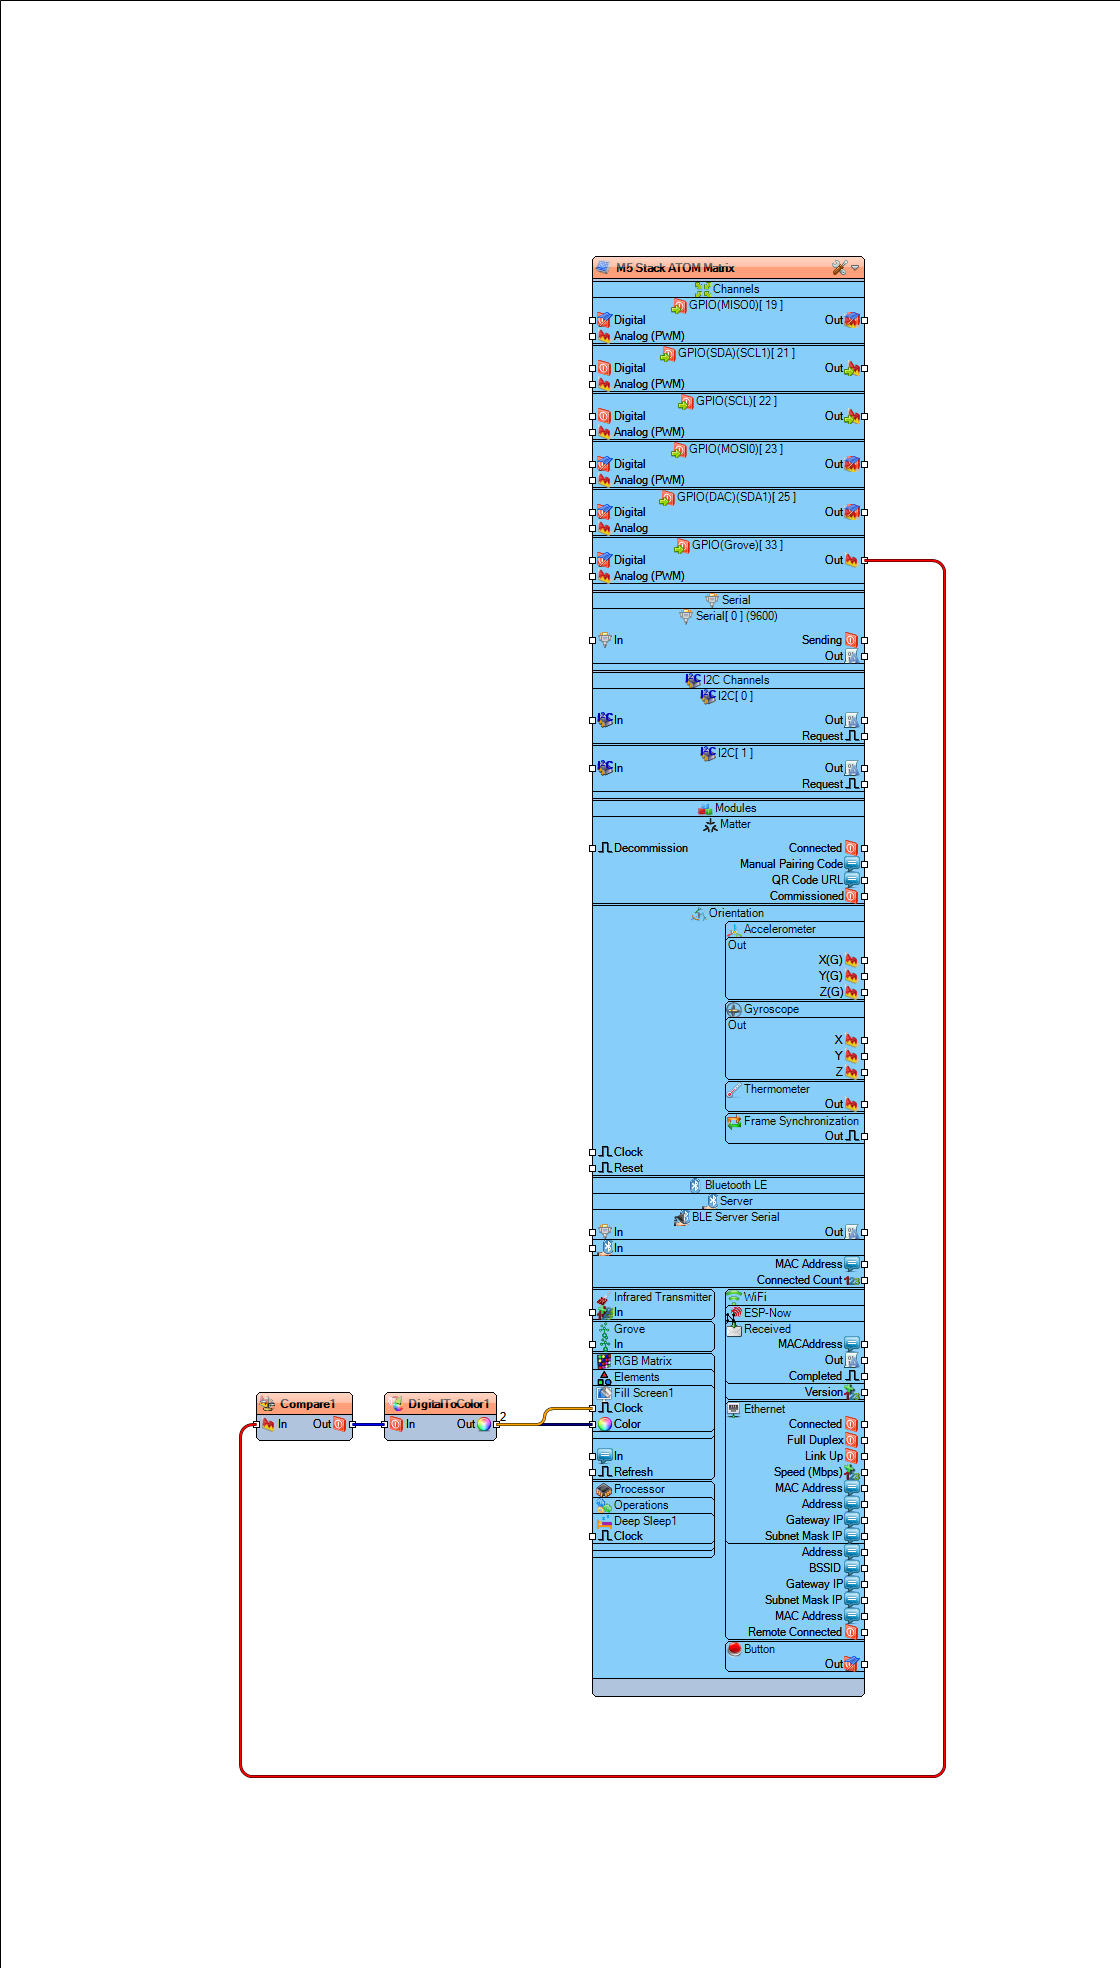
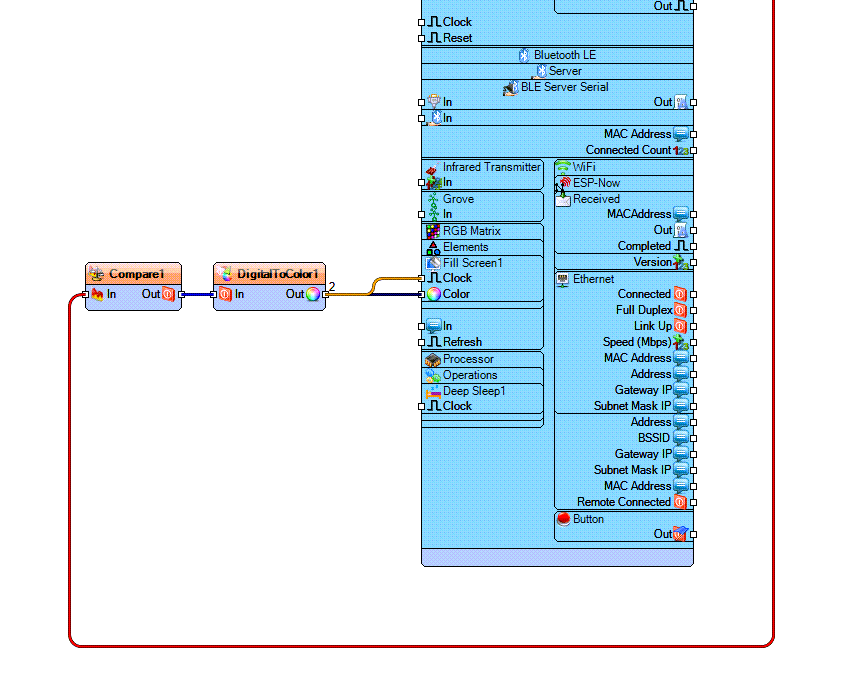
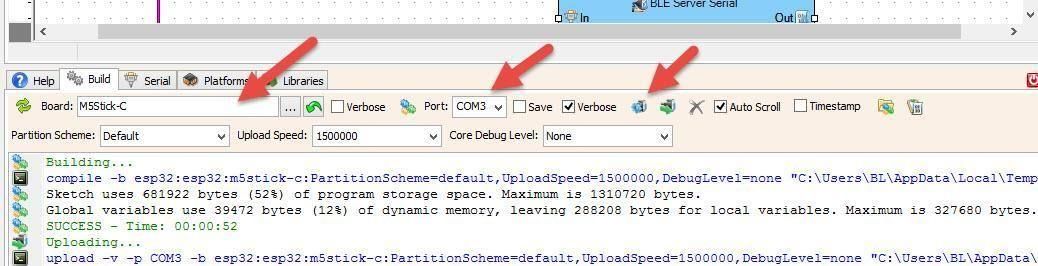
In Visuino, at the bottom click on the "Build" Tab, make sure the correct port is selected, then click on the "Compile/Build and Upload" button.
If you power the M5Stack ATOM Matrix module, the built-in LED matrix will immediately start showing the soil moisture status in real time — displaying green when the soil has enough moisture and red when it is too dry.
Congratulations! You have completed your project with Visuino. Also attached is the Visuino project that I created for this tutorial, you can download it and open it in Visuino: https://www.visuino.com
 Matrix-plant.zip




